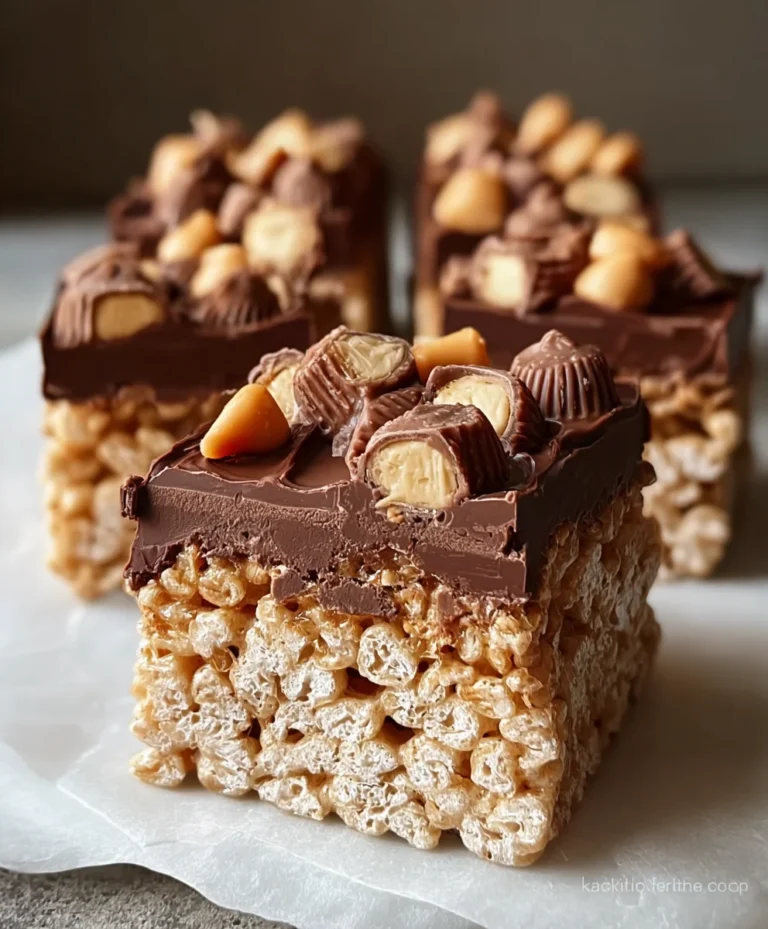
Healthy Crispy Chocolate Puffed Rice Cereal Treat
Healthy Crispy Chocolate Puffed Rice Cereal is more than just a breakfast option; it’s a nostalgic journey back to childhood mornings, reimagin extracted for the health-conscious adult. Who doesn’t love the satisfying crunch and the rich, deep flavor of chocolate? We certainly do! This isn’t your average sugar-laden cereal. What makes our Healthy Crispy Chocolate Puffed Rice Cereal truly special is its ability to deliver that indulgent taste and delightful texture without compromising on nutritional value. We’ve meticulously crafted a recipe that uses wholesome ingredients, ensuring you get a burst of energy and a feeling of satisfaction that lasts. Forget those processed alternatives that leave you crashing a few hours later. This version is packed with goodness, making it the perfect way to kickstart your day, refuel after a workout, or even enjoy as a guilt-free afternoon treat. Get ready to discover your new favorite cereal!
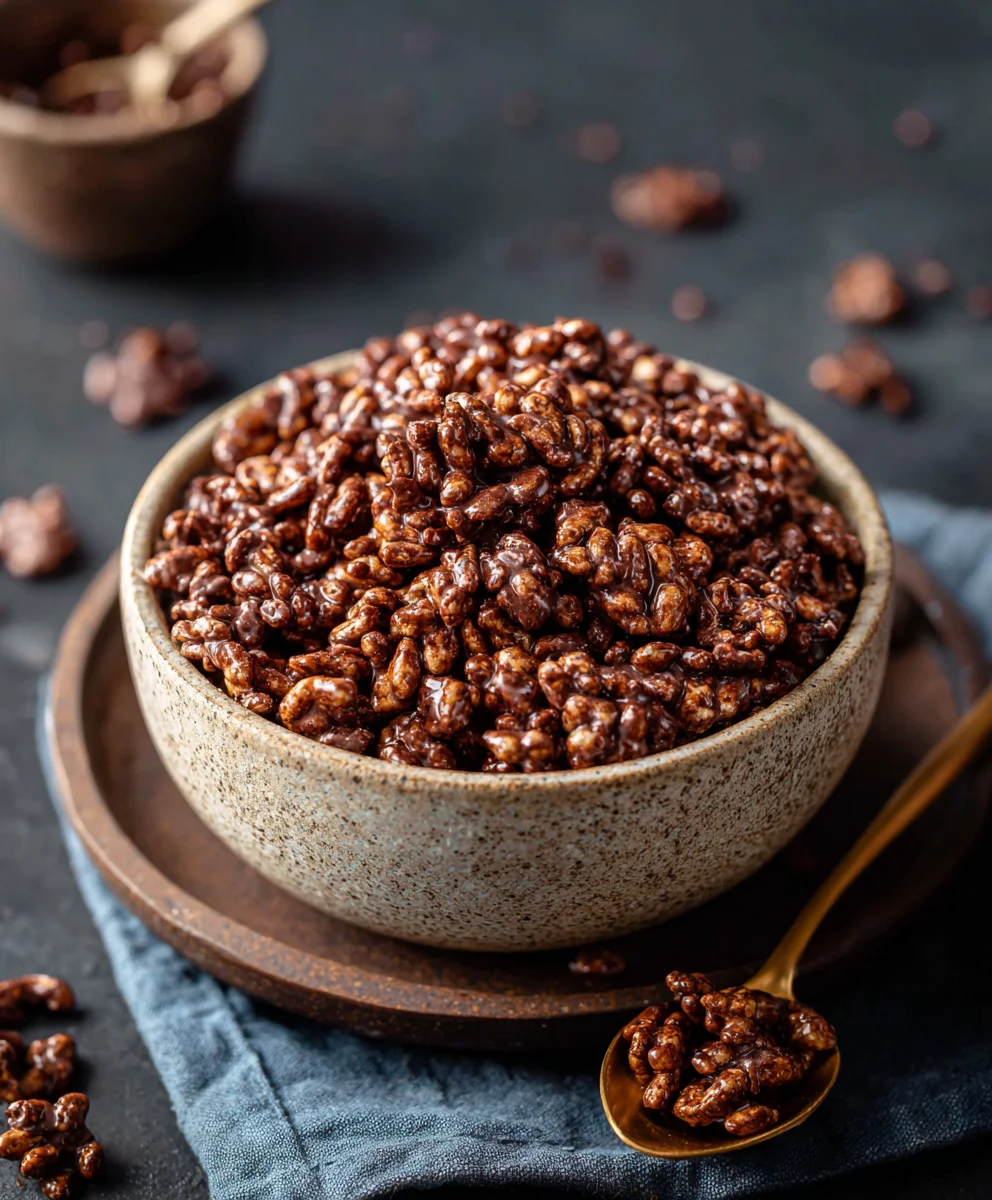
Ingredients:
- 4 cups of puffed rice cereal
- 4 tablespoons of liquid coconut oil
- 3 tablespoons of raw cacao powder
- 2 tablespoons of pure maple syrup (you can adjust this for sweetness)
- 1/4 teaspoon of vanilla extract
Preparing the Crispy Delight
This recipe is all about creating a wonderfully healthy and satisfyingly crispy chocolate puffed rice cereal right in your own kitchen. Forget the sugary store-bought options; we’re going to make something truly wholesome and delicious that you can feel great about serving to yourself and your family. The beauty of this recipe lies in its simplicity and the quality of the ingredients. We’re focusing on natural sweetness and rich chocolate flavor without any artificial additives.
The process is straightforward, and with a few key steps, you’ll have a batch of incredibly addictive cereal ready to enjoy. Make sure you have all your ingredients measured out and ready to go before you begin extract. This will make the process smooth and efficient, ensuring your puffed rice doesn’t sit too long once it starts getting coated.
Step 1: Melting and Mixing the Chocolate Base
The first crucial step is to create our rich chocolate coating. In a medium-sized heatproof bowl, combine the liquid coconut oil, raw cacao powder, maple syrup, and vanilla extract. I find it easiest to gently warm the coconut oil before adding it if it’s not already liquid. You can do this by placing the measuring spoon with the solid coconut oil into a warm water bath for a minute or two.
Once the coconut oil is liquid and all other ingredients are in the bowl, whisk them together vigorously. You want to achieve a completely smooth and homogenous mixture. There should be no lumps of cacao powder visible, and the syrup and oil should be fully incorporated. Whisking well at this stage is important for an even coating on the puffed rice later. Taste a tiny bit of the mixture at this point. If you prefer a sweeter cereal, you can add another teaspoon or two of maple syrup. Remember, the puffed rice itself has no sweetness, so this coating is where all the flavor and sweetness come from.
Step 2: Gently Toasting the Puffed Rice (Optional but Recommended)
While not strictly necessary, I highly recommend a brief toasting of the puffed rice cereal. This step significantly enhances the crispiness and texture of the final product. Spread the 4 cups of puffed rice cereal evenly onto a large baking sheet. You can line the baking sheet with parchment paper for easier cleanup, though it’s not essential.
Place the baking sheet into a preheated oven at 300 degrees Fahrenheit (150 degrees Celsius) for about 5-7 minutes. Keep a very close eye on it, as puffed rice can burn quickly. You just want to warm it through and give it a slightly toasted aroma, not brown it. Remove the baking sheet from the oven and let the puffed rice cool slightly on the baking sheet. It should still be warm, but not hot to the touch. This slight warmth will help the chocolate coating adhere better in the next step.
Step 3: Coating the Puffed Rice
Now comes the exciting part – transforming the plain puffed rice into a chocolatey masterpiece! Once the puffed rice is slightly cooled but still warm, carefully transfer it back into a large mixing bowl. It’s important that the bowl is large enough to allow for easy tossing and coating without spilling.
Pour the prepared chocolate mixture from Step 1 over the warm puffed rice. Using a large spoon or a spatula, ggin extractly begin to fold and toss the puffed rice to coat each piece evenly with the chocolate mixture. Be gentle to avoid crushing the puffed rice. The goal is to get a light, even coating on as many pieces as possible. You may find it easier to do this in batches if your bowl isn’t very large, or if you’re worried about crushing the cereal. Work quickly but methodically. The warmth of the puffed rice will help the coconut oil mixture spread and coat more effectively. Ensure every bit of puffed rice gets some of that delicious chocolate goodness.
Step 4: Spreading for Maximum Crispiness
Once all the puffed rice is coated, carefully spread the chocolate-covered cereal back onto the prepared baking sheet in a single, even layer. This step is crucial for achieving that desired crispiness. If the cereal is clumped together, it will not dry evenly and won’t become as crispy as it could. Use your spatula or the back of your spoon to gently break apart any clumps and ensure individual pieces are separated as much as possible. A thin, even layer allows air to circulate around each grain of puffed rice, promoting even drying and crisping.
Step 5: Drying and Achieving Ultimate Crispiness
This is where patience plays a role. You have a couple of options for drying. The most effective method for achieving ultimate crispiness is to leave the cereal spread out on the baking sheet at room temperature for several hours, or ideally, overnight. This allows the coconut oil to solidify and the cereal to air-dry completely.
Alternatively, if you’re short on time, you can place the baking sheet back into the oven, which you will have turned off after the brief toasting in Step 2. Leave the oven door slightly ajar (you can prop it open with a wooden spoon) and let the residual heat slowly dry out the cereal for another 1-2 hours, checking periodically. Another option is to place the baking sheet in the refrigerator for about 30-60 minutes. This will help the coconut oil harden quickly. However, for the absolute best crisp, air-drying at room temperature is superior. Once it’s fully dry and crispy, you can gently break apart any larger clusters. Store your Healthy Crispy Chocolate Puffed Rice Cereal in an airtight container at room temperature.
Conclusion:
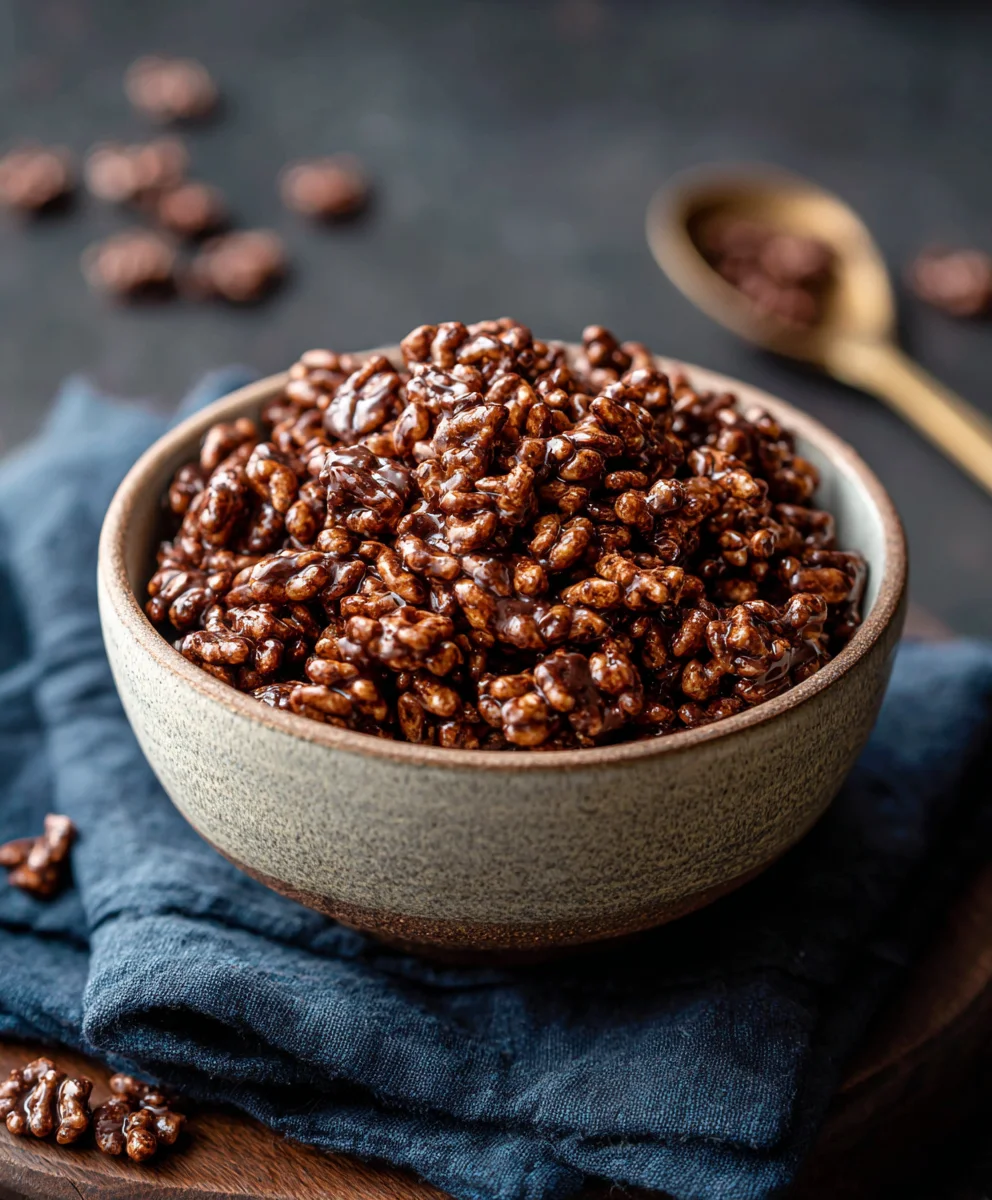
There you have it – your guide to making delicious and satisfying Healthy Crispy Chocolate Puffed Rice Cereal! We’ve walked through each step to ensure you can recreate this delightful treat in your own kitchen. This cereal is perfect for a quick breakfast, a wholesome snack, or even a delightful topping for yogurt or ice cream. Don’t be afraid to experiment and make it your own! Try adding a sprinkle of cinnamon for a warm spice, or a handful of dried berries for extra texture and tartness. The possibilities are endless, and the satisfaction of creating something so good for you from scratch is immense. Give the Healthy Crispy Chocolate Puffed Rice Cereal a try, and I’m confident you’ll be hooked!
Frequently Asked Questions:
Can I make this cereal ahead of time?
Absolutely! The Healthy Crispy Chocolate Puffed Rice Cereal stores very well in an airtight container at room temperature for up to a week. This makes it a fantastic option for meal prepping your breakfasts or snacks for the entire week.
Is this recipe suitable for kids?
Yes, this recipe is very kid-friendly! You can involve children in the process of measuring and mixing ingredients. It’s a fantastic way to introduce them to healthier snack options and teach them basic cooking skills. Just ensure they are supervised around any heat sources.
What if I don’t have puffed rice cereal?
While puffed rice cereal is ideal for the crispy texture, you could experiment with other light, crispy cereals. However, be aware that the texture and cooking time might vary significantly. For the best results and the intended outcome of Healthy Crispy Chocolate Puffed Rice Cereal, sticking to puffed rice cereal is highly recommended.
Healthy Crispy Chocolate Puffed Rice Cereal Treat
A simple, healthy, and satisfyingly crispy chocolate puffed rice cereal treat made with natural ingredients.
Ingredients
-
4 cups of puffed rice cereal
-
4 tablespoons of liquid coconut oil
-
3 tablespoons of raw cacao powder
-
2 tablespoons of pure maple syrup
-
1/4 teaspoon of vanilla extract
Instructions
-
Step 1
In a medium heatproof bowl, combine liquid coconut oil, raw cacao powder, maple syrup, and vanilla extract. Whisk vigorously until completely smooth and homogenous. Taste and adjust maple syrup if desired for sweetness. -
Step 2
Spread puffed rice cereal evenly onto a baking sheet. Preheat oven to 300°F (150°C). Toast the puffed rice for 5-7 minutes, watching closely to prevent burning. Remove from oven and let cool slightly, remaining warm. -
Step 3
Transfer the slightly cooled but warm puffed rice to a large mixing bowl. Pour the prepared chocolate mixture over the puffed rice. Gently fold and toss to coat each piece evenly, being careful not to crush the cereal. -
Step 4
Spread the chocolate-coated puffed rice back onto the baking sheet in a single, even layer. Break apart any clumps to ensure individual pieces are separated for even crisping. -
Step 5
Allow the cereal to air-dry at room temperature for several hours or overnight for maximum crispiness. Alternatively, use residual oven heat with the door ajar for 1-2 hours, or chill in the refrigerator for 30-60 minutes for faster hardening. Once dry and crispy, break apart any large clusters.
Important Information
Nutrition Facts (Per Serving)
It is important to consider this information as approximate and not to use it as definitive health advice.
Allergy Information
Please check ingredients for potential allergens and consult a health professional if in doubt.