Sugar Free Fudge – Decadent & Easy Keto Treat
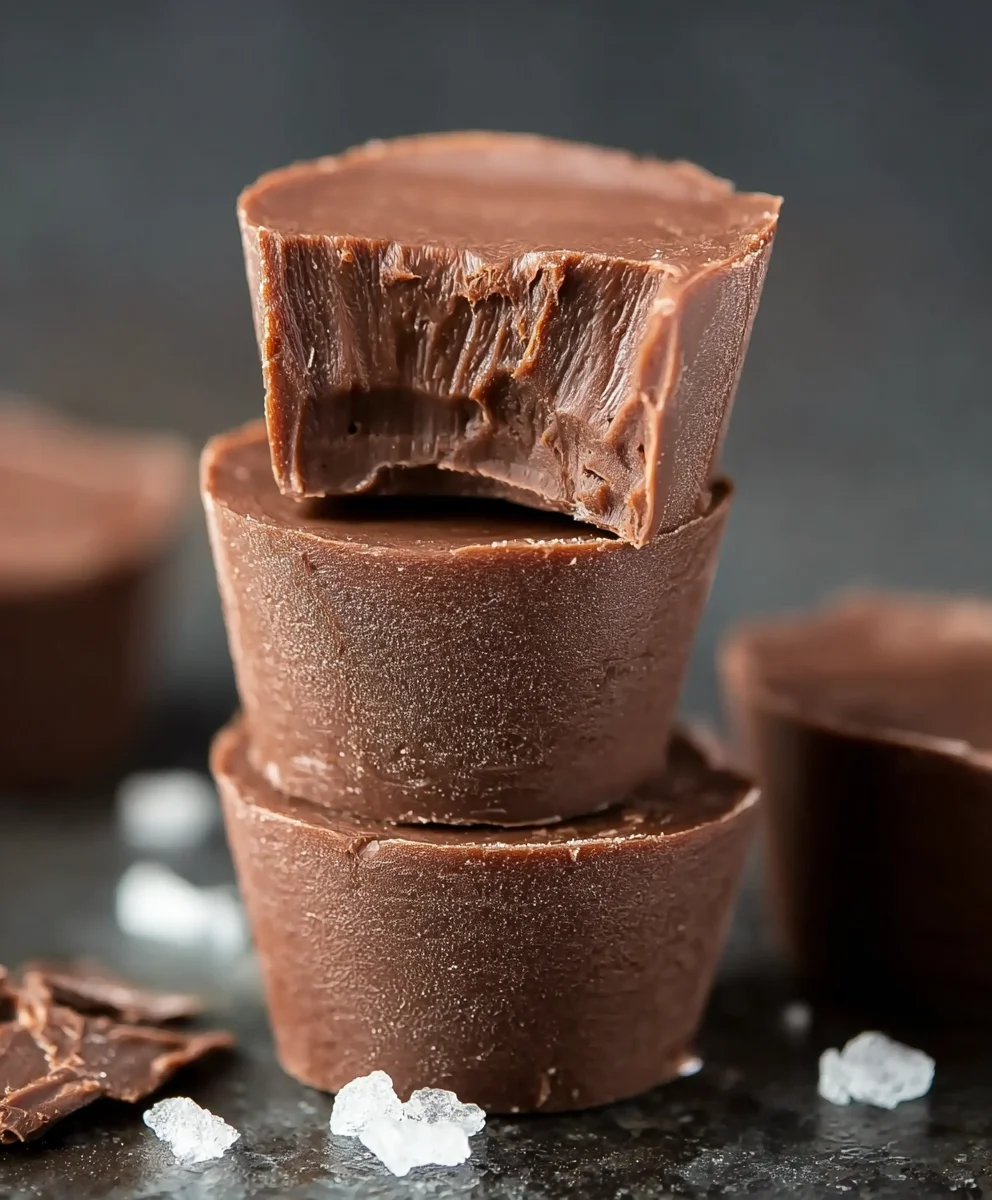
Sugar Free Fudge is a dream come true for anyone with a sweet tooth who’s also watching their sugar intake, and let me tell you, it delivers that decadent, melt-in-your-mouth experience you crave without any of the guilt. We all love a good treat, right? But the thought of all that refined sugar can often stop us in our tracks. That’s where this incredible Sugar Free Fudge shines. It’s the perfect answer to those mid-afternoon cravings or a delightful way to end a meal, offering a rich, satisfying chocolatey flavor that tastes every bit as indulgent as its traditional counterpart. What truly makes this recipe special is its simplicity and the ability to achieve that classic, smooth texture that defines truly great fudge, proving that you don’t need sugar to achieve pure bliss. Get ready to impress yourself and your loved ones with this surprisingly easy and unbelievably delicious creation!
Ingredients:
- 2 cups sugar free chocolate chips
- 1 cup almond butter (or any smooth nut or seed butter of your choice)
- 1 teaspoon vanilla extract
Preparation: Sugar Free Fudge Mastery
Creating delicious Sugar Free Fudge is surprisingly straightforward, and with these detailed instructions, you’ll be enjoying a rich, decadent treat in no time. The beauty of this recipe lies in its simplicity and the use of just a few high-quality ingredients, ensuring that the natural flavors shine through. We’ll guide you through each step with helpful tips to guarantee a perfect outcome, whether this is your first time making fudge or you’re a seasoned pro looking for a sugar-free alternative.
Melting the Chocolate Base
The foundation of our Sugar Free Fudge is, of course, the chocolate. We need to melt these sugar free chocolate chips gently to create a smooth, luscious base. A double boiler method is highly recommended for this process. To set this up, you’ll need a heatproof bowl that fits snugly over a saucepan filled with about an inch of water. Make sure the bottom of the bowl doesn’t touch the water. Bring the water in the saucepan to a gentle simmer over medium-low heat. Place the sugar free chocolate chips into the heatproof bowl. Stir them occasionally with a heat-resistant spatula. Be patient; the key to perfectly melted chocolate is low and slow heat. This prevents the chocolate from scorching or seizing, which can result in a grainy texture. You’ll know the chocolate is ready when it’s almost entirely melted, with just a few small pieces remaining. Remove the bowl from the heat and let the residual heat finish melting those last few bits. Stir until completely smooth.
Incorporating the Almond Butter
Once your chocolate base is beautifully melted and smooth, it’s time to add the richness and body that the almond butter provides. Spoon the cup of almond butter directly into the bowl with the melted chocolate. If your almond butter is very stiff, you might want to give it a quick stir in its jar beforehand to ensure it’s well-combined. Use your spatula to vigorously stir the almond butter into the melted chocolate. Continue to mix until the two ingredients are completely incorporated and you have a uniform, glossy mixture. It’s important to mix thoroughly here to ensure there are no streaks of chocolate or almond butter, leading to a consistent flavor and texture throughout your fudge. If you’re using a nut butter that is very oily, you might notice a slight sheen on the surface as you stir, which is perfectly normal. Just keep mixing until everything comes together.
Adding the Flavor Enhancer
The vanilla extract is a crucial element that elevates the flavor profile of your Sugar Free Fudge. It doesn’t just add its own distinct aroma and taste; it also enhances the chocolate flavor, making it taste even richer and more complex. Measure out one teaspoon of pure vanilla extract carefully. Pour it directly into the chocolate and almond butter mixture. Now, stir again, ensuring the vanilla extract is evenly distributed throughout the entire batch. A few good stirs should do the trick. You’ll start to notice a more pronounced, inviting aroma as the vanilla blends in. This is the point where the simple ingredients begin extract to transform into something truly special.
Pouring and Chilling for Perfection
With your fudge mixture perfectly combined, it’s time to prepare it for chilling. Line an 8×8 inch baking pan with parchment paper, leaving an overhang on all sides. This overhang will act as handles, making it much easier to lift the solidified fudge out of the pan later. Pour the entire mixture from the bowl into the prepared baking pan. Use your spatula to spread the fudge evenly into the corners and across the entire surface of the pan, aiming for a consistent thickness. This evenness is important for the fudge to set uniformly. Once the surface is smooth and even, cover the pan loosely with plastic wrap or foil. Place the pan in the refrigerator. We recommend chilling it for at least 2-3 hours, or until the fudge is completely firm to the touch. The cold temperature is essential for the fudge to set properly, transforming from a pourable mixture into solid, sliceable pieces.
Slicing and Enjoying Your Sugar Free Treat
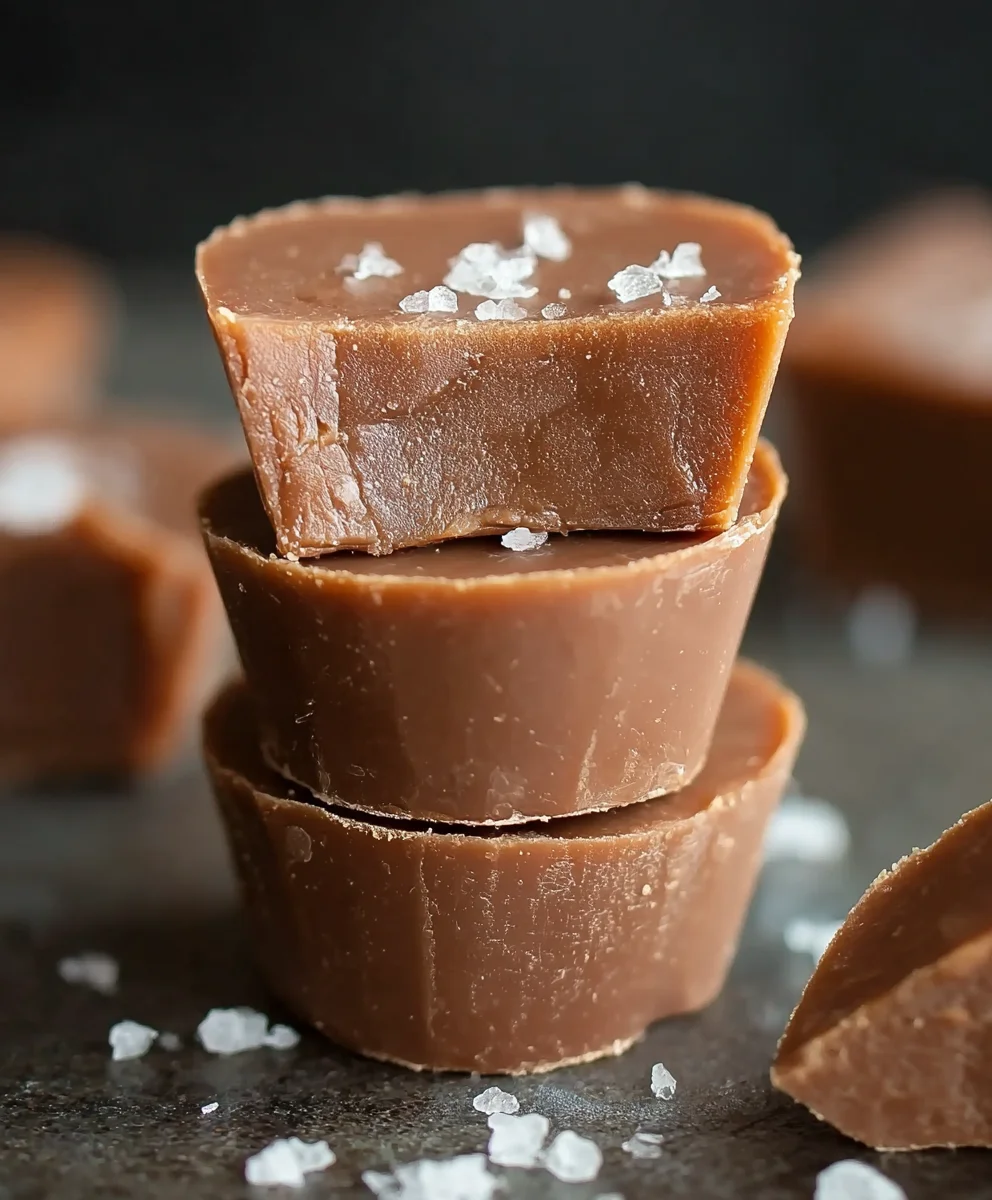
Once your Sugar Free Fudge has achieved its desired firmness, it’s time for the final, most rewarding step: slicing and enjoying! Remove the pan from the refrigerator. Using the parchment paper overhangs, carefully lift the entire slab of fudge out of the pan and place it onto a clean cutting board. The parchment paper makes this process very clean and easy. For the neatest slices, use a sharp knife. You can lightly warm the knife blade under hot water and dry it before each cut; this will help it glide through the fudge effortlessly, creating clean edges. Cut the fudge into small, bite-sized squares. The exact size is up to your personal preference, but typically, 1-inch squares are perfect for a rich, satisfying bite. Arrange your beautiful Sugar Free Fudge pieces on a serving platter and marvel at your creation. Store any leftover fudge in an airtight container in the refrigerator. It will keep well for up to a week, maintaining its delicious texture and flavor.
Conclusion:
And there you have it – a delightful and guilt-free way to satisfy your sweet cravings with our wonderful Sugar Free Fudge! We’ve walked through each step, from selecting the right ingredients to achieving that perfect, melt-in-your-mouth texture. This recipe is proof that you don’t need added sugar to enjoy a rich and decadent treat. We hope you’ll find this Sugar Free Fudge recipe to be a staple in your dessert repertoire.
For serving suggestions, consider cutting the fudge into small, bite-sized squares for a party platter or a delightful afternoon pick-me-up with a cup of tea or coffee. It also makes a thoughtful homemade gift for friends and family, especially those watching their sugar intake.
We encourage you to experiment with variations! Feel free to add a sprinkle of chopped nuts like almonds or walnuts for an extra crunch, or a dash of peppermint extract for a refreshing twist. A swirl of sugar-free caramel or a few sugar-free chocolate chips folded in can elevate your Sugar Free Fudge even further. Don’t be afraid to get creative!
Frequently Asked Questions about Sugar Free Fudge:
Q1: How should I store the Sugar Free Fudge?
You can store your delicious Sugar Free Fudge in an airtight container at room temperature for up to a week, or in the refrigerator for up to two weeks for a firmer consistency. If refrigerating, you might want to let it sit out for a few minutes before serving to soften slightly.
Q2: Can I use a different sugar substitute?
Yes, you can! While erythritol or xylitol often provide the best texture and sweetness for sugar-free baking, you can experiment with other sugar substitutes like stevia or monk fruit. Keep in mind that the texture and sweetness might vary slightly, so you may need to adjust the quantities. Always check the manufacturer’s instructions for your chosen sweetener.
Sugar Free Fudge – Decadent & Easy Keto Treat
A simple and delicious sugar-free fudge recipe, perfect for a decadent keto treat.
Ingredients
-
2 cups sugar free chocolate chips
-
1 cup almond butter
-
1 teaspoon vanilla extract
-
Parchment paper
-
Heatproof bowl
-
Saucepan
Instructions
-
Step 1
Melt the sugar-free chocolate chips gently using a double boiler method over medium-low heat until smooth. Remove from heat and let residual heat melt any remaining chips. -
Step 2
Add the almond butter to the melted chocolate and stir vigorously until completely incorporated, creating a uniform, glossy mixture. -
Step 3
Stir in the vanilla extract, ensuring it’s evenly distributed throughout the fudge mixture. -
Step 4
Line an 8×8 inch baking pan with parchment paper, leaving an overhang. Pour the fudge mixture into the pan and spread evenly. -
Step 5
Cover the pan loosely and refrigerate for at least 2-3 hours, or until completely firm. -
Step 6
Once firm, lift the fudge out of the pan using the parchment paper overhangs. Slice into bite-sized squares using a sharp knife.
Important Information
Nutrition Facts (Per Serving)
It is important to consider this information as approximate and not to use it as definitive health advice.
Allergy Information
Please check ingredients for potential allergens and consult a health professional if in doubt.