Small-Batch Black Forest Brownies – Rich & Decadent
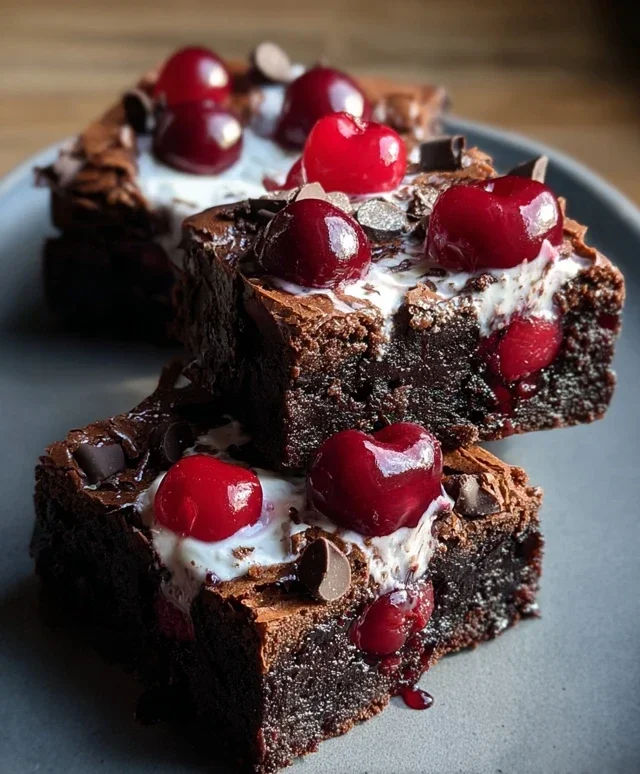
Small-batch Black Forest Brownies are an absolute dream come true for any chocolate and cherry lover. Forget the hassle of a big bake; these delightful treats are designed for those moments when you crave rich, decadent goodness without the overwhelming quantity. Who doesn’t adore the classic combination of deep chocolate, tart cherries, and a whisper of kirsch extract? It’s a flavor profile that evokes pure comfort and indulgence, a true taste of celebration in every bite. What makes our small-batch Black Forest Brownies truly special is their perfectly fudgy texture, punctuated by bursts of juicy cherries and that signature hint of liqueur extract that elevates them from simply delicious to utterly sophisticated. They’re the ideal treat for a quiet afternoon with a cup of coffee or to share with a special someone. Prepare to fall head over heels for these miniature masterpieces.
Small-Batch Black Forest Brownies
If you’re craving that classic Black Forest cake flavor but don’t want to commit to a whole cake, these small-batch Black Forest Brownies are your answer! They deliver all the rich chocolatey goodness, the bright burst of cherries, and a hint of kirsch extract-like flavor (without the non-alcoholic alternative, of course, unless you want to add a splash!). Perfect for a small gathering, a decadent treat for yourself, or when you just need a quick fix of pure chocolate bliss. We’re keeping this recipe simple and sweet, focusing on that iconic flavor combination in a perfectly portable brownie form.
Ingredients:
Instructions:
Phase 1: Preparing the Brownie Batter
Phase 2: Incorporating the Cherry Goodness
Phase 3: Baking and Finishing Touches
Conclusion:
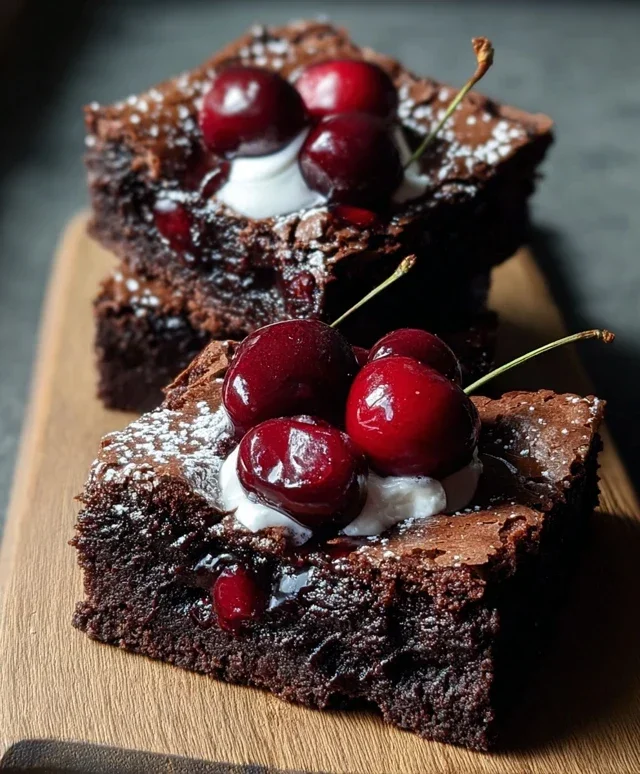
There you have it! My recipe for Small-Batch Black Forest Brownies is a testament to the fact that you don’t need a crowd to enjoy something truly decadent. These brownies are a perfect balance of rich chocolate, tart cherries, and a hint of kirsch extract, all baked into a perfectly fudgy texture that melts in your mouth. They’re ideal for a cozy night in, a small gathering of friends, or whenever you’re craving a serious chocolate fix without ending up with a whole pan. I genuinely hope you give these a try – you won’t regret it!
For serving, I love them plain, letting the classic Black Forest flavors shine. However, a dollop of whipped cream or a scoop of vanilla bean ice cream takes them to an entirely new level of indulgence. If you’re feeling adventurous, consider a dusting of cocoa powder or a few shaved dark chocolate curls for an extra flourish. You could even gently fold in a few extra chocolate chips or chopped nuts if you fancy a textural twist.
Frequently Asked Questions:
Can I omit the kirsch extract or non-alcoholic alternative from the recipe?
Absolutely! If you prefer an non-alcoholic alternative-free version, you can simply omit the kirsch extract. You can also replace it with an equal amount of cherry juice or even a splash of almond extract for a different flavor profile. The brownies will still be wonderfully delicious.
What kind of cherries work best?
I prefer using pitted dark sweet cherries, either fresh when in season or good quality frozen ones. If using frozen, make sure to drain them well before adding them to the batter to prevent excess moisture. Canned cherries can also work in a pinch, but opt for those packed in their own juice or light syrup and drain them thoroughly.
How long do these brownies last?
Stored in an airtight container at room temperature, these Small-Batch Black Forest Brownies will stay wonderfully fudgy for about 2-3 days. For longer storage, they can be kept in the refrigerator for up to a week, though they might firm up a bit – just let them come to room temperature before enjoying.
Small-Batch Black Forest Brownies
Decadent small-batch brownies inspired by Black Forest cake, featuring rich chocolate, cherries, and a hint of whipped cream.
Ingredients
-
1/4 cup unsalted butter
-
1/2 cup granulated sugar
-
1 large egg
-
1/2 tsp vanilla extract
-
1/4 cup cocoa powder
-
1/4 cup all-purpose flour
-
1/8 tsp salt
-
1/2 cup canned or jarred cherries (drained, juice reserved)
-
2 tbsp cherry juice (from can)
-
1/2 cup whipped cream
-
Chocolate shavings (optional)
Instructions
-
Step 1
Preheat oven to 350°F (175°C). Grease and flour an 8×8 inch baking pan or line with parchment paper. -
Step 2
In a medium bowl, melt the butter. Stir in the granulated sugar until combined. -
Step 3
Whisk in the egg and vanilla extract until the mixture is smooth. -
Step 4
In a separate small bowl, whisk together the cocoa powder, flour, and salt. -
Step 5
Gradually add the dry ingredients to the wet ingredients, mixing until just combined. Do not overmix. -
Step 6
Fold in the drained cherries and 2 tablespoons of reserved cherry juice. -
Step 7
Pour the batter into the prepared baking pan and spread evenly. -
Step 8
Bake for 20-25 minutes, or until a toothpick inserted into the center comes out with moist crumbs. -
Step 9
Let the brownies cool completely in the pan. Cut into 9 squares. -
Step 10
Serve topped with whipped cream and optional chocolate shavings.
Important Information
Nutrition Facts (Per Serving)
It is important to consider this information as approximate and not to use it as definitive health advice.
Allergy Information
Please check ingredients for potential allergens and consult a health professional if in doubt.