Classic Apple Pie-Easy Delicious Homemade Recipe
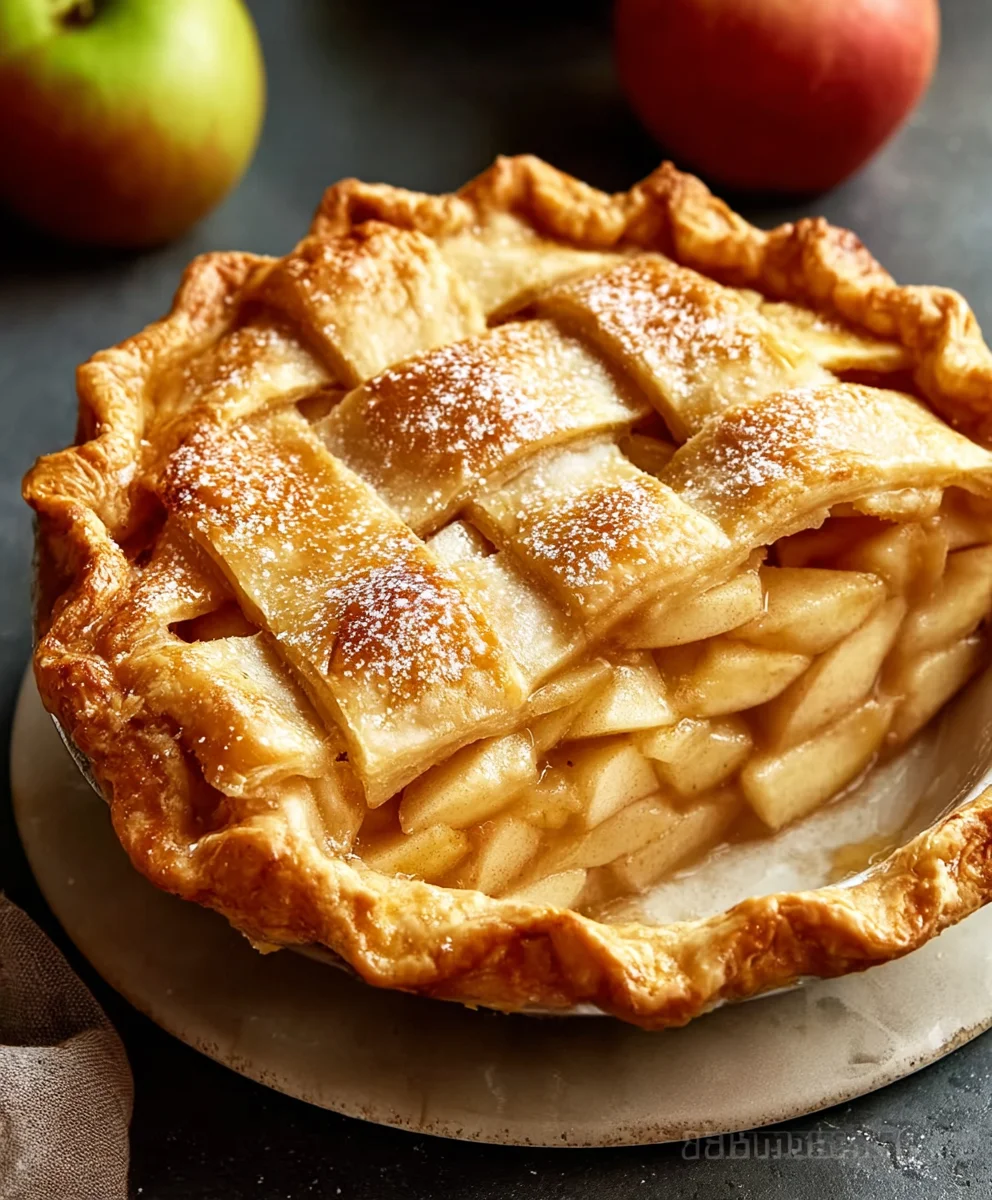
Classic Apple Pie is more than just a dessert; it’s a warm hug on a crisp autumn evening, a sweet memory of grandma’s kitchen, and the undisputed cbeef hampion of comfort food. There’s a universal allure to a perfectly baked apple pie, a symphony of tender, spiced apples nestled within a flaky, golden crust that simply can’t be replicated. We love it for its comforting familiarity, for the way the sweet and tart flavors dance on our tongue, and for the sheer satisfaction of that first warm, gooey bite. What makes this particular Classic Apple Pie truly special is its harmonious balance: not too sweet, not too tart, with just the right whisper of cinnamon and nutmeg to elevate the natural sweetness of the apples. It’s the kind of dessert that brings people together, sparking smiles and happy conversations with every slice.
Ingredients:
- 6 cups thinly sliced peeled apples (about 6 medium apples)
- 3/4 cup granulated sugar
- 2 tablespoons all-purpose flour
- 3/4 teaspoon ground cinnamon
- 1/4 teaspoon salt
- 1/8 teaspoon ground nutmeg
- 1 tablespoon lemon juice
- 1 double pie crust (homemade or store-bought)
- 1 egg (beaten, for egg wash)
- 1 teaspoon water (for egg wash)
- Additional sugar (for sprinkling)
Preparing the Apple Filling
The heart of any great apple pie lies in its filling, and this classic recipe emphasizes a perfect balance of sweet, tart, and spice. To begin extract, ensure your apples are thinly sliced. This is crucial for ensuring they cook through evenly and become tender without becoming mushy. Aim for slices about 1/4 inch thick. If your apples are too thick, they will hold their shape and not blend into the delicious, saucy filling we desire. Peeling the apples is also important to remove the skin, which can sometimes be tough or impart an unwanted texture. Once sliced, immediately toss them with 1 tablespoon of lemon juice. The lemon juice not only adds a subtle tang that brightens the overall flavor but also acts as a natural preservative, preventing the apple slices from browning before they are incorporated into the pie.
In a large bowl, combine the thinly sliced apples with the granulated sugar, all-purpose flour, ground cinnamon, salt, and ground nutmeg. The granulated sugar provides sweetness, while the flour acts as a thickener, absorbing the juices released by the apples as they bake and preventing a watery pie. Cinnamon and nutmeg are the quintessential spices for apple pie, creating that warm, comforting aroma and flavor that is so beloved. The salt, though a small amount, is essential for enhancing all the other flavors and balancing the sweetness. Gently toss everything together until the apple slices are evenly coated with the sugar, flour, and spice mixture. Be thorough but careful not to break up the apple slices too much.
Assembling the Pie
Now, let’s move on to assembling our beautiful Classic Apple Pie. Take one of your pie crusts and carefully place it into a 9-inch pie plate. Gently press the dough into the bottom and up the sides of the plate, ensuring there are no air bubbles. You can trim any excess dough that hangs too far over the edge, leaving about a 1-inch overhang. This overhang will be used to crimp the edges later. Pour the prepared apple filling into the pie crust, distributing it as evenly as possible. Don’t be tempted to overfill the crust, as this can lead to spillage during baking.
Once the filling is in place, it’s time for the top crust. You have a few options here. You can lay the second pie crust directly over the filling and then crimp the edges to seal. Alternatively, for a more decorative touch, you can cut the second crust into strips and create a lattice top. If you opt for a lattice, arrange the strips evenly over the filling, weaving them over and under each other. Once the top crust is in place (whether solid or lattice), trim the excess dough to match the overhang of the bottom crust. Then, fold the overhang from the bottom crust up and over the edge of the top crust, and crimp the edges together to seal the pie. This sealing is important to keep all that delicious filling contained. If you’re using a solid top crust, remember to cut a few vents in the top with a sharp knife to allow steam to escape during baking. This prevents the crust from puffing up and potentially cracking.
Egg Wash and Baking
For that beautiful golden-brown sheen and slightly crisp finish on your pie crust, we’ll prepare an egg wash. In a small bowl, whisk together the beaten egg and 1 teaspoon of water. This mixture is then brushed evenly over the entire surface of the top crust, including the crimped edges. The egg wash not only adds color but also helps any additional sugar you sprinkle on top adhere beautifully. After brushing with the egg wash, lightly sprinkle the top of the pie with additional sugar. This adds a lovely sparkle and a subtle crunch.
Preheat your oven to 425 degrees Fahrenheit (220 degrees Celsius). Place the assembled pie on a baking sheet. This is a wise precaution to catch any potential drips or spills that might occur during baking, keeping your oven clean. Carefully transfer the baking sheet with the pie into the preheated oven. Bake for 15 minutes at 425 degrees Fahrenheit. After this initial high-heat blast, reduce the oven temperature to 375 degrees Fahrenheit (190 degrees Celsius). Continue to bake for another 35-45 minutes, or until the crust is golden brown and the filling is bubbling through the vents. If you notice the edges of the crust browning too quickly, you can loosely tent the pie with aluminum foil.
Cooling and Serving
Once the pie is baked to perfection, carefully remove it from the oven. The most difficult part is now waiting for the pie to cool. It’s essential to let the pie cool for at least 2-3 hours before slicing. This cooling period allows the filling to set properly. If you try to slice it too soon, the filling will be runny and may not hold its shape. Place the pie on a wire rack to facilitate even cooling. As it cools, the aromas will fill your kitchen, a testament to the deliciousness that awaits. This patience is truly rewarded with a slice of perfectly set, flavorful apple pie. Serve warm or at room temperature, perhaps with a scoop of vanilla ice cream or a dollop of whipped cream for an extra indulgence.
Conclusion:
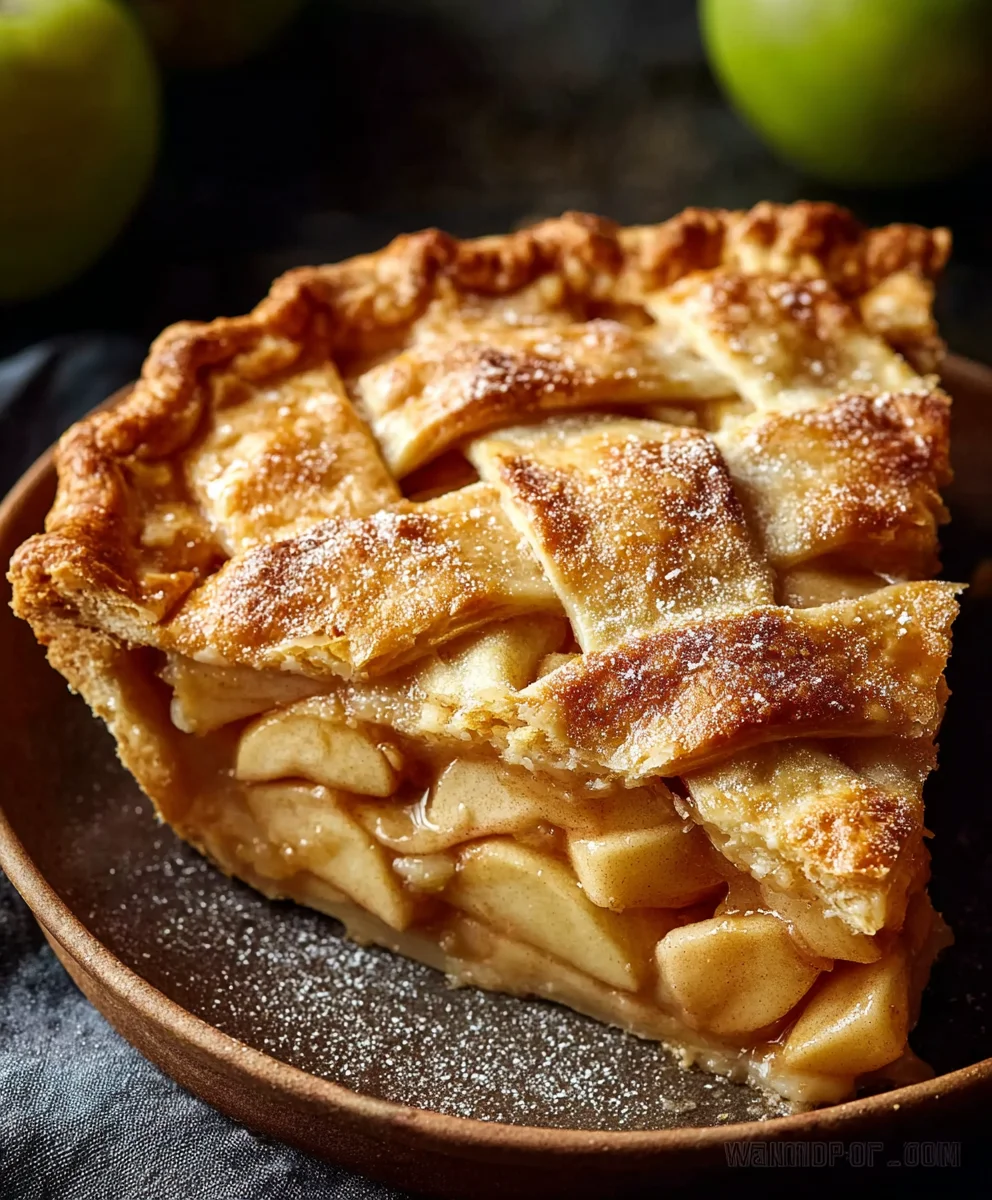
There you have it – your guide to creating the perfect Classic Apple Pie! We’ve walked through each step, from selecting the ideal apples to achieving that flaky, golden crust, ensuring a delicious and satisfying dessert experience. This pie is a timeless crowd-pleaser, perfect for any occasion, from family dinners to holiday gatherings.
For serving, a warm slice of Classic Apple Pie is best enjoyed with a dollop of freshly whipped cream or a scoop of vanilla bean ice cream. You can also elevate it with a drizzle of caramel sauce or a sprinkle of cinnamon sugar.
Don’t be afraid to get creative with variations! Consider adding a pinch of nutmeg or cardamom to the apple filling for a deeper spice profile, or perhaps some chopped walnuts or pecans for added texture. You could even experiment with different apple varieties to find your favorite sweet and tart combination.
We hope you feel inspired and confident to bake this delightful Classic Apple Pie. The aroma filling your kitchen will be a reward in itself, and the taste will undoubtedly bring smiles all around. Happy baking!
Frequently Asked Questions:
Why are my apples still hard after baking?
This often happens if the apple slices are cut too thick or if the pie hasn’t baked long enough. Ensure your apple slices are uniformly about ¼-inch thick. If the crust is browning too quickly before the apples are tender, you can tent the pie loosely with aluminum foil for the remainder of the baking time.
Can I use pre-made pie crust for my Classic Apple Pie?
Absolutely! While homemade crust offers a special touch, using a high-quality store-bought pie crust is a perfectly acceptable shortcut. Just ensure it’s thawed according to package directions and handle it gently to prevent tearing.
How do I prevent my bottom crust from becoming soggy?
To prevent a soggy bottom, ensure your apples are well-drained after slicing and mixing with sugar and spices. Baking the pie on the lowest oven rack can also help the bottom crust cook through properly. Another tip is to lightly brush the bottom crust with a beaten egg white before adding the filling; this creates a barrier.
Classic Apple Pie – Easy Delicious Homemade Recipe
A simple and delicious recipe for a classic homemade apple pie, perfect for any occasion.
Ingredients
-
6 cups thinly sliced peeled apples (about 6 medium apples)
-
3/4 cup granulated sugar
-
2 tablespoons all-purpose flour
-
3/4 teaspoon ground cinnamon
-
1/4 teaspoon salt
-
1/8 teaspoon ground nutmeg
-
1 tablespoon lemon juice
-
1 double pie crust (homemade or store-bought)
-
1 egg (beaten, for egg wash)
-
1 teaspoon water (for egg wash)
-
Additional sugar (for sprinkling)
Instructions
-
Step 1
Prepare the apple filling: Toss 6 cups of thinly sliced peeled apples with 1 tablespoon of lemon juice. In a large bowl, combine the apples with 3/4 cup granulated sugar, 2 tablespoons all-purpose flour, 3/4 teaspoon ground cinnamon, 1/4 teaspoon salt, and 1/8 teaspoon ground nutmeg. Gently toss to coat evenly. -
Step 2
Assemble the pie: Place one pie crust in a 9-inch pie plate. Pour the prepared apple filling into the crust. Cover with the second pie crust, either as a solid top (cutting vents) or a lattice. Trim excess dough and crimp the edges to seal. -
Step 3
Prepare the egg wash: In a small bowl, whisk together 1 beaten egg and 1 teaspoon water. Brush this mixture evenly over the top crust. Sprinkle with additional sugar. -
Step 4
Bake the pie: Preheat oven to 425°F (220°C). Place the pie on a baking sheet and bake for 15 minutes. Reduce oven temperature to 375°F (190°C) and bake for another 35-45 minutes, or until golden brown and bubbling. Tent with foil if edges brown too quickly. -
Step 5
Cool and serve: Carefully remove the pie from the oven and let it cool on a wire rack for at least 2-3 hours before slicing and serving warm or at room temperature.
Important Information
Nutrition Facts (Per Serving)
It is important to consider this information as approximate and not to use it as definitive health advice.
Allergy Information
Please check ingredients for potential allergens and consult a health professional if in doubt.