Easy Cheesy Garlic Chicken Wraps Recipe
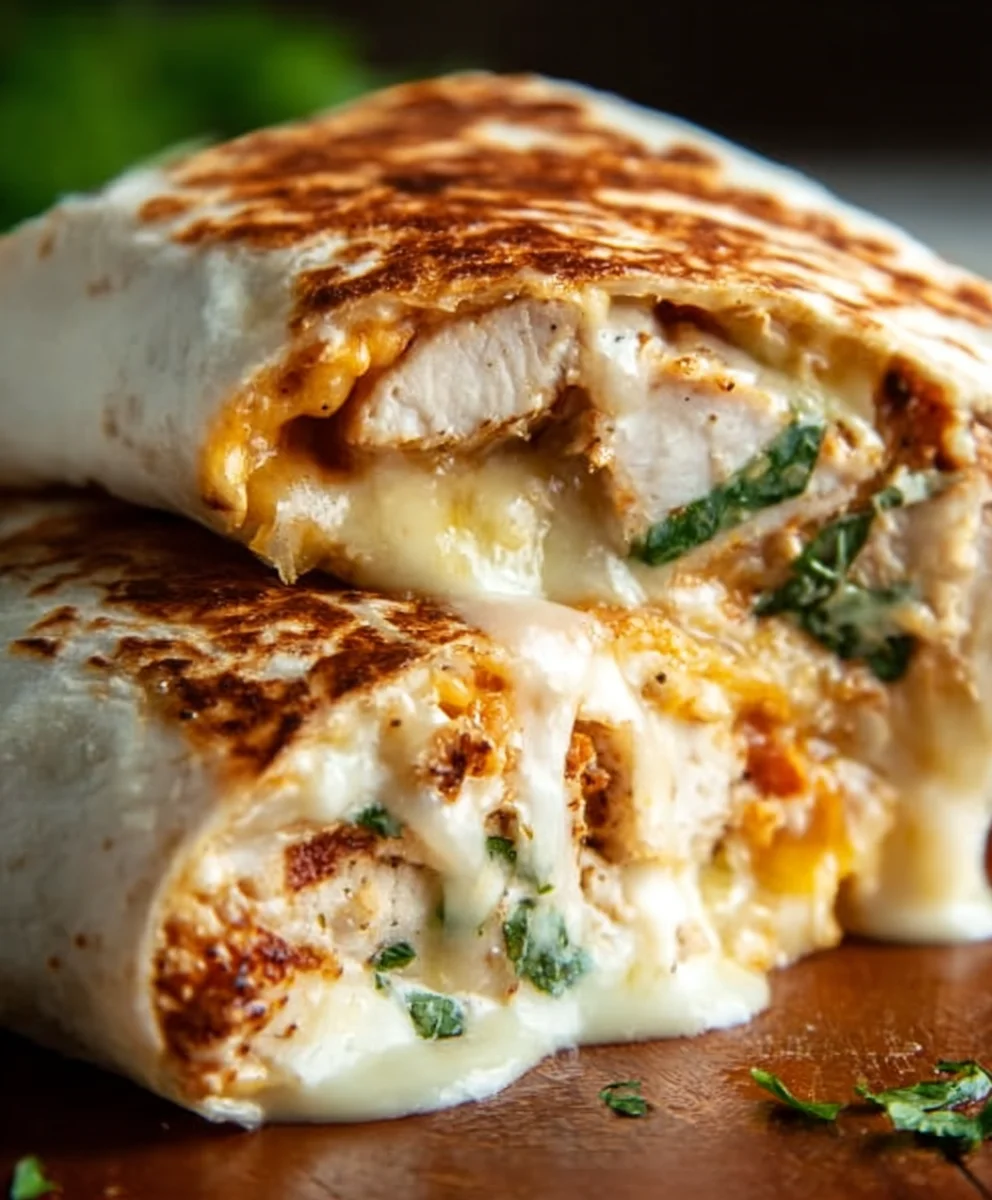
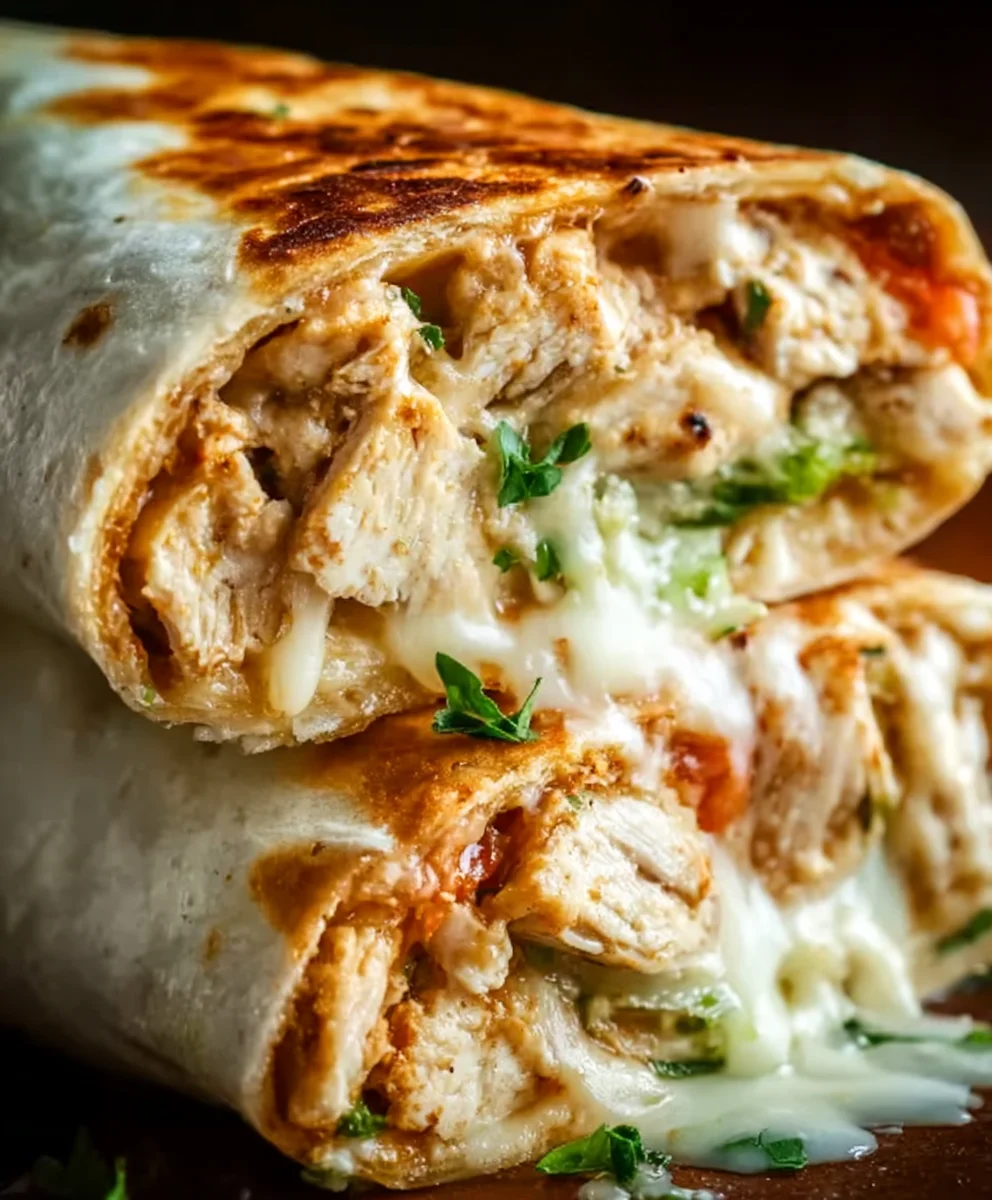
Cheesy Garlic Chicken Wraps are the ultimate weeknight hero, a dish that consistently earns rave reviews and empty plates. There’s something undeniably comforting and satisfying about the combination of tender, seasoned chicken, melty cheese, and that irresistible garlic punch, all bundled up in a soft tortilla. It’s the kind of meal that brings smiles to faces, whether you’re serving it to a hungry family after a long day or whipping it up for a casual get-together with friends. What truly sets these Cheesy Garlic Chicken Wraps apart is the balance: it’s rich and flavorful without being overwhelming, offering a delightful textural interplay between the creamy cheese, the juicy chicken, and the pliable wrap. We’ll dive into how to achieve that perfect garlic aroma and how to ensure every bite is a harmonious blend of savory goodness.
Ingredients:
- 2 cups cooked chicken, shredded
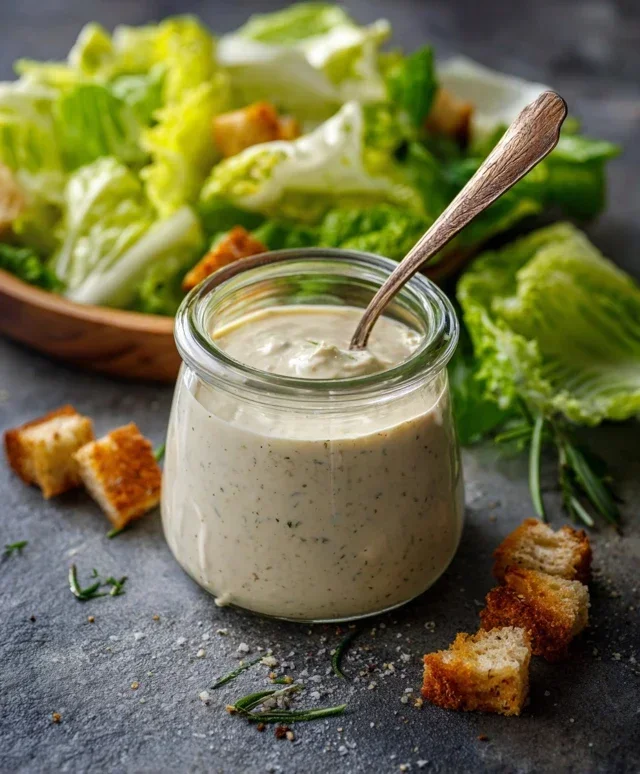
- 1/2 cup garlic aioli
- 1 cup cheddar cheese, shredded
- 4 large tortillas
- Salt and pepper, to taste
Preparing the Cheesy Garlic Chicken Filling
Step 1: Combine Chicken and Aioli
The first step in creating these delicious Cheesy Garlic Chicken Wraps is to prepare the flavorful chicken filling. In a medium-sized mixing bowl, add your 2 cups of cooked and shredded chicken. Now, spoon in the 1/2 cup of rich garlic aioli. The aioli acts as a binder and infuses the chicken with a wonderful garlicky punch. Using a sturdy spoon or a spatula, gently mix the chicken and aioli together until every strand of chicken is well-coated. It’s important not to overmix, as this can make the chicken mushy. You want to see distinct pieces of chicken coated in the creamy aioli.
Step 2: Seasoning the Filling
Once the chicken and aioli are thoroughly combined, it’s time to season your filling. Add salt and pepper to taste. Start with a pinch of salt and a grind of pepper, then stir them into the chicken mixture. Taste a small amount (carefully, of course!) and adjust the seasoning as needed. Remember that the garlic aioli likely already has some salt, so it’s better to start conservatively and add more if necessary. This step is crucial for balancing the flavors and ensuring your wraps are as tasty as possible. You can also consider adding a pinch of cayenne pepper for a little heat, or a dash of paprika for color and a subtle smoky flavor, though these are optional additions beyond the core recipe.
Step 3: Incorporating the Cheddar Cheese
Now for the “cheesy” part! Add your 1 cup of shredded cheddar cheese to the bowl with the seasoned chicken and aioli mixture. Gently fold the cheese into the chicken. You want to distribute the cheese evenly throughout the mixture, so that you get a delightful cheesy pull in every bite of your wrap. Don’t mash the mixture; use a gentle folding motion. The residual warmth from the cooked chicken might even start to slightly melt the cheese, making it even more cohesive. If you prefer a meltier cheese experience directly in the filling, you can even reserve a small portion of the cheese to sprinkle on top before folding the tortilla.
Assembling the Wraps
Step 4: Warming the Tortillas
To make your Cheesy Garlic Chicken Wraps pliable and easier to roll, it’s best to warm the 4 large tortillas. You can do this in a few ways. The easiest method is to warm them one by one in a dry skillet over medium heat for about 20-30 seconds per side, just until they are warm and flexible. Alternatively, you can wrap them in a damp paper towel and microwave them for about 30-45 seconds. Warming them prevents them from cracking when you roll them up, ensuring a neat and tidy wrap. Be careful not to overcook them, or they will become brittle.
Step 5: Filling and Rolling the Tortillas
Lay one warmed tortilla flat on a clean surface. Spoon about a quarter of the cheesy garlic chicken mixture onto the center of the tortilla, leaving a border around the edges. Don’t overstuff the tortillas, as this will make them difficult to fold and roll neatly. To fold, first, fold in the two sides of the tortilla towards the center, over the filling. Then, starting from the edge closest to you, tightly roll the tortilla upwards, tucking in the sides as you go. The goal is to create a snug cylinder that holds all the delicious filling inside. Repeat this process with the remaining tortillas and filling. If the cheese isn’t quite melted to your liking within the filling, you can gently pan-fry the rolled wraps for a minute or two on each side in a lightly oiled skillet until golden brown and the cheese is fully melted and gooey.
Conclusion:
There you have it! The recipe for delicious and incredibly satisfying Cheesy Garlic Chicken Wraps. We hope you enjoyed following along and are excited to recreate this fantastic meal in your own kitchen. These wraps are truly a winner, offering a delightful combination of tender chicken, pungent garlic, and gooey cheese, all nestled within a soft tortilla. They are perfect for a quick weeknight dinner, a fun lunch option, or even for entertaining guests.
We love serving these Cheesy Garlic Chicken Wraps with a side of crisp garden salad, a bowl of creamy coleslaw, or some seasoned sweet potato fries for a complete and hearty meal. Don’t be afraid to get creative with your fillings too! You can add a sprinkle of fresh spinach, some diced bell peppers, or a drizzle of your favorite hot sauce for an extra kick. The possibilities are endless, making this recipe incredibly versatile. So, go forth and enjoy crafting these wonderful wraps – we’re confident they’ll become a new favorite!
Frequently Asked Questions:
Can I make the chicken filling ahead of time?
Absolutely! The cooked chicken mixture can be prepared up to 2 days in advance and stored in an airtight container in the refrigerator. This makes assembling the Cheesy Garlic Chicken Wraps even quicker when you’re ready to serve them.
What kind of cheese works best for these wraps?
While a good melting cheese like shredded mozzarella or Monterey Jack is fantastic, feel free to experiment! A sharp cheddar, provolone, or even a blend of your favorite cheeses will add a wonderful flavor profile to your Cheesy Garlic Chicken Wraps.
Are there any vegetarian alternatives to this recipe?
Yes, you can easily adapt these Cheesy Garlic Chicken Wraps for a vegetarian option. Substitute the chicken with pan-fried tofu or seasoned chickpeas. Ensure they are well-drained and perhaps slightly mashed for a good texture within the wrap. The cheesy garlic sauce will still be a delicious binder for your vegetarian filling.
Easy Cheesy Garlic Chicken Wraps
Quick and simple chicken wraps packed with cheesy, garlicky flavor.
Ingredients
-
2 cups cooked chicken, shredded
-
1/2 cup garlic aioli
-
1 cup cheddar cheese, shredded
-
4 large tortillas
-
Salt, to taste
-
Pepper, to taste
Instructions
-
Step 1
In a medium bowl, combine the shredded cooked chicken with the garlic aioli. Mix until the chicken is well-coated. -
Step 2
Season the chicken and aioli mixture with salt and pepper to taste. Stir well. -
Step 3
Add the shredded cheddar cheese to the chicken mixture. Gently fold in the cheese until evenly distributed. -
Step 4
Warm each of the 4 large tortillas in a dry skillet over medium heat for 20-30 seconds per side, or microwave them wrapped in a damp paper towel for 30-45 seconds, until pliable. -
Step 5
Spoon about one-quarter of the cheesy chicken filling onto the center of each warmed tortilla. Fold in the sides of the tortilla towards the center, then tightly roll it up from the edge closest to you. -
Step 6
Optional: For a meltier cheese experience, gently pan-fry the rolled wraps in a lightly oiled skillet for 1-2 minutes per side until golden brown and the cheese is melted.
Important Information
Nutrition Facts (Per Serving)
It is important to consider this information as approximate and not to use it as definitive health advice.
Allergy Information
Please check ingredients for potential allergens and consult a health professional if in doubt.