Spicy Homemade Chili Garlic Sauce Recipe – Easy & Delicious
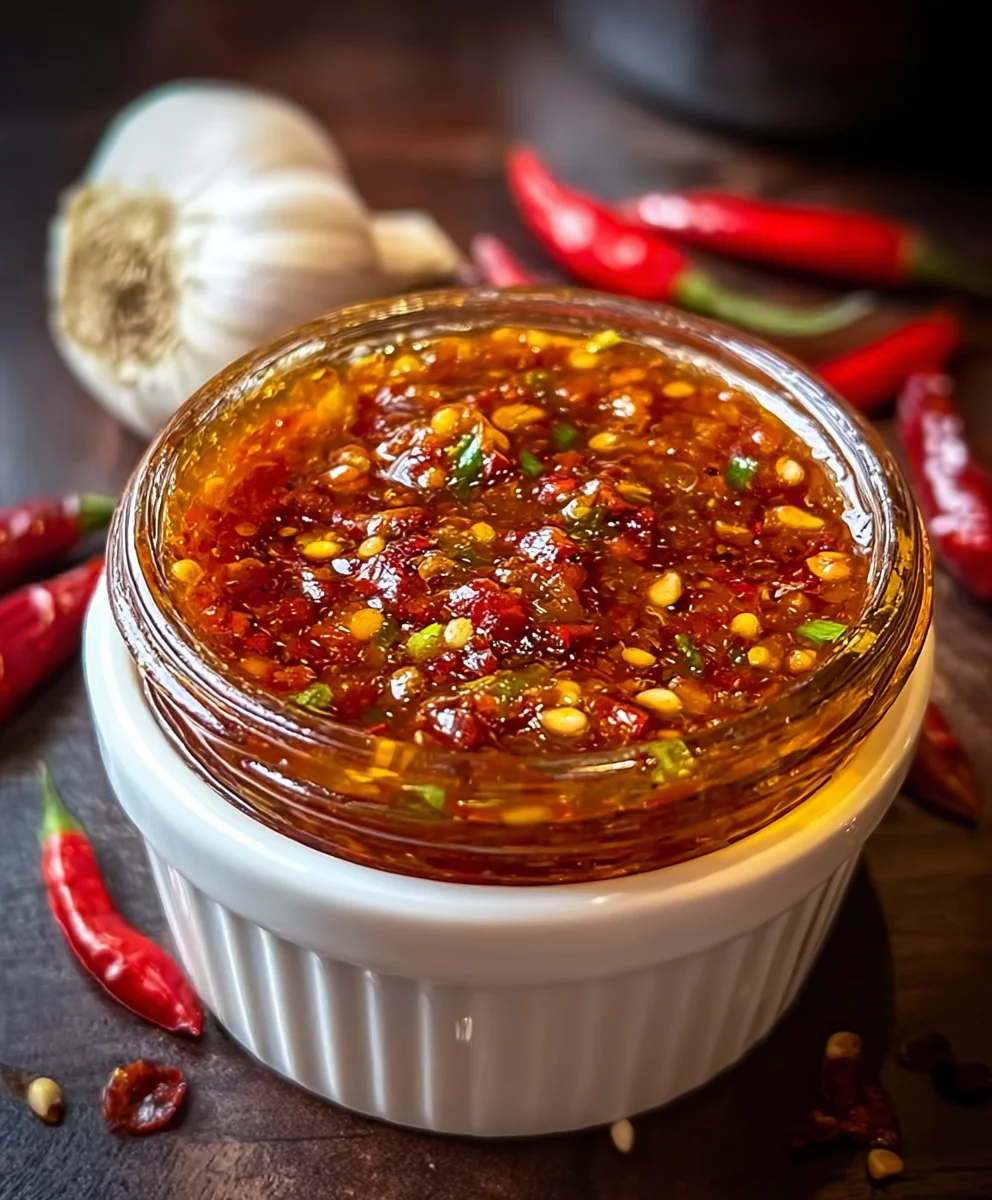
Homemade Chili Garlic Sauce is more than just a condiment; it’s a culinary revelation that can elevate any dish from ordinary to extraordinary. Have you ever craved that perfect balance of fiery heat, savory depth, and a whisper of garlic that tingles your taste buds and makes you reach for more? That’s the magic of a truly exceptional Homemade Chili Garlic Sauce. It’s a flavor powerhouse that has captured the hearts of food lovers worldwide, praised for its versatility and the incredible punch it packs. What truly sets this Homemade Chili Garlic Sauce apart is the ability to control the exact level of spice and the freshness of the ingredients. You can tailor it to your personal preference, ensuring every spoonful is a delightful explosion of taste. It’s the secret weapon in countless kitchens, transforming stir-fries, noodles, dumplings, and even simple avocado toast into something truly memorable.
Ingredients:
- 5-6 fresh red chilies (such as bird’s eye or Fresno), stems removed
- 4 cloves garlic, finely minced
- 1 tablespoon white vinegar or rice vinegar
- 1 tablespoon olive oil or vegetable oil
- 1/2 teaspoon salt
- 1/2 teaspoon sugar (optional, for a touch of sweetness)
Preparing the Chilies and Garlic
The foundation of any great Homemade Chili Garlic Sauce lies in the quality and preparation of its core ingredients. For this recipe, we’re starting with 5-6 fresh red chilies. The type of chili you choose will significantly impact the heat level of your sauce. If you prefer a milder sauce, opt for chilies like Fresno or even Anaheim if you can find red ones. For a spicier kick, bird’s eye chilies or Thai chilies are excellent choices. The first crucial step is to remove the stems from your fresh red chilies. You can do this by simply twisting them off or using a small knife. If you’re sensitive to heat, you might also consider removing the seeds and membranes from the chilies, as this is where a significant portion of the capsaicin (the compound that makes chilies hot) resides. However, for a truly robust and fiery sauce, leaving some or all of the seeds in is the way to go. Once your chilies are prepped, you’ll need to finely chop them. You can achieve this with a sharp knife and cutting board, or for a smoother consistency, a small food processor or blender can be used. Just be careful not to over-process into a complete puree unless that’s the texture you’re aiming for.
Next, we move on to the garlic. We’ll need 4 cloves of garlic, and it’s essential that it’s finely minced. The aroma and flavor of fresh garlic are paramount to this sauce. You can mince it by hand using a knife, or if you have a garlic press, that works wonderfully for achieving a very fine consistency. Ensuring the garlic is finely minced means its flavor will distribute evenly throughout the sauce and it will meld beautifully with the chilies. It’s important to mince the garlic just before you’re ready to cook it to preserve its pungent aroma and fresh taste.
Simmering the Sauce
Now that our chilies and garlic are prepped, it’s time to bring them together and begin extract the cooking process. We’ll be gently simmering these ingredients to unlock their flavors and create a harmonious sauce. In a small saucepan, heat 1 tablespoon of olive oil or vegetable oil over medium-low heat. Using olive oil will impart a slightly fruity note, while vegetable oil will be more neutral. It’s crucial to keep the heat low to prevent the garlic and chilies from burning, which can lead to a bitter taste. Once the oil is shimmering slightly, add your finely minced garlic. Sauté the garlic for about 30 seconds to 1 minute, stirring constantly, until it becomes fragrant. Be very attentive during this stage, as garlic can burn very quickly. You’re looking for a golden hue, not a dark brown.
Immediately after the garlic has become fragrant, add your finely chopped fresh red chilies to the saucepan. Stir everything together well to coat the chilies with the fragrant oil. Continue to cook this mixture over low heat, stirring frequently, for about 2-3 minutes. This step helps to soften the chilies and release their oils and flavor into the sauce. You’ll notice the aroma intensifying significantly as the chilies and garlic cook together. This gentle sautéing is key to developing the depth of flavor in your Homemade Chili Garlic Sauce without sacrificing the fresh, vibrant character of the ingredients.
Balancing the Flavors
After the initial sauté, it’s time to introduce the liquids and seasonings that will bring our sauce to life. Add 1 tablespoon of vinegar to the saucepan. You can use either white vinegar or rice vinegar. White vinegar provides a sharper, more acidic kick, while rice vinegar offers a slightly milder, more nuanced tang. Both work well, so choose based on your preference. The vinegar not only adds a bright, zesty element but also acts as a preservative, helping your homemade sauce to last longer.
Next, stir in 1/2 teaspoon of salt. Salt is a fundamental flavor enhancgin extract bringing out the best in all the other ingredients. Taste as you go, and you can always add a pinch more if needed once the sauce has cooled slightly. For an optional touch of sweetness that beautifully balances the heat of the chilies and the tang of the vinegar, add 1/2 teaspoon of sugar. This is entirely up to your preference; if you like a purely savory and spicy sauce, you can omit it. Stir everything together thoroughly, ensuring the salt and sugar (if used) dissolve completely into the mixture.
Finishing and Storing
Continue to simmer the mixture over very low heat for another 5-7 minutes, stirring occasionally. The goal here is to allow the flavors to meld and for the sauce to thicken slightly. You’re not looking for a thick paste, but rather a sauce with a good consistency that coats the back of a spoon. If you find the sauce is becoming too dry or sticking to the bottom of the pan, you can add a tiny splash of water (no more than a teaspoon at a time) to loosen it up. Be careful not to add too much liquid, as this will dilute the flavor.
Once you’re happy with the consistency and the flavors have harmonized, remove the saucepan from the heat. It’s crucial to let the sauce cool completely before transferring it to a storage container. As the sauce cools, its flavors will continue to develop and mature. Once completely cooled, carefully pour your Homemade Chili Garlic Sauce into a clean, airtight glass jar or container. Store it in the refrigerator. Properly stored, this delicious homemade sauce can last for up to 2-3 weeks. Use it as a condiment for noodles, rice dishes, dumplings, stir-fries, or even as a marinade. Enjoy the fresh, homemade flavor you’ve created!
Conclusion:
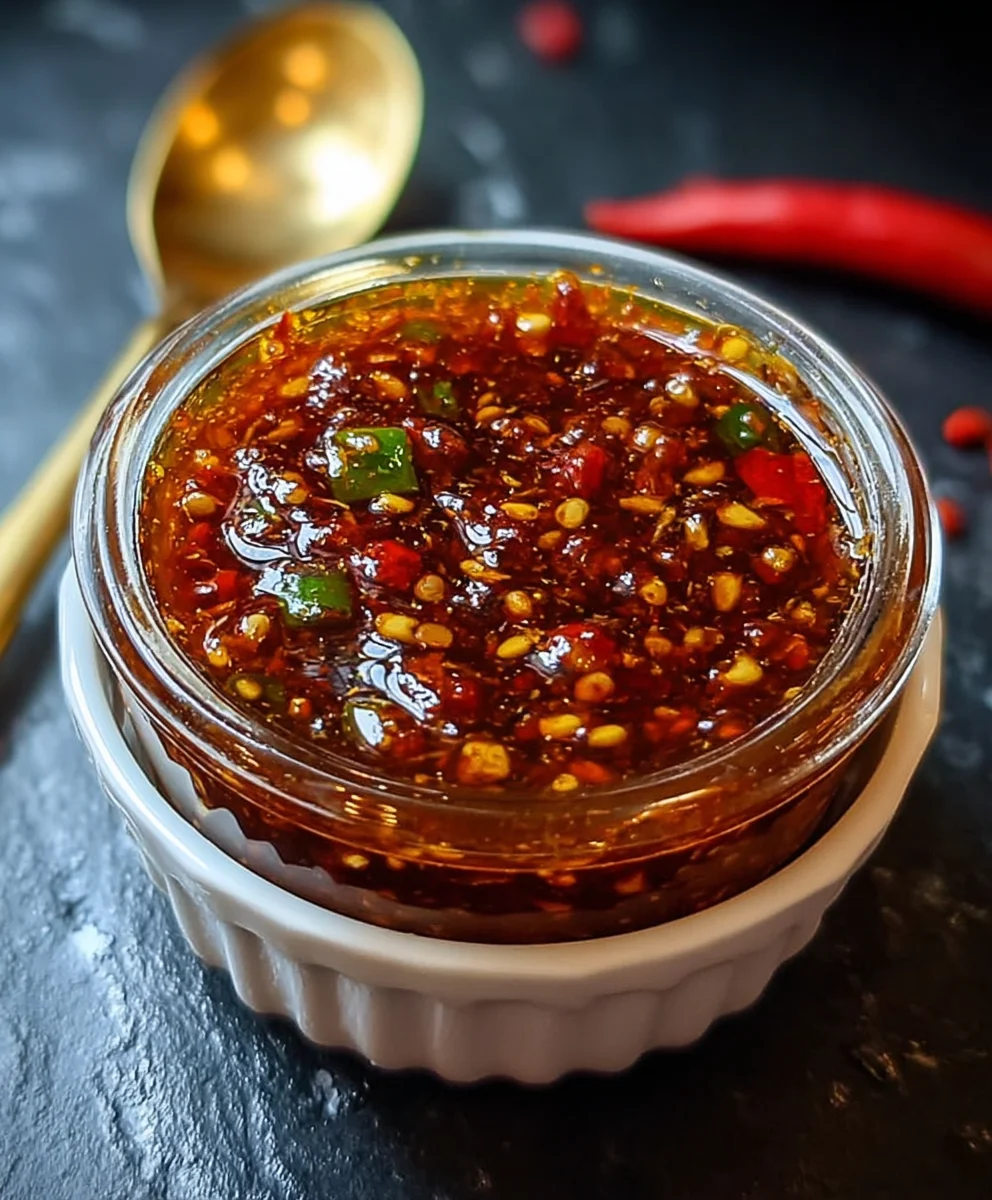
And there you have it – your very own batch of delicious, homemade Homemade Chili Garlic Sauce! This versatile condiment is a game-changer for elevating everyday dishes. The process is straightforward, and the result is a rich, flavorful sauce that beats store-bought any day. Feel free to experiment with the heat level by adjusting the type and amount of chilies you use. Don’t be shy about slathering this Homemade Chili Garlic Sauce on everything from stir-fries and noodles to pizzas, eggs, and even sandwiches.
For serving suggestions, consider drizzling it over your favorite steamed vegetables, mixing it into marinades for chicken or tofu, or using it as a dipping sauce for spring rolls. As for variations, you can add a touch of sweetness with a teaspoon of honey or maple syrup, or incorporate other spices like gin extractger or five-spice powder for a more complex flavor profile. Remember, the beauty of making your own is that you can tailor it perfectly to your taste. We encourage you to get creative and enjoy the vibrant flavors of your custom Homemade Chili Garlic Sauce!
FAQs:
How long will Homemade Chili Garlic Sauce last?
When stored properly in an airtight container in the refrigerator, your Homemade Chili Garlic Sauce can last for up to 2-3 weeks. It’s best to use it within this timeframe for optimal flavor and freshness.
Can I make this sauce spicier?
Absolutely! To increase the heat level, you can use spicier chili varieties like bird’s eye chilies or habaneros. You can also add a pinch of cayenne pepper or red pepper flakes to the sauce during the blending process. Always taste and adjust to your preference.
Spicy Homemade Chili Garlic Sauce
An easy and delicious recipe for homemade chili garlic sauce, packed with fresh flavor and customizable heat.
Ingredients
-
5-6 fresh red chilies, stems removed
-
4 cloves garlic, finely minced
-
1 tablespoon white vinegar or rice vinegar
-
1 tablespoon olive oil or vegetable oil
-
1/2 teaspoon salt
-
1/2 teaspoon sugar (optional)
Instructions
-
Step 1
Prepare the chilies by removing stems. For milder sauce, remove seeds and membranes. Finely chop chilies or pulse in a food processor until desired consistency. -
Step 2
Finely mince the garlic cloves. It’s best to do this just before cooking to preserve freshness and aroma. -
Step 3
Heat olive oil or vegetable oil in a small saucepan over medium-low heat. Add minced garlic and sauté for 30 seconds to 1 minute until fragrant and golden, being careful not to burn. -
Step 4
Add chopped chilies to the saucepan and stir. Cook over low heat for 2-3 minutes, stirring frequently, to soften chilies and release their flavors into the oil. -
Step 5
Stir in white vinegar or rice vinegar, salt, and optional sugar. Mix well until dissolved. -
Step 6
Continue to simmer over very low heat for another 5-7 minutes, stirring occasionally, allowing flavors to meld and sauce to thicken slightly. Add a tiny splash of water if it becomes too dry. -
Step 7
Remove from heat and let the sauce cool completely. Once cooled, transfer to a clean, airtight glass jar for storage in the refrigerator. It can last up to 2-3 weeks.
Important Information
Nutrition Facts (Per Serving)
It is important to consider this information as approximate and not to use it as definitive health advice.
Allergy Information
Please check ingredients for potential allergens and consult a health professional if in doubt.