Best Chocolate Chip Cookies-Classic Chewy Recipe
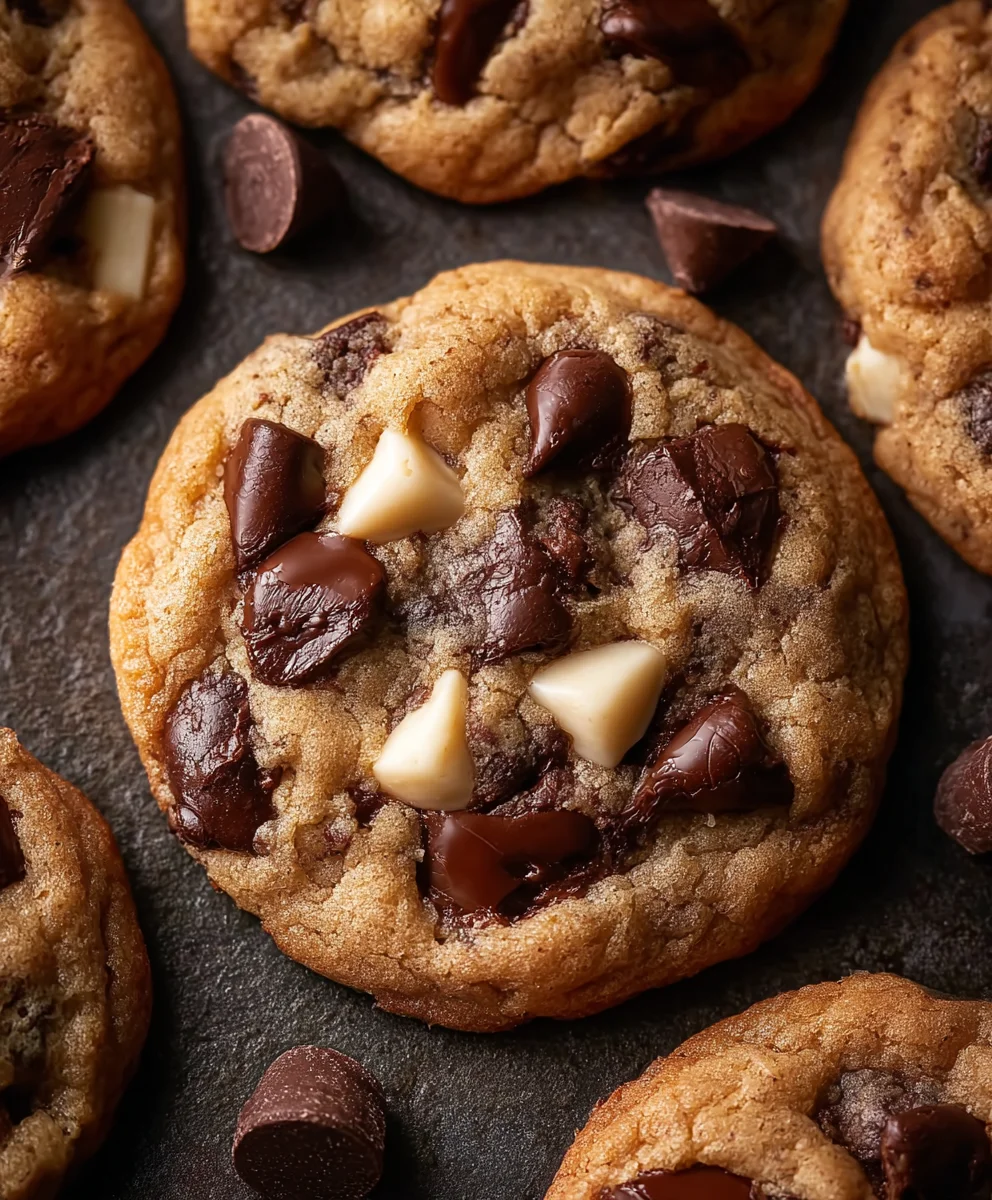
Chocolate Chip Cookies are more than just a treat; they’re a warm hug in edible form, a nostalgic whisper from childhood kitchens, and a universal language of comfort. Who can resist that perfect balance of chewy, slightly crisp edges and a molten, chocolate-studded center? The allure of these classic delights is undeniable. They bring smiles to faces at birthday parties, office potlucks, and quiet evenings spent with loved ones. What truly sets apart an exceptional batch of Chocolate Chip Cookies is that magical alchemy of simple ingredients coming together to create something extraordinary. We’re talking about that perfect interplay of buttery richness, sweet brown sugar notes, and the satisfying burst of melting chocolate. This recipe isn’t just about following steps; it’s about understanding the nuances that elevate a good cookie to an unforgettable one. Get ready to bake the best Chocolate Chip Cookies you’ve ever tasted!
Ingredients:
- ½ cup unsalted European style brown butter, Danish Creamery recommended
- ½ cup + 2 tablespoons packed light brown sugar
- 2 tablespoons granulated sugar
- 1 large egg, at room temperature
- ½ teaspoon pure vanilla extract
- 1⅓ cups all-purpose flour, spooned and leveled
- ½ teaspoon baking soda
- ¼ teaspoon fine sea salt
- ⅓ cup white chocolate chips
- ⅓ cup semisweet chocolate chips
- ⅓ cup milk chocolate chips
- Flaky sea salt for topping (optional)
Creaming the Butter and Sugars
Step 1: Prepare the Brown Butter
Begin extract by ensuring your butter is properly browned. This step is crucial for developing the rich, nutty flavor that elevates these Chocolate Chip Cookies. To brown butter, place unsalted butter in a light-colored saucepan over medium heat. As it melts, it will foam. Continue to cook, swirling the pan occasionally, until the milk solids at the bottom turn a deep golden brown and the butter smells fragrant and nutty. This typically takes about 5-8 minutes. Immediately pour the browned butter into a heatproof bowl to stop the cooking process and prevent it from burning. Let it cool slightly for about 10-15 minutes, just until it’s no longer piping hot, but still liquid. This slight cooling is important so it doesn’t scramble the egg in the next step.
Step 2: Combine Butter and Sugars
In a large mixing bowl, combine the slightly cooled brown butter with the ½ cup plus 2 tablespoons of packed light brown sugar and the 2 tablespoons of granulated sugar. Using an electric mixer on medium speed, or a whisk and some serious arm power, cream these ingredients together until the mixture is smooth and well combined. You’re looking for a light, fluffy texture that’s a pnon-alcoholic ale caramel color. This creaming process incorporates air, which contributes to the cookie’s lift and tenderness. Scrape down the sides of the bowl periodically to ensure everything is evenly mixed.
Adding Wet and Dry Ingredients
Step 3: Incorporate Egg and Vanilla
Now it’s time to add the egg and vanilla extract. Ensure your egg is at room temperature, as this helps it emulsify better with the butter and sugar mixture, creating a smoother batter. Add the single large egg to the creamed butter and sugar mixture. Beat on medium speed until just combined. Overmixing at this stage can lead to tougher cookies. Stir in the ½ teaspoon of pure vanilla extract. The vanilla not only adds its signature aroma but also enhances the other flavors in the cookie, especially the chocolate. The batter will look slightly glossy and homogenous at this point.
Step 4: Whisk Dry Ingredients
In a separate medium bowl, whisk together the 1⅓ cups of all-purpose flour, ½ teaspoon of baking soda, and ¼ teaspoon of fine sea salt. Whisking these dry ingredients together ensures that the baking soda and salt are evenly distributed throughout the flour. This prevents pockets of saltiness or leavening issues in your cookies. Spoon the flour into your measuring cup and level it off with a straight edge to ensure accurate measurements, as too much flour can result in dry, crum extractbly cookies.
Combining and Baking
Step 5: Mix Wet and Dry, Then Add Chocolate
Gradually add the dry ingredients to the wet ingredients in the large mixing bowl. Mix on low speed until just combined, being careful not to overmix. Overmixing the flour develops gluten, which can make your cookies tough and chewy rather than tender. Stop mixing as soon as you no longer see streaks of dry flour. Now for the star of the show: the chocolate chips! Gently fold in the ⅓ cup of white chocolate chips, the ⅓ cup of semisweet chocolate chips, and the ⅓ cup of milk chocolate chips using a spatula or wooden spoon. Distribute them evenly throughout the dough. This triple-threat of chocolate provides a wonderful depth of flavor and texture in every bite.
Step 6: Chill and Scoop
For the best texture and to prevent excessive spreading, it’s highly recommended to chill your cookie dough. Cover the bowl tightly with plastic wrap and refrigerate for at least 30 minutes, or up to 24 hours. Chilling the dough allows the flour to hydrate and the fat to solidify, resulting in cookies that hold their shape better and develop a richer flavor. Once chilled, preheat your oven to 375°F (190°C). Line baking sheets with parchment paper. Scoop rounded tablespoons of dough onto the prepared baking sheets, leaving about 2 inches between cookies to allow for spreading. If you’re feeling fancy and want a professional touch, press a few extra chocolate chips onto the tops of the dough balls before baking.
Step 7: Bake to Perfection
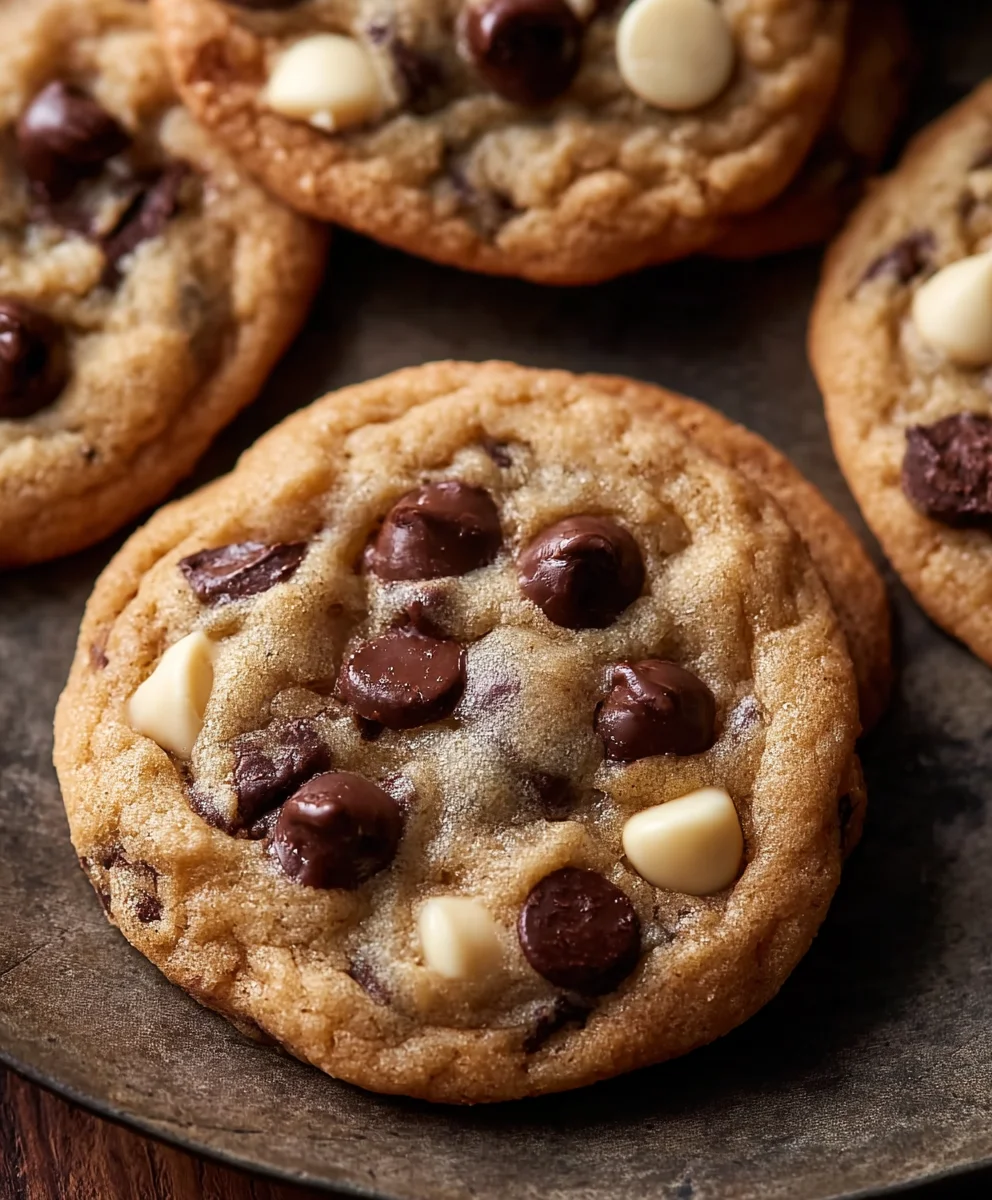
Bake the cookies for 9-12 minutes, or until the edges are golden brown and the centers look slightly underbaked. They will continue to set up as they cool. For an extra touch of gourmet flavor, immediately after removing the cookies from the oven, sprinkle them with a few flaky sea salt crystals while they are still warm. The salt beautifully balances the sweetness of the chocolate and enhances the overall flavor profile. Let the cookies cool on the baking sheets for 5 minutes before transferring them to a wire rack to cool completely. Enjoy these incredibly delicious and satisfying Chocolate Chip Cookies!
Conclusion:
And there you have it – the ultimate guide to baking perfect Chocolate Chip Cookies! We’ve walked through each step, from creaming the butter and sugar to achieving that ideal chewy center and slightly crisp edge. These cookies are more than just a treat; they’re a delightful experience, perfect for sharing with loved ones or simply enjoying yourself with a glass of milk. Remember, the key is patience and a little bit of love. Don’t be afraid to experiment with the variations we’ve discussed – adding nuts, different types of chocolate, or even a sprinkle of sea salt can elevate your Chocolate Chip Cookies to new heights. We encourage you to get into the kitchen and bake a batch today. The aroma alone will fill your home with warmth and happiness. Happy baking!
Frequently Asked Questions:
Why are my Chocolate Chip Cookies spreading too much?
This can happen for a few reasons. Ensure your butter isn’t too soft or melted; it should be at room temperature. Over-mixing the dough can also contribute to excessive spreading. Try chilling the dough for at least 30 minutes before baking; this helps the butter firm up and prevents the cookies from spreading too quickly in the oven.
How can I make my Chocolate Chip Cookies chewier?
For chewier Chocolate Chip Cookies, use more brown sugar than granulated sugar in your recipe. Brown sugar contains molasses, which adds moisture and contributes to a chewy texture. Also, avoid over-baking; slightly under-baked cookies will continue to set as they cool, resulting in a wonderfully chewy outcome.
Best Chocolate Chip Cookies-Classic Chewy Recipe
A classic chewy chocolate chip cookie recipe featuring browned butter and a trio of chocolate chips for ultimate indulgence.
Ingredients
-
½ cup unsalted European style brown butter
-
½ cup + 2 tablespoons packed light brown sugar
-
2 tablespoons granulated sugar
-
1 large egg, at room temperature
-
½ teaspoon pure vanilla extract
-
1⅓ cups all-purpose flour, spooned and leveled
-
½ teaspoon baking soda
-
¼ teaspoon fine sea salt
-
⅓ cup white chocolate chips
-
⅓ cup semisweet chocolate chips
-
⅓ cup milk chocolate chips
-
Flaky sea salt for topping (optional)
Instructions
-
Step 1
Brown the butter: Melt unsalted butter in a light-colored saucepan over medium heat until it turns a deep golden brown and smells nutty. Pour into a heatproof bowl and let cool for 10-15 minutes until no longer piping hot. -
Step 2
Cream butter and sugars: In a large bowl, combine the slightly cooled brown butter with light brown sugar and granulated sugar. Beat with an electric mixer or whisk until smooth, light, and fluffy, resembling a pale caramel color. -
Step 3
Add egg and vanilla: Beat in the room temperature egg until just combined, then stir in the vanilla extract. The batter should look glossy and homogenous. -
Step 4
Combine dry ingredients: In a separate bowl, whisk together all-purpose flour, baking soda, and fine sea salt. Ensure even distribution. -
Step 5
Mix wet and dry, then add chocolate: Gradually add the dry ingredients to the wet ingredients, mixing on low speed until just combined. Gently fold in white, semisweet, and milk chocolate chips. -
Step 6
Chill and scoop: Cover the dough and refrigerate for at least 30 minutes. Preheat oven to 375°F (190°C). Line baking sheets with parchment paper and scoop rounded tablespoons of dough onto the sheets, leaving 2 inches between cookies. -
Step 7
Bake and finish: Bake for 9-12 minutes until edges are golden brown and centers look slightly underbaked. Sprinkle with flaky sea salt while warm (optional). Cool on baking sheets for 5 minutes, then transfer to a wire rack to cool completely.
Important Information
Nutrition Facts (Per Serving)
It is important to consider this information as approximate and not to use it as definitive health advice.
Allergy Information
Please check ingredients for potential allergens and consult a health professional if in doubt.