Homemade Cheez-Its – Easy & Delicious Crackers
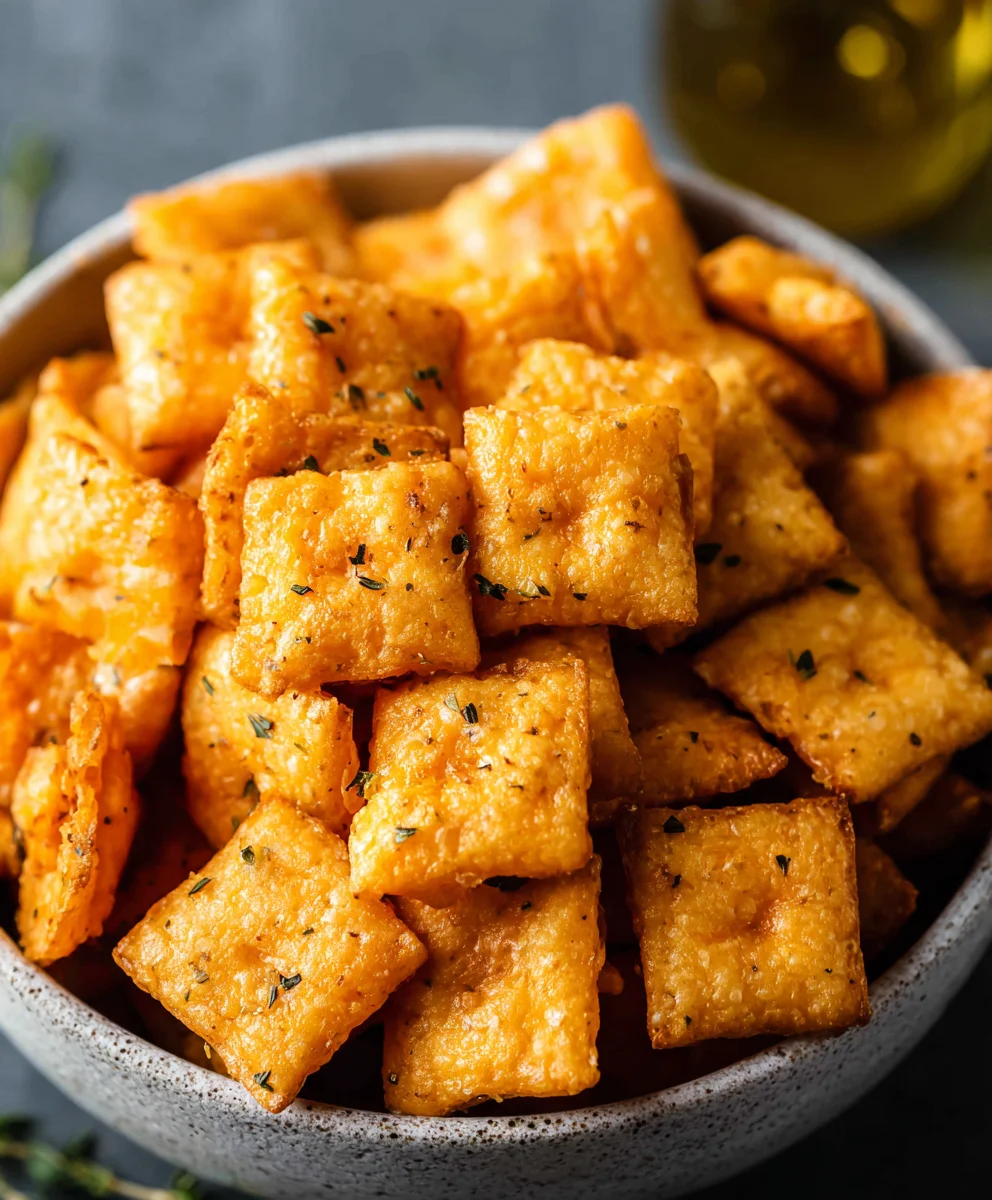
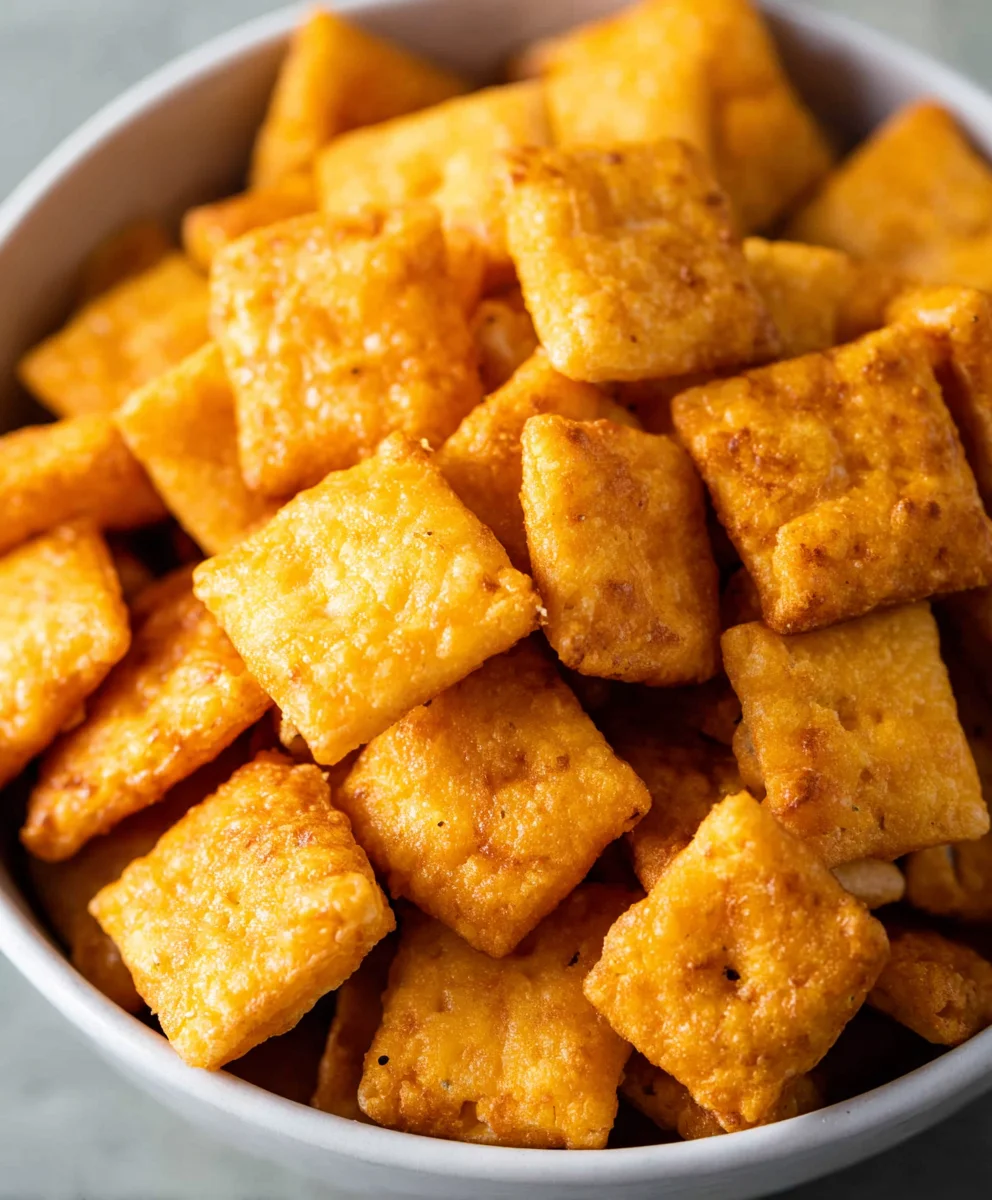
Homemade Cheez Its are not just a snack; they’re a nostalgic journey for many, a crispy, cheesy bite that transports us back to childhood cracker boxes and movie nights. The irresistible allure of these baked delights lies in their perfect balance of sharp cheddar, a hint of salt, and that uniquely satisfying crunch. While store-bought versions are convenient, crafting your own Homemade Cheez Its unlocks a whole new dimension of flavor and texture that you simply can’t find on a shelf. Imagin extracte the aroma filling your kitchen as these golden squares bake to perfection, promising a superior taste experience. What truly makes this recipe special is the ability to customize the cheese blend – perhaps a touch of smoky gouda or a spicy pepper jack – and the satisfaction of knowing exactly what goes into each delicious piece. Get ready to elevate your snacking game with this incredibly rewarding recipe for Homemade Cheez Its.
Ingredients:
- ¼ cup unsalted butter, softened to room temperature
- 8 oz. sharp cheddar cheese, finely shredded
- 1 ¼ cups all-purpose flour
- 1 teaspoon kosher salt, plus extra for sprinkling
- 2-3 tablespoons ice-cold water
- 2 tablespoons olive oil
Preparing the Dough for Your Homemade Cheez-Its
Step 1: Creaming the Butter and Cheese
The foundation of any great homemade cracker is a well-mixed dough. To start, we need to combine our softened butter and shredded sharp cheddar cheese. Take that ¼ cup of unsalted butter, ensuring it’s at room temperature – this is crucial for a smooth, even texture. If your butter is too cold, it will be difficult to incorporate, and if it’s too warm, it will melt into a greasy mess. Place the softened butter in a medium-sized mixing bowl. Now, add the 8 oz. of finely shredded sharp cheddar cheese. It’s important to shred your cheese yourself rather than using pre-shredded cheese. Pre-shredded cheese often contains anti-caking agents that can affect the texture of your crackers, making them less crisp. Using the back of a fork or an electric mixer on low speed, cream together the butter and cheese until they are well combined and form a cohesive, slightly crum extractbly mixture. Don’t overmix at this stage; we just want everything to be acquainted.
Step 2: Incorporating the Dry Ingredients
Next, we’ll add the dry components to our butter and cheese mixture. To the bowl containing the creamed butter and cheese, add 1 ¼ cups of all-purpose flour and 1 teaspoon of kosher salt. The flour provides the structure for our crackers, and the salt enhances the cheesy flavor. If you’re a salt lover, you might even consider using a touch more, but remember we’ll also be adding salt as a topping later. Using your fork or the mixer on its lowest setting, begin extract to incorporate the dry ingredients into the wet. You’ll notice the mixture becominrum extractore crrum extractly and breadcrumb-like. This is exactly what we want. Avoid overworking the dough at this point, as too much kneading can develop the gluten in the flour, leading to tougher crackers. We’re aiming for a tender, delicate bite.
Step 3: Binding the Dough with Cold Water
Now comes the crucial stepgin extract bringing our dough together. We’ll use cold water for this. Start by adding 2 tablespoons of the ice-cold water to the bowl. The extreme coldness of the water helps to keep the butter from melting, which is essential for a flaky texture. Use your hands or a sturdy spoon to gently mix the water into the dough. You might find that the dough still feels a bit dry and doesn’t quite come together. This is where the extra tablespoon of cold water comes in. Add it gradually, a little at a time, and continue mixing until the dough just starts to form a cohesive ball. You should be able to gather it into a shaggy mass. Again, resist the urge to knead it vigorously. We just want it to hold together. Once it’s mostly formed, gently press it into a disc shape.
Step 4: Chilling and Rolling the Dough
For the best texture and ease of handling, chilling the dough is a vital step. Wrap the disc of dough tightly in plastic wrap and refrigerate for at least 30 minutes. This allows the gluten to relax and the fat to firm up, making it much easier to roll out thinly. Once chilled, take the dough out and place it on a lightly floured surface. You can also lightly flour your rolling pin. Roll the dough out as thinly as possible, aiming for about 1/16 to 1/8 of an inch thickness. The thinner you roll it, the crispier your Homemade Cheez-Its will be. Don’t worry if the dough cracks a little at the edges; you can gently press it back together. Once you have a thin, even sheet of dough, trim any rough edges to create neat rectangles.
Step 5: Cutting, Topping, and Baking
This is where your Homemade Cheez-Its really start to take shape! Using a sharp knife or a pizza cutter, cut the dough into small squares, similar in size to traditional Cheez-Its. You can make them perfectly uniform, or embrace a more rustic, homemade look. Carefully transfer the cut squares onto a baking sheet lined with parchment paper. Don’t worry about spacing them too much, as they won’t spread significantly during baking. Now, for that signature finish: brush each cracker lightly with the 2 tablespoons of olive oil. This will help them get golden brown and adds a subtle richness. Finally, sprinkle generously with extra kosher salt. This is the moment to get creative – you can also add other seasonings like garlic powder, onion powder, or a pinch of cayenne pepper for a little heat. Preheat your oven to 375°F (190°C). Bake for 12-15 minutes, or until the edges are golden brown and the crackers are crisp. Keep a close eye on them, as they can go from perfectly baked to burnt very quickly due to their thinness. Once baked, remove from the oven and let them cool on the baking sheet for a few minutes before transferring them to a wire rack to cool completely. This ensures maximum crispiness.
Conclusion:
We hope you’ve enjoyed embarking on the delicious journey of making your very own Homemade Cheez Its! This recipe offers a satisfyingly cheesy and crunchy alternative to store-bought crackers, bringin extractg a homemade touch to your snack time. The simple ingredients and straightforward process make it incredibly accessible, even for novice bakers. Don’t be afraid to experiment and make these truly your own!
These Homemade Cheez Its are fantastic served simply on their own, perfect for a midday pick-me-up or a movie night treat. They also make a wonderful addition to a charcuterie board, adding a homemade flair that guests will surely appreciate. For a more substantial snack, try pairing them with a creamy dip or a robust hummus.
Feel free to get creative with variations! Consider adding a pinch of smoked paprika for a smoky undertone, a dash of garlic powder for an extra savory kick, or even some finely chopped chives for a fresh, herbaceous note. You can also adjust the type of cheese to your liking – sharp cheddar is classic, but a blend of cheddar and Monterey Jack, or even a hint of Parmesan, can create unique flavor profiles. Embrace the joy of baking and savor every bite of your custom-made Homemade Cheez Its!
Frequently Asked Questions:
Can I make these Homemade Cheez Its ahead of time?
Absolutely! Homemade Cheez Its store very well in an airtight container at room temperature for up to a week. This makes them a perfect make-ahead snack for busy weeks or for parties.
What kind of cheese is best for Homemade Cheez Its?
While sharp cheddar cheese is a classic choice and provides that signature tangy flavor, feel free to experiment. A blend of cheeses like cheddar and Monterey Jack, or even adding a bit of Gruyère for nuttiness, can create delicious variations. Ensure your cheese is finely grated for the best melting and texture.
Homemade Cheez-Its – Easy & Delicious Crackers
Whip up a batch of these incredibly easy and delicious homemade Cheez-Its that are sure to be a crowd-pleaser. Perfect for snacking anytime!
Ingredients
-
1/4 cup unsalted butter, softened to room temperature
-
8 oz. sharp cheddar cheese, finely shredded
-
1 1/4 cups all-purpose flour
-
1 teaspoon kosher salt, plus extra for sprinkling
-
2-3 tablespoons ice-cold water
-
2 tablespoons olive oil
Instructions
-
Step 1
Cream together the softened butter and finely shredded sharp cheddar cheese in a bowl until well combined and a cohesive, slightly crumbly mixture forms. Avoid overmixing. -
Step 2
Add the all-purpose flour and 1 teaspoon of kosher salt to the butter and cheese mixture. Incorporate the dry ingredients until the mixture becomes crumbly and breadcrumb-like. Do not overwork the dough. -
Step 3
Gradually add 2 tablespoons of ice-cold water, mixing gently until the dough just starts to form a cohesive ball. Add the remaining tablespoon of cold water only if needed, a little at a time, until the dough holds together. Press into a disc. -
Step 4
Wrap the dough disc tightly in plastic wrap and refrigerate for at least 30 minutes. Once chilled, roll out the dough on a lightly floured surface to about 1/16 to 1/8 inch thickness. Trim the edges into neat rectangles. -
Step 5
Cut the dough into small squares. Transfer the squares to a baking sheet lined with parchment paper. Brush each cracker lightly with olive oil and sprinkle generously with extra kosher salt. Optionally, add other seasonings. -
Step 6
Preheat your oven to 375°F (190°C). Bake for 12-15 minutes, or until the edges are golden brown and the crackers are crisp. Monitor closely to prevent burning. -
Step 7
Remove from the oven and let cool on the baking sheet for a few minutes before transferring to a wire rack to cool completely for maximum crispiness.
Important Information
Nutrition Facts (Per Serving)
It is important to consider this information as approximate and not to use it as definitive health advice.
Allergy Information
Please check ingredients for potential allergens and consult a health professional if in doubt.