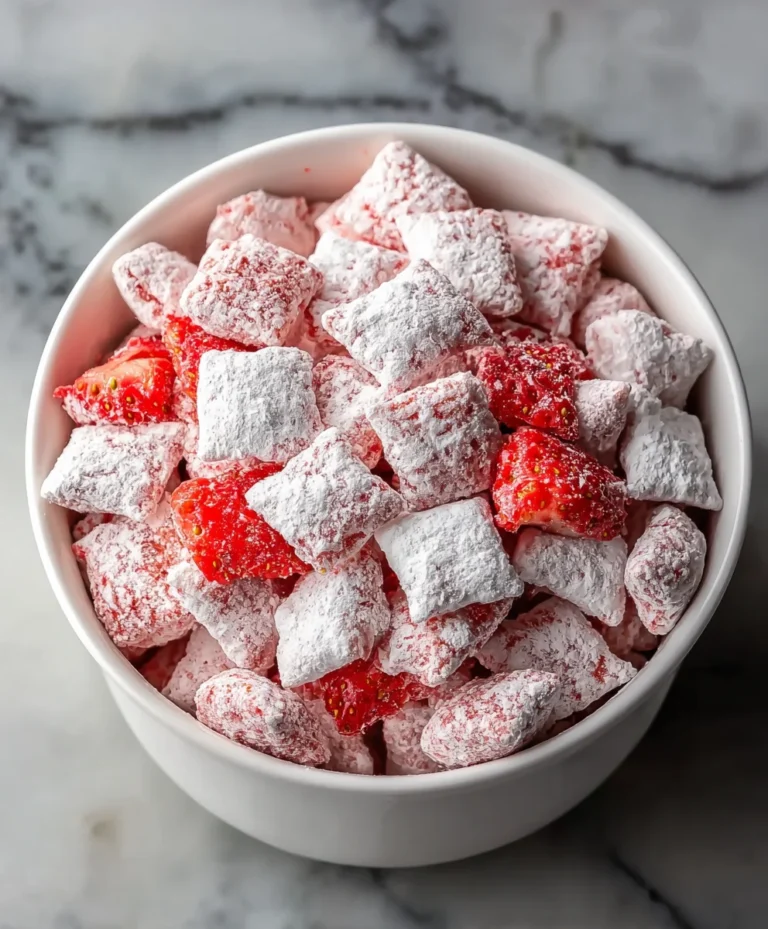
Easy No-Bake Cereal Bars Recipe
Cereal bars are an absolute game-changer when it comes to quick, satisfying snacks, and this recipe takes them to a whole new level of deliciousness. Forget those bland, store-bought options that leave you wanting more. We’re talking about a chewy, sweet, and perfectly balanced treat that’s incredibly easy to whip up in your own kitchen. What’s not to love about a bite that’s bursting with flavor and just the right amount of crunch? People adore cereal bars because they offer that nostalgic comfort food feel, but with the flexibility to customize and elevate them beyond belief. This particular recipe is special because it balances classic textures with a touch of unexpected gourmet flair, making it ideal for breakfast on the go, an afternoon pick-me-up, or even a simple dessert. Get ready to discover your new favorite way to enjoy cereal bars!
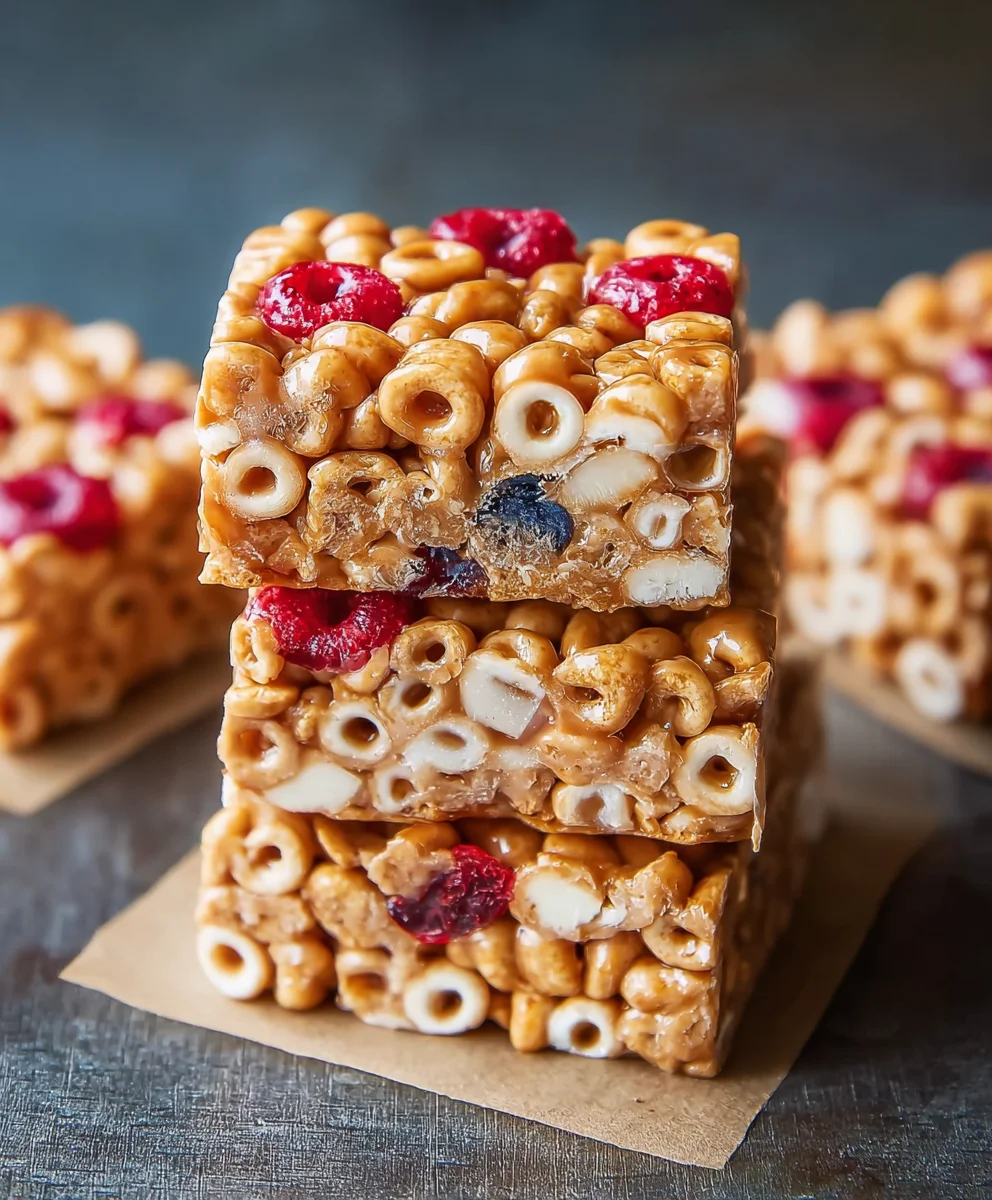
Ingredients:
- 3 cups of your favorite cereal (consider something with a good crunch, like corn flakes, puffed rice, or even a granola without too many sticky bits)
- 2/3 cup creamy or crunchy peanut butter (or any nut butter you prefer, like almond butter or cashew butter)
- 1/2 cup liquid sweetener (agave nectar, honey, or brown rice syrup all work wonderfully for binding)
- 1/2 teaspoon salt (this is optional, but it can really enhance the other flavors, especially if your peanut butter is unsalted)
- 3 tablespoons of your favorite protein powder (this is also optional, but it’s a fantastic way to boost the nutritional content of your cereal bars, making them a more substantial snack or post-workout treat)
Preparing Your Cereal Bars
Step 1: Prepare Your Pan and Gather Your Ingredients
The first crucial step to perfectly formed cereal bars is to properly prepare your baking pan. I highly recommend using an 8×8 inch square baking pan. To ensure your bars don’t stick and can be easily removed, line the pan with parchment paper. Leave a generous overhang on the sides; this parchment “sling” will make lifting the entire block of cereal bars out of the pan a breeze. Once your pan is ready, gather all your ingredients and have them measured out. This makes the assembly process much smoother and prevents any last-minute scrambling. Ensure your cereal is in a large mixing bowl, ready for action.
Step 2: Gently Toast Your Cereal (Optional but Recommended)
While you can certainly proceed without this step, a light toasting of your cereal can add an incredible depth of flavor and an even more satisfying crunch to your final cereal bars. If you choose to do this, spread your 3 cups of cereal on a baking sheet and toast it in a preheated oven at 300°F (150°C) for about 8-10 minutes. Keep a close eye on it to prevent burning – you just want to bring out its toasted aroma. Allow the cereal to cool completely before adding it to the mixing bowl. If you’re short on time, you can skip this, but the enhanced texture and flavor are definitely worth the extra effort.
Step 3: Warm and Combine the Binding Ingredients
In a medium saucepan, combine your chosen liquid sweetener (agave, honey, or brown rice syrup) with the peanut butter or nut butter. Add the optional salt at this stage if you’re using it. Place the saucepan over medium-low heat. Stir continuously until the mixture is smooth, well combined, and just starting to warm through. You don’t want it to boil, just to become more fluid and easier to incorporate with the cereal. Warming the peanut butter helps it distribute evenly and coat the cereal more effectively, leading to better binding. If you’re adding protein powder, stir it into this warm mixture now and whisk until it’s fully dissolved and there are no lumps. This ensures the protein powder is distributed evenly throughout the bars.
Step 4: Combine the Cereal and Binding Mixture
Once your binding mixture is warm and smooth, pour it directly over the cereal in your large mixing bowl. Now, the key here is to work relatively quickly but gently. Use a sturdy spatula or spoon to carefully fold the binding mixture into the cereal. Your goal is to coat every single piece of cereal evenly. Be thorough but avoid crushing the cereal too much, as you want to retain as much crunch as possible. If you’re finding it a bit tricky to coat everything, you can pour the cereal into the saucepan with the binding mixture, as long as the saucepan is large enough, or gently pour the binding mixture back into a larger bowl if your cereal bowl isn’t adequate. Ensure all the cereal is coated for maximum cohesion.
Step 5: Press the Mixture into the Pan and Chill
Immediately after the cereal is well-coated, transfer the mixture into your prepared baking pan. This is where that parchment paper sling comes in handy. Spread the mixture as evenly as possible. Now, for the pressing part: this is critical for creating dense, sliceable cereal bars. You can use the bottom of a measuring cup, or even a piece of parchment paper placed on top of the mixture and then press down firmly with your hands or another flat object. Apply significant pressure to compact the mixture. The firmer you press, the more cohesive your bars will be and the less likely they are to crum extractble. Once pressed, place the pan in the refrigerator for at least 1-2 hours, or until the bars are firm and set. This chilling period is essential for allowing the binding agents to fully set and harden.
Step 6: Cut and Enjoy Your Homemade Cereal Bars
Once your cereal bars are completely chilled and firm, it’s time to cut them! Use the parchment paper overhang to carefully lift the entire block out of the pan and onto a cutting board. With a sharp knife, slice the block into your desired bar shapes – squares or rectangles are common. If the mixture feels a little too hard to cut, let it sit at room temperature for about 5-10 minutes before slicing. Store your finished cereal bars in an airtight container at room temperature for up to a week, or in the refrigerator for even longer, especially if you live in a warm climate. These homemade cereal bars are perfect for on-the-go snacks, breakfast additions, or a pre/post-workout energy boost.
Conclusion:
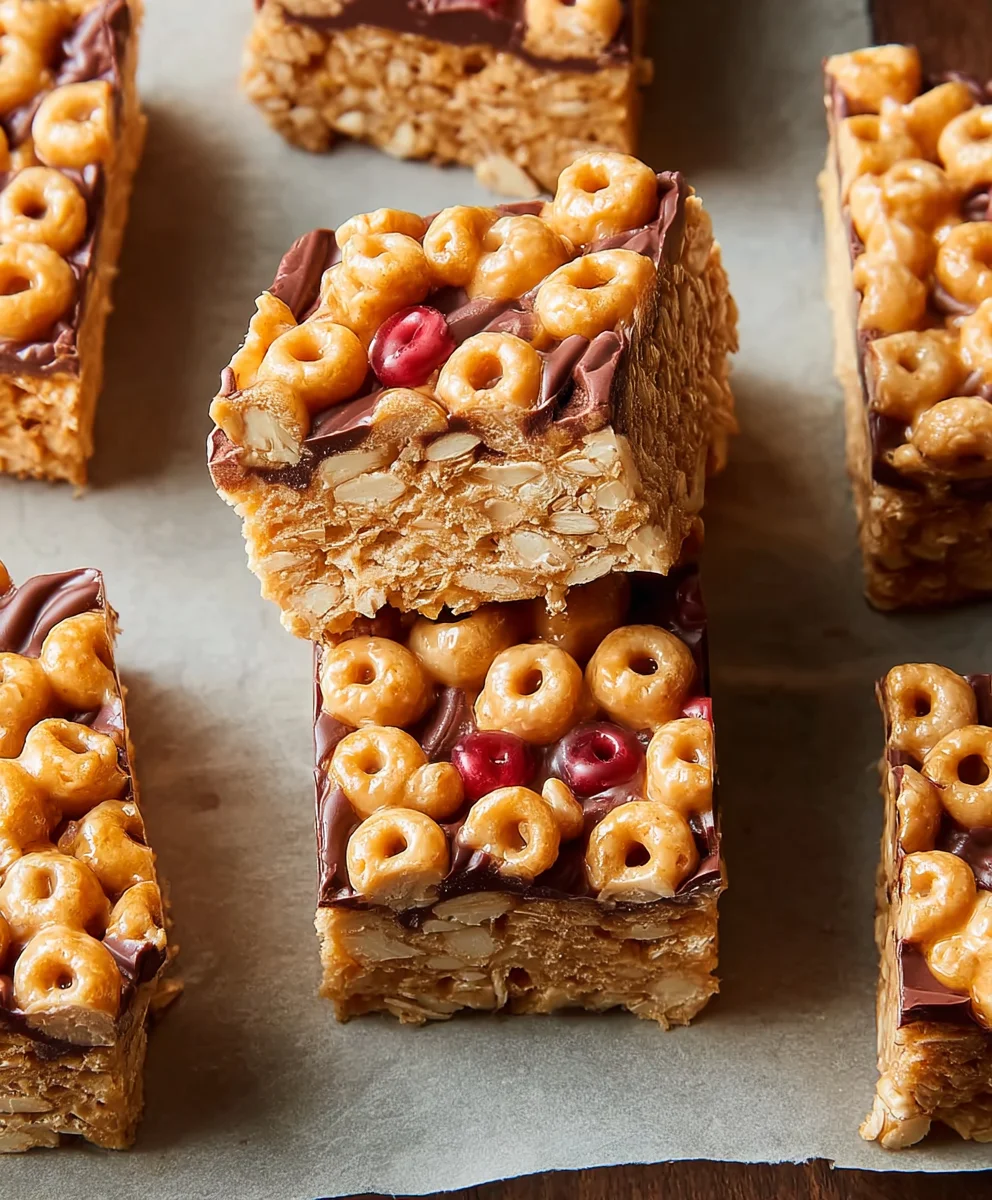
And there you have it – your very own batch of homemade Cereal Bars! We’ve walked through the simple steps together, and I truly hope you enjoy this delightful and customizable treat. These Cereal Bars are perfect for a quick breakfast on the go, a satisfying afternoon snack, or even a healthier dessert option. Feel free to get creative with your add-ins; think chocolate chips, dried fruits, or even a sprinkle of cinnamon for an extra flavor boost. Don’t be afraid to experiment with different types of cereal to discover your favorite combination.
Serve these delightful Cereal Bars with a glass of milk, a cup of coffee, or even a fruit smoothie. They are also fantastic crum extractbled over yogurt or ice cream! The possibilities are truly endless.
I encourage you to give this recipe a try. It’s a wonderfully forgiving recipe that yields delicious results, perfect for both begin extractner and experienced bakers. Enjoy the process and the incredibly satisfying outcome!
Frequently Asked Questions:
Q: How should I store my Cereal Bars?
A: Store your Cereal Bars in an airtight container at room temperature for up to a week. If you live in a warm climate or prefer them slightly firmer, you can also store them in the refrigerator. They can also be individually wrapped for easy portability.
Q: Can I make these Cereal Bars gluten-free?
A: Absolutely! To make these Cereal Bars gluten-free, simply use a gluten-free cereal blend and ensure your oats (if used) are certified gluten-free. You may also need to adjust the binding agent slightly depending on the gluten-free ingredients you select. Always check the labels of your ingredients to ensure they meet your dietary needs.
Easy No-Bake Cereal Bars
Quick and simple no-bake cereal bars perfect for a healthy snack or energy boost.
Ingredients
-
3 cups of your favorite cereal
-
2/3 cup creamy or crunchy peanut butter (or any nut butter you prefer)
-
1/2 cup liquid sweetener (agave nectar, honey, or brown rice syrup)
-
1/2 teaspoon salt (optional)
-
3 tablespoons of your favorite protein powder (optional)
Instructions
-
Step 1
Prepare an 8×8 inch baking pan by lining it with parchment paper, leaving an overhang on the sides for easy removal. Gather and measure all your ingredients. -
Step 2
Optional: Toast your cereal on a baking sheet at 300°F (150°C) for 8-10 minutes until fragrant. Let it cool completely. -
Step 3
In a saucepan over medium-low heat, warm peanut butter (or nut butter) and liquid sweetener with optional salt until smooth and fluid. If using, whisk in protein powder until dissolved. -
Step 4
Pour the warm binding mixture over the cereal in a large bowl. Gently fold until all cereal pieces are evenly coated. Work quickly but avoid crushing the cereal. -
Step 5
Transfer the coated cereal mixture into the prepared pan. Press down firmly and evenly to compact the mixture. Chill in the refrigerator for at least 1-2 hours until firm. -
Step 6
Once chilled and firm, use the parchment paper sling to lift the block out of the pan onto a cutting board. Slice into desired bar shapes. Store in an airtight container at room temperature for up to a week.
Important Information
Nutrition Facts (Per Serving)
It is important to consider this information as approximate and not to use it as definitive health advice.
Allergy Information
Please check ingredients for potential allergens and consult a health professional if in doubt.