Greek Yogurt Peanut Butter Bites – Easy Homemade Treat
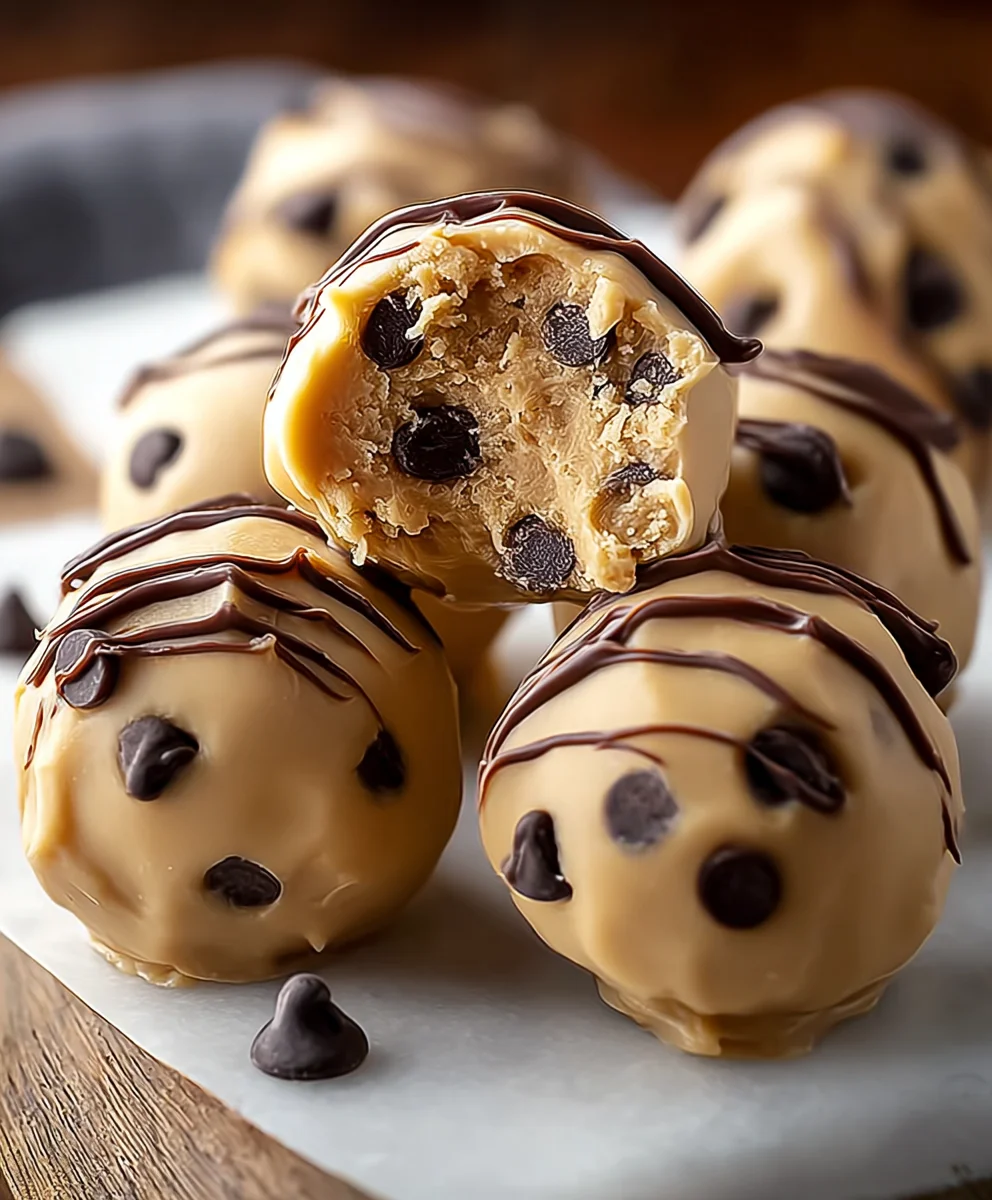
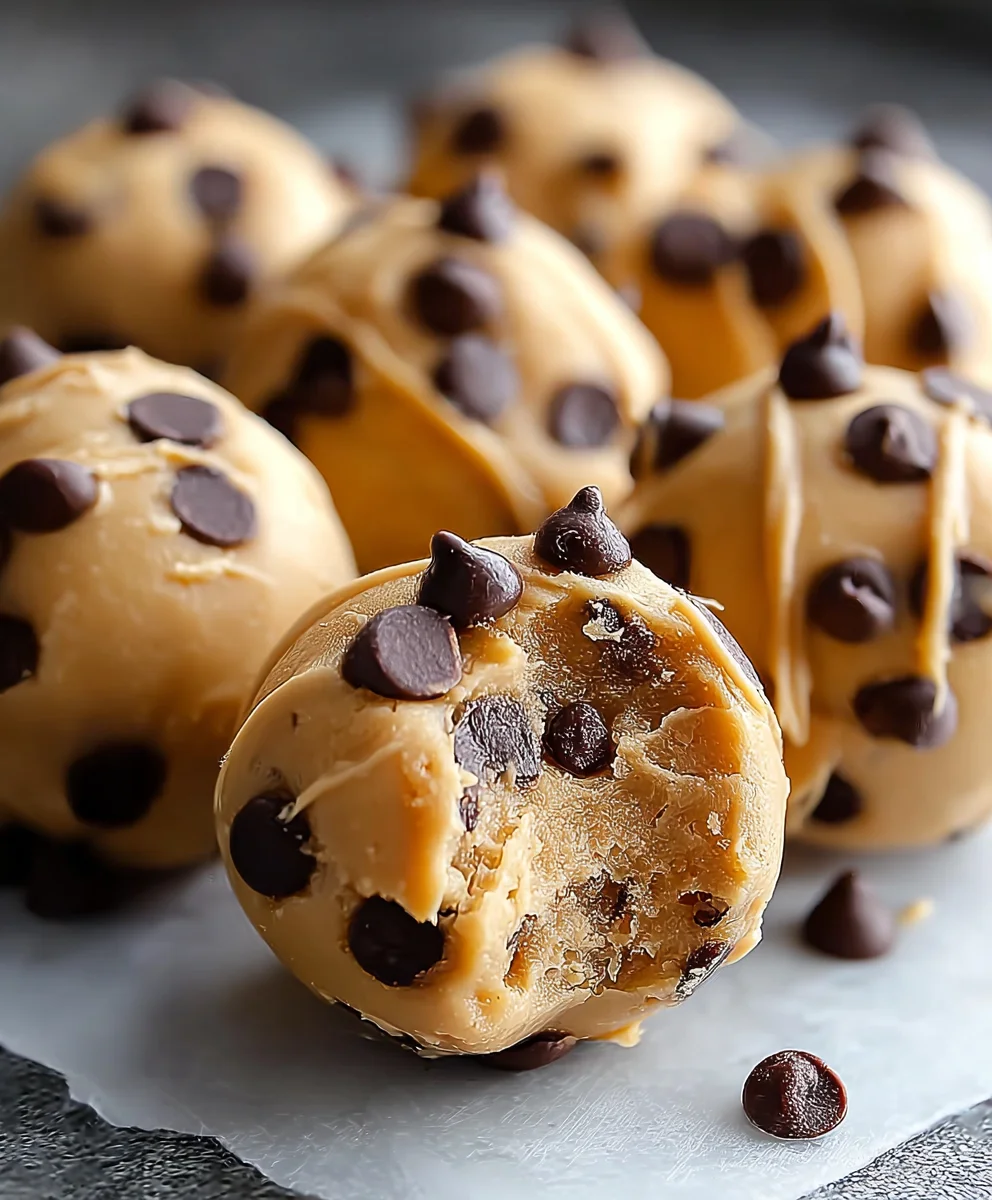
Frozen Greek Yogurt Peanut Butter Bites with Chocolate Chips: A Delightful Treat You Can Make at Home! Imagin extracte a bite-sized explosion of creamy, tangy Greek yogurt, rich peanut butter, and sweet chocolate chips, all perfectly frozen into a refreshing and satisfying treat. This isn’t just any dessert; it’s a celebration of simple, wholesome ingredients coming together to create something truly special. We all love those moments of pure indulgence, and these delightful bites deliver exactly that, without the guilt. What makes these frozen yogurt peanut butter bites so incredibly popular? It’s their effortless charm, their versatility, and the fact that they satisfy that craving for something sweet and a little bit decadent. They’re incredibly easy to whip up, making them a perfect go-to for busy afternoons or a healthier dessert option that the whole family will adore. Get ready to discover your new favorite homemade treat!
Ingredients:
- 1 cup plain Greek yogurt
- 1/2 cup creamy peanut butter
- 1/4 cup honey
- 1 teaspoon vanilla extract
- 1/2 cup mini chocolate chips
- 1/4 teaspoon sea salt
Preparing Your Delicious Frozen Bites
Step 1: Blending the Creamy Base
The first crucial step in creating these delightful frozen treats is to assemble the base mixture. In a medium-sized mixing bowl, combine the plain Greek yogurt and the creamy peanut butter. It’s important that your peanut butter is creamy, as this will ensure a smooth and uniform consistency in your final bites. If you prefer a slightly more textured bite, you could use crunchy peanut butter, but for this recipe, smooth is recommended for that classic creamy feel. Add the honey to the bowl. Honey acts as our natural sweetener and also helps to bind the ingredients together. For an even smoother blend, you can gently warm the honey slightly before adding it, but this is entirely optional. Finally, stir in the vanilla extract. Vanilla extract adds a wonderful depth of flavor that complements both the peanut butter and the yogurt beautifully. Using good quality vanilla extract will make a noticeable difference in the overall taste profile of your frozen bites.
Step 2: Achieving Perfect Consistency
Once all the initial ingredients are in the bowl, it’s time to mix them thoroughly. Use a sturdy spoon or a whisk to combine the Greek yogurt, peanut butter, honey, and vanilla extract. You’re aiming for a homogenous mixture that is smooth and well-incorporated. There should be no streaks of yogurt or peanut butter visible. This blending process is key to ensuring that every bite has a balanced flavor. Don’t be afraid to put a little effort into this step; a well-mixed base will result in a more enjoyable eating experience. If your peanut butter is particularly stiff, you might find it helpful to stir it a bit before adding it to the yogurt. The goal here is a thick, creamy consistency, similar to that of a rich frosting.
Step 3: Incorporating the Sweet and Salty Notes
Now, we’re going to introduce the elements that will make these bites truly special: the mini chocolate chips and the sea salt. Sprinkle the mini chocolate chips evenly into the creamy base. These little bursts of chocolate will provide delightful pockets of sweetness and a satisfying textural contrast. For the best distribution, you can gently fold them into the mixture rather than vigorously stirring, which might break them down too much. Next, add the sea salt. This might seem counterintuitive in a sweet treat, but the sea salt is a flavor enhancer. It cuts through the sweetness of the honey and peanut butter, highlighting their natural flavors and adding a subtle, sophisticated savory note that elevates the entire bite. Be sure to use sea salt, as its larger crystals and less processed flavor are ideal for this purpose. Gently stir to distribute both the chocolate chips and the sea salt throughout the mixture.
Step 4: Freezing for Perfection
The next crucial phase is transforming our creamy mixture into delightful frozen bites. You have a couple of options for how you approach this. One effective method is to use a baking sheet lined with parchment paper. You can then spoon small dollops of the mixture onto the parchment paper. Aim for bite-sized portions, about one to two teaspoons each. This method allows the bites to freeze individually and makes them easy to remove later. Another approach, if you have them readily available, is to use silicone candy molds. These come in various shapes and sizes and can give your frozen treats a more uniform appearance. Whichever method you choose, ensure your baking sheet or molds are placed on a level surface in your freezer. This will prevent the bites from melting unevenly. Allow them to freeze completely. This typically takes at least two to three hours, but overnight is even better to ensure they are firm throughout.
Step 5: Storing and Enjoying Your Homemade Delights
Once your Greek yogurt peanut butter bites are fully frozen, it’s time for the final step: storing them and, of course, enjoying them! If you used a baking sheet, carefully peel the frozen bites off the parchment paper. If you used silicone molds, gently pop them out. It’s a good idea to transfer the frozen bites into an airtight container or a freezer-safe bag. This will prevent them from absorbing any freezer odors and will keep them fresh. You can also layer them with parchment paper in between to prevent them from sticking together if you plan on having a large batch. When you’re ready to indulge, simply take a few bites out of the freezer. They are best enjoyed straight from the freezer, as they will soften slightly as they come to room temperature. These frozen delights are perfect for a quick snack, a healthy dessert, or even a post-workout treat. They offer a wonderful balance of creamy, sweet, salty, and chocolatey flavors, all in one perfect bite. Experiment with different sizes and enjoy the satisfaction of creating your own delicious frozen treats at home!
Conclusion:
There you have it – your guide to crafting the undeniably delicious Frozen Greek Yogurt Peanut Butter Bites with Chocolate Chips: A Delightful Treat You Can Make at Home! These little gems are not only incredibly easy to whip up, but they also offer a perfect balance of creamy, nutty, and chocolatey goodness. They’re the ideal solution for a healthy-ish dessert, a satisfying snack, or even a sweet breakfast addition. I truly hope you enjoy making and savoring these delightful bites as much as I do. Don’t be afraid to experiment and make them your own!
For serving, I love to enjoy these straight from the freezer. They also pair wonderfully with a side of fresh berries or a drizzle of honey. Looking for variations? Try adding a sprinkle of sea salt on top before freezing for a sweet and salty kick, or mix in some shredded coconut for an extra layer of tropical flavor. You can also substitute the chocolate chips with chopped nuts or dried cranberries for a different texture and taste. The possibilities are endless!
Frequently Asked Questions about Frozen Greek Yogurt Peanut Butter Bites with Chocolate Chips:
Q1: How long do these Frozen Greek Yogurt Peanut Butter Bites with Chocolate Chips last in the freezer?
Stored properly in an airtight container or freezer bag, these bites can last for up to 2-3 weeks in the freezer. However, they are so delicious, I doubt they’ll be around that long!
Q2: Can I make these without peanut butter?
Absolutely! While peanut butter is a key flavor, you can easily substitute it with almond butter, cashew butter, or even a sunflower seed butter for a nut-free option. Just ensure the consistency is similar to peanut butter for the best results.
Greek Yogurt Peanut Butter Bites
Easy homemade frozen treat combining creamy Greek yogurt, peanut butter, honey, and chocolate chips.
Ingredients
-
1 cup plain Greek yogurt
-
1/2 cup creamy peanut butter
-
1/4 cup honey
-
1 teaspoon vanilla extract
-
1/2 cup mini chocolate chips
-
1/4 teaspoon sea salt
Instructions
-
Step 1
In a medium-sized mixing bowl, combine the plain Greek yogurt, creamy peanut butter, honey, and vanilla extract. Stir until well combined and smooth. -
Step 2
Ensure the mixture is homogenous and has a thick, creamy consistency, similar to frosting, with no streaks of yogurt or peanut butter visible. -
Step 3
Gently fold in the mini chocolate chips and sea salt until evenly distributed throughout the mixture. -
Step 4
Spoon small, bite-sized dollops of the mixture onto a baking sheet lined with parchment paper, or use silicone candy molds. -
Step 5
Place the baking sheet or molds on a level surface in the freezer and freeze completely for at least 2-3 hours, or preferably overnight, until firm. -
Step 6
Once frozen, carefully remove the bites from the parchment paper or molds. Transfer to an airtight container or freezer-safe bag for storage.
Important Information
Nutrition Facts (Per Serving)
It is important to consider this information as approximate and not to use it as definitive health advice.
Allergy Information
Please check ingredients for potential allergens and consult a health professional if in doubt.