Best White Bread from Scratch – Easy Homemade Recipe
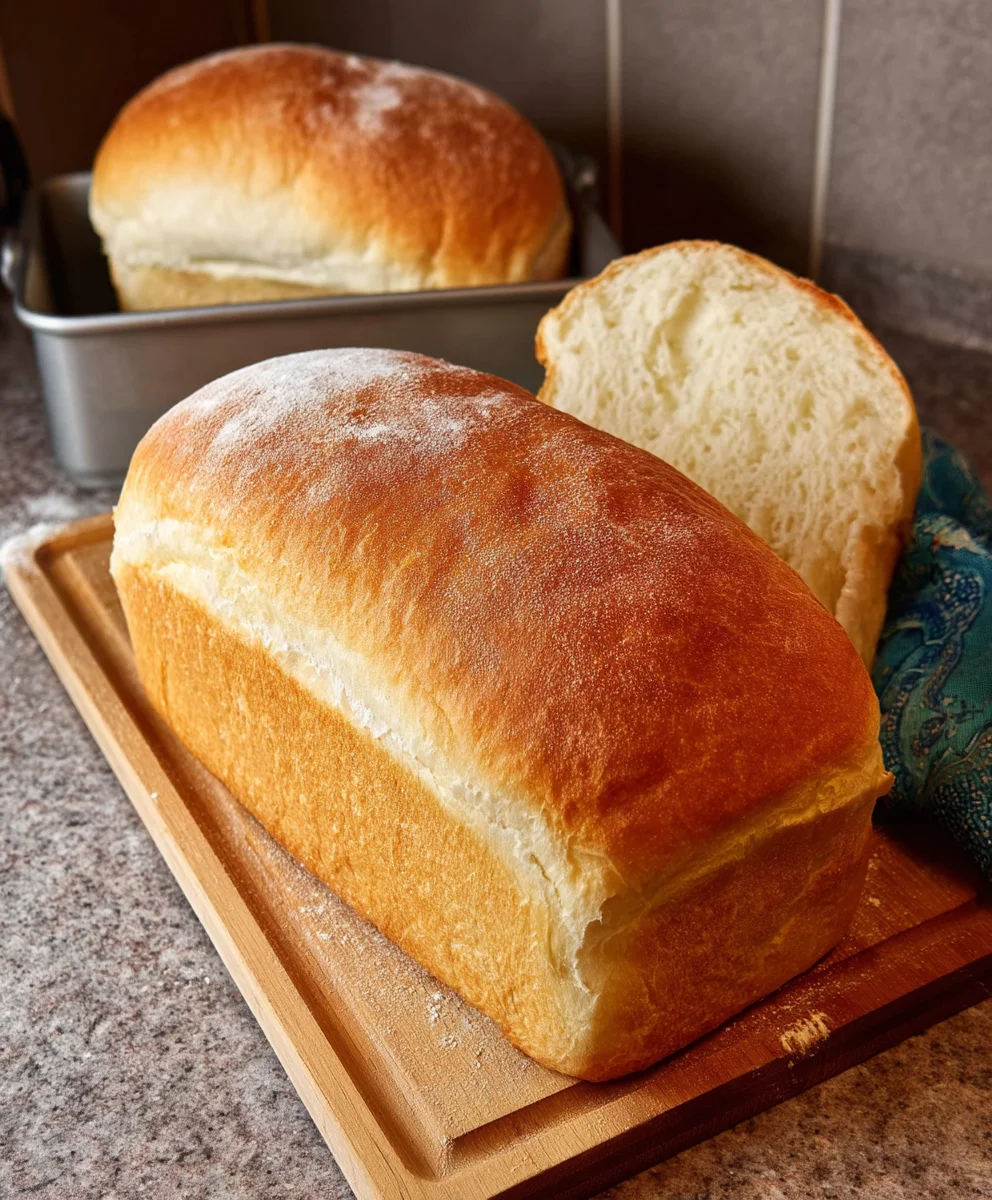
The Best White Bread from Scratch is a culinary journey that promises a reward unlike any other: the unparalleled aroma and texture of freshly baked bread, crafted by your own hands. There’s something profoundly satisfying about transforming simple ingredients – flour, yeast, water, and salt – into a warm, golden loaf that will become the centerpiece of your table. This is more than just a recipe; it’s an invitation to slow down, to engage with tradition, and to experience the pure joy of creating something truly delicious and wholesome. People adore white bread from scratch because it reconnects us to fundamental cooking, offering a comforting nostalgia and a taste that store-bought versions simply cannot replicate. What makes our approach to the best white bread from scratch so special is its foolproof nature, yielding a tender crum extractb and a perfectly crisp crust every single time, even for begin extractner bakers. Get ready to impress yourself and everyone lucky enough to share a slice!
Ingredients:
- 2 cups warm water
- 1/4 cup granulated sugar
- 5 cups all-purpose flour
- 2 teaspoons active dry yeast
- 2 teaspoons salt
- 3 tablespoons unsalted butter, softened
Preparing the Dough
Activating the Yeast
To get started on making the best white bread from scratch, the first crucial step is to ensure our yeast is alive and ready to work its magic. In a large mixing bowl, combine the 2 cups of warm water with the 1/4 cup of granulated sugar. The water should feel comfortably warm to the touch, much like a baby’s bathwater – not too hot, as this can kill the yeast, and not too cool, as this will prevent it from activating properly. Sprinkle the 2 teaspoons of active dry yeast evenly over the surface of the water and sugar mixture. You don’t need to stir it right away. Let it sit undisturbed for about 5 to 10 minutes. During this time, you should see the yeast begin extract to bloom, forming a foamy, bubbly layer on top of the liquid. This visual cue tells us the yeast is active and will contribute to a beautifully light and airy loaf of bread. If you don’t see any activity after 10 minutes, your yeast might be old or dead, and it’s best to start with fresh yeast.
Mixing the Dough
Once the yeast has bloomed, it’s time to incorporate the rest of the ingredients. Add the 2 teaspoons of salt to the yeast mixture and give it a gentle stir to distribute the salt. Salt is important not only for flavor but also to control the rate at which the yeast ferments. Now, gradually add the 5 cups of all-purpose flour, about a cup at a time, mixing after each addition. You can start by stirring with a wooden spoon or a sturdy spatula. As the dough comes together and becomes too stiff to stir easily, it’s time to get your hands involved. Turn the dough out onto a lightly floured surface. The dough will still be quite sticky at this stage. Don’t be tempted to add too much extra flour at this point, as this can lead to a dense loaf. We want a soft, pliable dough.
Kneading the Dough
Developing the Gluten
This is where the realgin extractrk begins, and it’s essential for developing the gluten structure that gives bread its chewy texture and hgin extracts it rise. Begin kneading the dough. This involves pushing the dough away from you with the heels of your hands, then folding it back over itself, rotating it a quarter turn, and repeating the process. Continue kneading for about 8 to 10 minutes. You’re looking for the dough to transform from a sticky, shaggy mass into a smooth, elastic ball. It should spring back slowly when you gently poke it with your finger. If the dough is still sticking excessively to your hands and the work surface after a few minutes of kneading, you can lightly dust your hands and the surface with a little more flour, but use it sparingly. A properly kneaded dough will be soft and slightly tacky but should no longer adhere aggressively to your fingers. This kneading process develops the gluten strands, which will trap the gases produced by the yeast, causing the bread to rise.
Adding the Butter
After about 5 minutes of kneading, it’s time to incorporate the 3 tablespoons of softened butter. Add the softened butter to the dough and continue kneading. The butter will initially make the dough feel a bit greasy and less cooperative. Keep kneading, and the butter will gradually be absorbed into the dough, making it even more supple and enriching the flavor of the bread. Continue kneading for another 5 minutes or so, until the dough is smooth and elastic again, and the butter is fully incorporated. The texture of the dough should be noticeably softer and more pliable than before you added the butter. This step is key to achieving a tender crum extractb in your homemade white bread.
First Rise (Bulk Fermentation)
Proofing the Dough
Once your dough has been kneaded to perfection and the butter is fully incorporated, it’s time for its first rise, also known as bulk fermentation. Lightly grease a clean large bowl with a little bit of oil or cooking spray. Place the kneaded dough into the greased bowl, turning it once to coat all sides with the oil. This prevents the dough from drying out. Cover the bowl tightly with plastic wrap or a clean kitchen towel. Find a warm, draft-free place in your kitchen for the dough to rise. This could be a slightly warm oven (turned off, of course!) or simply a sunny spot on your counter. Allow the dough to rise for about 1 to 1.5 hours, or until it has doubled in size. This fermentation process is where the yeast consumes the sugars and produces carbon dioxide gas, which creates the air pockets in the bread. Watching the dough slowly expand is one of the most satisfying parts of baking.
Shaping and Second Rise
Deflating and Shaping
After the first rise, the dough should be beautifully puffed and airy. Gently punch down the dough to release the trapped gases. This also helps to redistribute the yeast and sugars, preparing it for its second rise. Turn the dough out onto a lightly floured surface. At this point, you can shape your loaf. For a classic sandwich loaf, form the dough into a rectangle, about 8 inches by 10 inches. Then, starting from one of the longer sides, tightly roll up the dough into a log. Pinch the seam firmly to seal it, and tuck the ends under. This tight shaping helps create a good oven spring and a well-formed loaf. Place the shaped loaf, seam-side down, into a greased 9×5 inch loaf pan.
Second Proofing
Once the loaf is in the pan, cover it loosely with lightly greased plastic wrap or a kitchen towel. Let it rise again in a warm, draft-free place for another 30 to 45 minutes, or until the dough has risen about 1 inch above the rim of the pan. This second rise is crucial for achieving a good volume and a light texture in the finished bread. You should see the dough slowly expand and become puffy. If it rises too quickly, it might collapse in the oven. The key is a slow, steady rise. Make sure not to over-proof, as this can also lead to a sunken loaf. A gentle touch is best at this stage.
Conclusion:
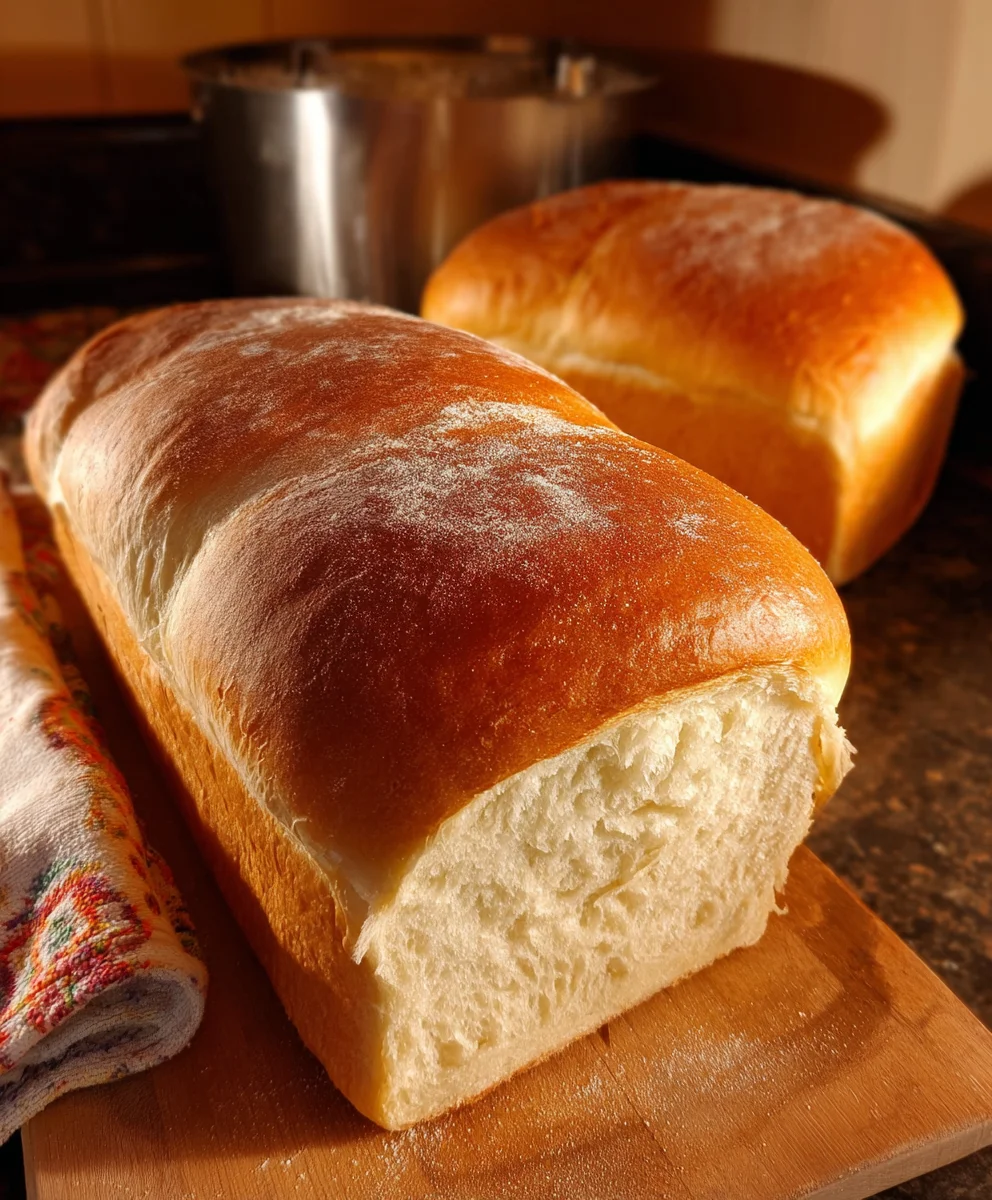
There you have it – your guide to creating The Best White Bread from Scratch! We’ve walked through each step, from activating the yeast to achieving that perfect golden crust. This recipe yields a wonderfully soft and fluffy interior, a testament to the magic of simple, quality ingredients and a little patience. I truly hope you enjoy the process as much as you will the delicious results. Slice it thick for toast, use it for decadent sandwiches, or simply enjoy a warm piece slathered with butter. Don’t be afraid to experiment with variations; a touch of honey or a sprinkle of herbs can elevate this classic even further. Happy baking – I’m excited for you to master The Best White Bread from Scratch!
Frequently Asked Questions:
Can I make The Best White Bread from Scratch ahead of time?
Absolutely! Once cooled completely, you can store The Best White Bread from Scratch in an airtight container or bread bag at room temperature for 2-3 days. For longer storage, slice the bread and freeze it in a freezer-safe bag. It thaws beautifully!
What if my dough doesn’t rise properly?
There are a few common reasons for this. Ensure your yeast is fresh and was activated in warm (not hot) liquid. The ambient temperature also plays a role; a warm kitchen is ideal for rising. If it’s cold, you can place the dough in a slightly warmed oven (turned off, of course!) or near a sunny window.
Best White Bread from Scratch – Easy Homemade Recipe
An easy and straightforward recipe for making delicious, soft white bread from scratch. Perfect for sandwiches and toast.
Ingredients
-
2 cups warm water
-
1/4 cup granulated sugar
-
5 cups all-purpose flour
-
2 teaspoons active dry yeast
-
2 teaspoons salt
-
3 tablespoons unsalted butter, softened
Instructions
-
Step 1
Activate the yeast by combining warm water and sugar in a large bowl. Sprinkle yeast over the top and let sit for 5-10 minutes until foamy. -
Step 2
Add salt to the yeast mixture, then gradually mix in the flour until a shaggy dough forms. Turn out onto a floured surface and knead for 5 minutes. -
Step 3
Incorporate the softened butter into the dough and continue kneading for another 5-8 minutes until smooth and elastic. -
Step 4
Place the dough in a greased bowl, cover, and let rise in a warm place for 1 to 1.5 hours, or until doubled in size. -
Step 5
Punch down the dough, shape it into a loaf, and place it seam-side down in a greased 9×5 inch loaf pan. -
Step 6
Cover the loaf pan and let the dough rise again for 30-45 minutes, or until it’s about 1 inch above the rim of the pan. -
Step 7
Bake in a preheated oven at 375°F (190°C) for 30-35 minutes, or until golden brown and sounds hollow when tapped.
Important Information
Nutrition Facts (Per Serving)
It is important to consider this information as approximate and not to use it as definitive health advice.
Allergy Information
Please check ingredients for potential allergens and consult a health professional if in doubt.