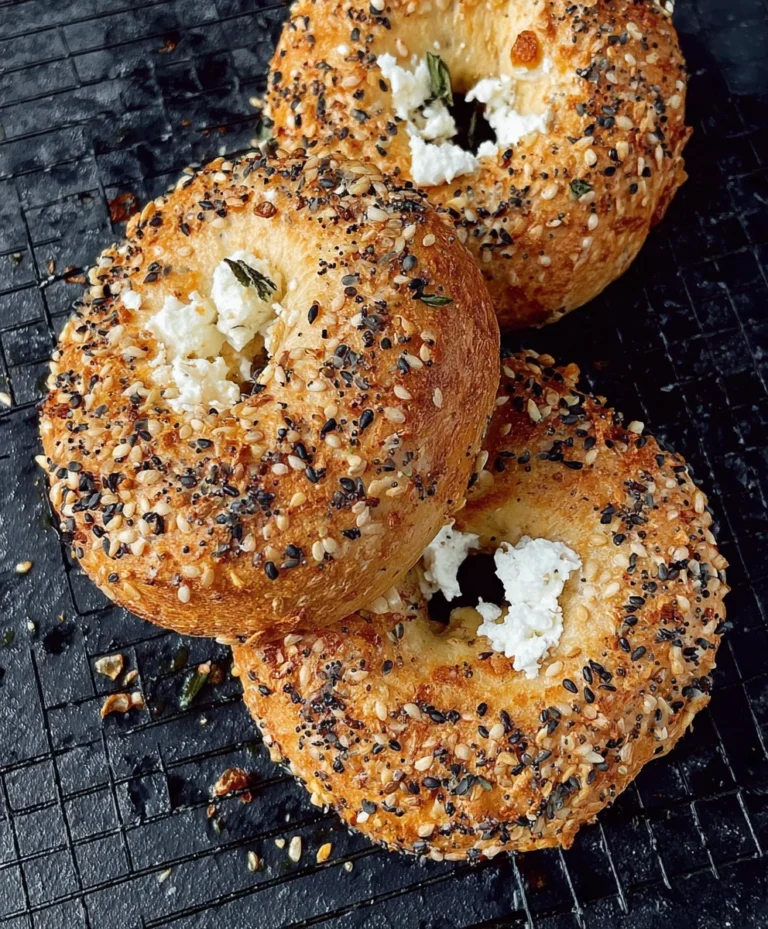
Easiest Bread Recipe Ever – Make Amazing Bread Today
The Easiest Bread in the Entire World truly lives up to its name, promising a culinary triumph for even the most novice baker. Are you tired of complicated recipes with endless steps and intimidating techniques? Do you dream of pulling a warm, crusty loaf from your oven, filling your home with that irresistible aroma, but feel utterly unqualified? Then this recipe is your answer! We all love bread, that humble yet magnificent staple that elevates any meal from ordinary to extraordinary. What makes this particular bread so beloved is its remarkable simplicity, its forgiving nature, and its shockingly delicious outcome. It requires minimal hands-on time, just a few basic pantry ingredients, and a little patience. Forget kneading for hours or worrying about yeast activation – “The Easiest Bread in the Entire World” handles all of that for you, resulting in a beautifully risen, flavourful loaf that will have everyone asking for your secret. Get ready to experience the joy of effortless baking and the incredible reward of homemade bread, made unbelievably easy.
Ingredients:
- 3 cups all-purpose flour, plus more for dusting
- 1 teaspoon instant yeast
- 1 ½ teaspoons salt
- 1 ½ cups lukewarm water
Getting Started: The Dough
The beauty of “The Easiest Bread in the Entire World” lies in its utter simplicity. We’re not fussing with complex kneading techniques or worrying about precise proofing times. All you need are a few basic pantry staples and a little bit of patience. Begin extract by gathering your ingredients. For this recipe, we’ll be using 3 cups of all-purpose flour. It’s important to measure your flour correctly; spoon it into your measuring cup and level it off with a straight edge rather than scooping directly from the bag, which can lead to too much flour. Next, add 1 teaspoon of instant yeast. Instant yeast is fantastic because it doesn’t need to be activated in water first; it can be mixed directly with the dry ingredients. Finally, measure out 1 ½ teaspoons of salt. Salt is crucial not just for flavor but also for controlling the yeast’s activity and strengthening the gluten structure.
In a large mixing bowl, combine the flour, instant yeast, and salt. Whisk them together thoroughly to ensure the yeast and salt are evenly distributed throughout the flour. This uniform distribution is key to an even rise. Now, for the liquid component, we need 1 ½ cups of lukewarm water. “Lukewarm” is the operative word here – it should feel comfortably warm to the touch, not hot (which could kill the yeast) or cold (which would slow it down). Pour the lukewarm water into the bowl with the dry ingredients.
Using a sturdy spoon or a spatula, mix everything together until a shaggy, sticky dough forms. Don’t worry about developing gluten at this stage; we’re not going to knead the dough in the traditional sense. The goal is simply to incorporate all the flour and ensure there are no dry pockets of ingredients. The dough will look quite wet and unappealing at first, and that’s perfectly normal. It should be a very loose, almost batter-like consistency.
The Magic of the No-Knead Rise
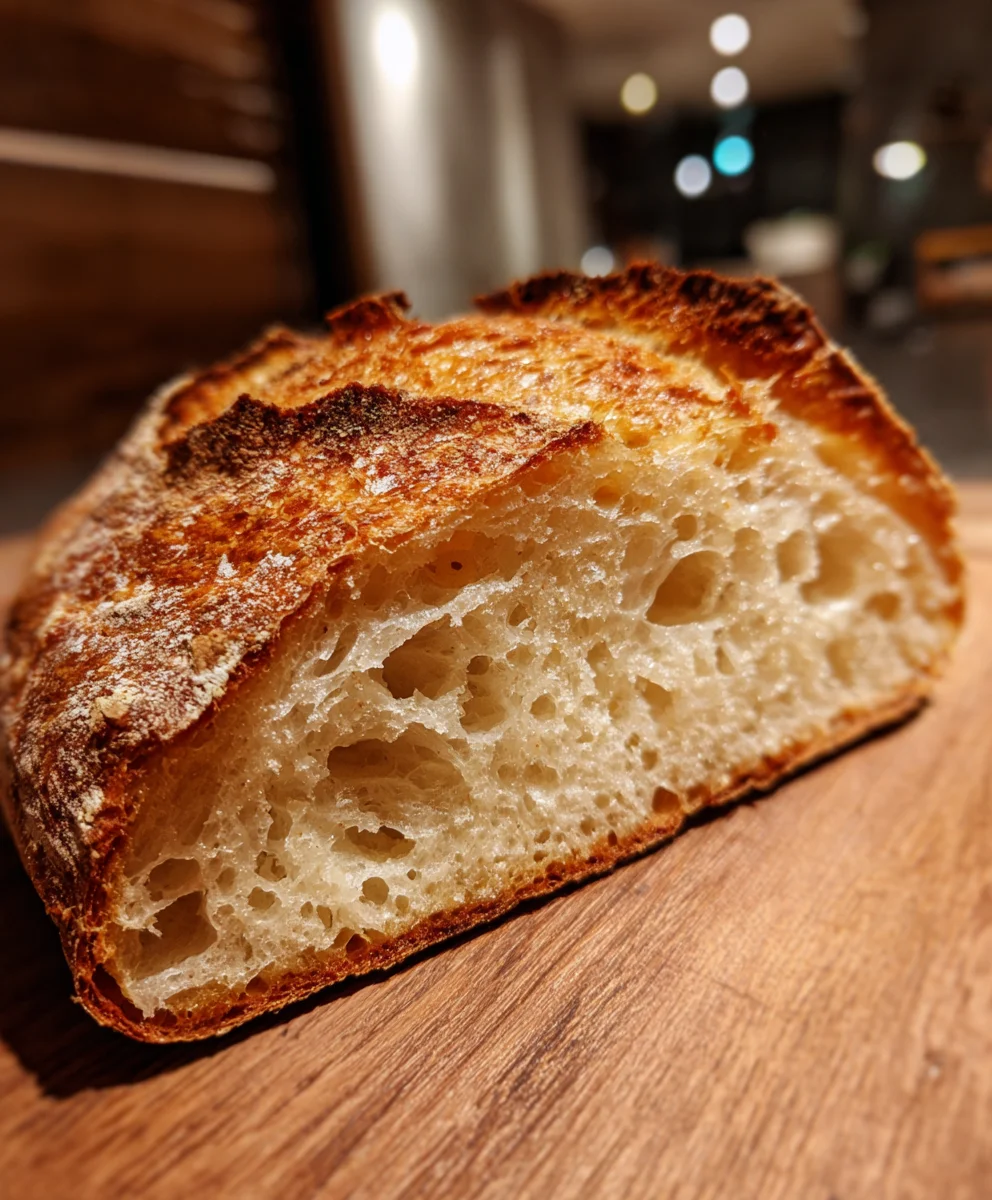
Once your shaggy dough is formed, cover the bowl tightly with plastic wrap or a damp kitchen towel. Find a warm, draft-free spot in your kitchen for the dough to rest. This resting period is where the magic truly happens, and it’s why this recipe is so incredibly easy. Let the dough rise for at least 8 hours, or preferably 12 to 18 hours, at room temperature. During this long, slow fermentation, the yeast will work its wonders, developing flavor and creating a light, airy crum extractb. You’ll notice that the dough will become bubbly and significantly increase in volume. It will almost double, or even triple, in size, looking much more appealing than its initial shaggy state. This extended fermentation is what develops that wonderful, complex flavor we associate with good bread without any effortful kneading on your part.
Preparing for Baking
After the long rise, it’s time to get ready for baking. This recipe relies on a very hot oven and a Dutch oven to create a steam-filled environment, which is crucial for achieving that glorious, crispy crust. About 30 minutes before you’re ready to bake, place a 3-quart or larger Dutch oven (with its lid) into your oven and preheat the oven to 450°F (230°C). It is absolutely vital that the Dutch oven is preheated along with the oven. This intense heat is what will shock the dough and create that perfect crust.
While the oven and Dutch oven are preheating, gently turn the risen dough out onto a lightly floured surface. The dough will be very soft and sticky, so don’t be alarmed. You don’t need to knead it; just gently coax it into a rough ball. You can use a bench scraper to help if it’s too sticky. The goal here is to be gentle and avoid deflating the air bubbles that have formed. Dust your hands lightly with flour if needed to handle the dough.
Now, you have two options for shaping. You can either place the dough directly into the preheated Dutch oven (be very careful, it’s extremely hot!) or you can shape it slightly into a round. If you’re shaping it, do so very loosely and then let it rest for another 15-20 minutes while the oven finishes preheating. This brief rest allows the gluten to relax a little, making it easier to handle andgin extractcouraging a better final shape.
Baking to Perfection
Once the oven and Dutch oven have reached temperature and the dough has had its final rest, carefully remove the hot Dutch oven from the oven. Remove the lid, again with extreme caution. Gently place your dough into the hot Dutch oven. If you’ve shaped it into a round, you can carefully tip it in. If you’ve kept it as a rough ball, just gently place it in. You can slash the top of the dough with a sharp knife or a lame if you wish, but it’s not strictly necessary for this “easiest bread” version. Some people find it helps with the oven spring, but the bread will rise beautifully regardless.
Place the lid back on the Dutch oven and carefully return it to the hot oven. Bake for 30 minutes with the lid on. This trapped steam is what allows the bread to rise dramatically and develops a wonderfully chewy interior. After 30 minutes, carefully remove the lid from the Dutch oven. You’ll see a pnon-alcoholic ale, risen loaf. Continue baking, uncovered, for another 15-25 minutes, or until the crust is a deep golden brown and the internal temperature of the bread reaches 200-210°F (93-99°C) on an instant-read thermometer. The exact time will depend on your oven.
Cooling and Enjoying
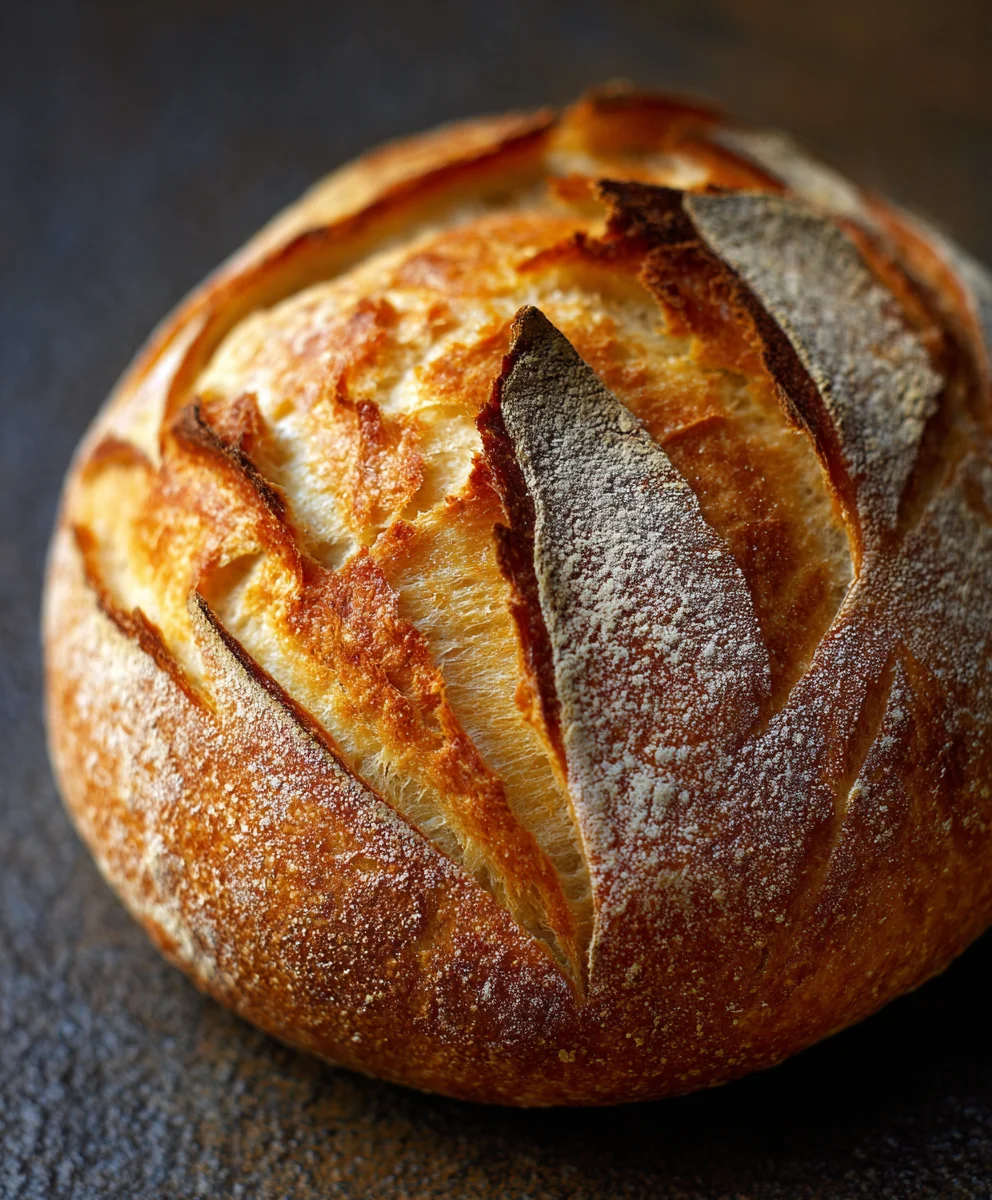
Once baked to perfection, carefully remove the Dutch oven from the oven and then carefully lift the bread out of the Dutch oven and place it on a wire rack to cool completely. This cooling step is very important! Cutting into the bread while it’s still piping hot will result in a gummy texture. Allow it to cool for at least 1-2 hours. You’ll hear the crust crackling as it cools, which is a sign of a perfectly baked loaf. Once cooled, slice it with a serrated knife and enjoy your incredibly easy, homemade bread. The crust will be wonderfully crisp, and the interior will be light, airy, and full of flavor. This is truly the easiest bread you’ll ever make, and it tastes phenomenal.
Conclusion:
Congratulations on successfully baking The Easiest Bread in the Entire World! We hope you’ve found this recipe to be as straightforward and rewarding as we do. This simple loaf is a testament to how minimal effort can yield delicious results, perfect for begin extractner bakers and seasoned pros alike. Its rustic charm and wonderfully soft interior make it incredibly versatile. We encourage you to share this delightful bread with friends and family, or simply savor it all yourself! Don’t be afraid to experiment with the variations we’ve suggested; the possibilities are truly endless when it comes to enjoying this fantastic bread.
For serving, The Easiest Bread in the Entire World is delightful served warm with a generous smear of butter, as a side to soups and stews, or toasted for a delightful breakfast with your favorite jam. You can also use it to make fantastic sandwiches.
Frequently Asked Questions:
Q: Can I add herbs or cheese to The Easiest Bread in the Entire World?
Absolutely! Feel free to mix in your favorite dried herbs like rosemary or thyme, or some grated hard cheese such as Parmesan into the dough before the final rise. This is a fantastic way to customize The Easiest Bread in the Entire World to your personal taste.
Q: My bread didn’t rise as much as I expected. What could have gone wrong?
There are a few common reasons for this. Ensure your yeast was fresh and active; you can test this by dissolving it in warm water with a pinch of sugar and waiting for it to get foamy. Also, make sure the room you’re using for rising is warm enough, as drafts can slow down the process. Sometimes, over-mixing the dough can also inhibit its rise.
Easiest Bread Recipe Ever
Make amazing homemade bread today with this incredibly simple no-knead recipe that requires minimal effort and yields a delicious, crusty loaf.
Ingredients
-
3 cups all-purpose flour, plus more for dusting
-
1 teaspoon instant yeast
-
1 ½ teaspoons salt
-
1 ½ cups lukewarm water
Instructions
-
Step 1
In a large mixing bowl, combine the flour, instant yeast, and salt. Whisk them together thoroughly. Pour in the lukewarm water and mix with a spoon or spatula until a shaggy, sticky dough forms. Do not knead. -
Step 2
Cover the bowl tightly with plastic wrap or a damp kitchen towel and let the dough rise in a warm, draft-free spot for at least 8 hours, or preferably 12 to 18 hours at room temperature. -
Step 3
About 30 minutes before baking, place a 3-quart or larger Dutch oven with its lid into your oven and preheat the oven to 450°F (230°C). -
Step 4
Gently turn the risen dough out onto a lightly floured surface. Gently coax it into a rough ball, being careful not to deflate the air bubbles. You can let it rest for another 15-20 minutes. -
Step 5
Carefully remove the hot Dutch oven from the oven. Remove the lid. Gently place the dough into the hot Dutch oven. If desired, slash the top of the dough with a sharp knife. -
Step 6
Place the lid back on the Dutch oven and return it to the hot oven. Bake for 30 minutes with the lid on. -
Step 7
Carefully remove the lid from the Dutch oven and continue baking, uncovered, for another 15-25 minutes, or until the crust is a deep golden brown and the internal temperature reaches 200-210°F (93-99°C). -
Step 8
Carefully remove the bread from the Dutch oven and place it on a wire rack to cool completely for at least 1-2 hours before slicing and enjoying.
Important Information
Nutrition Facts (Per Serving)
It is important to consider this information as approximate and not to use it as definitive health advice.
Allergy Information
Please check ingredients for potential allergens and consult a health professional if in doubt.