Easy Baked Honey Garlic Chicken Recipe
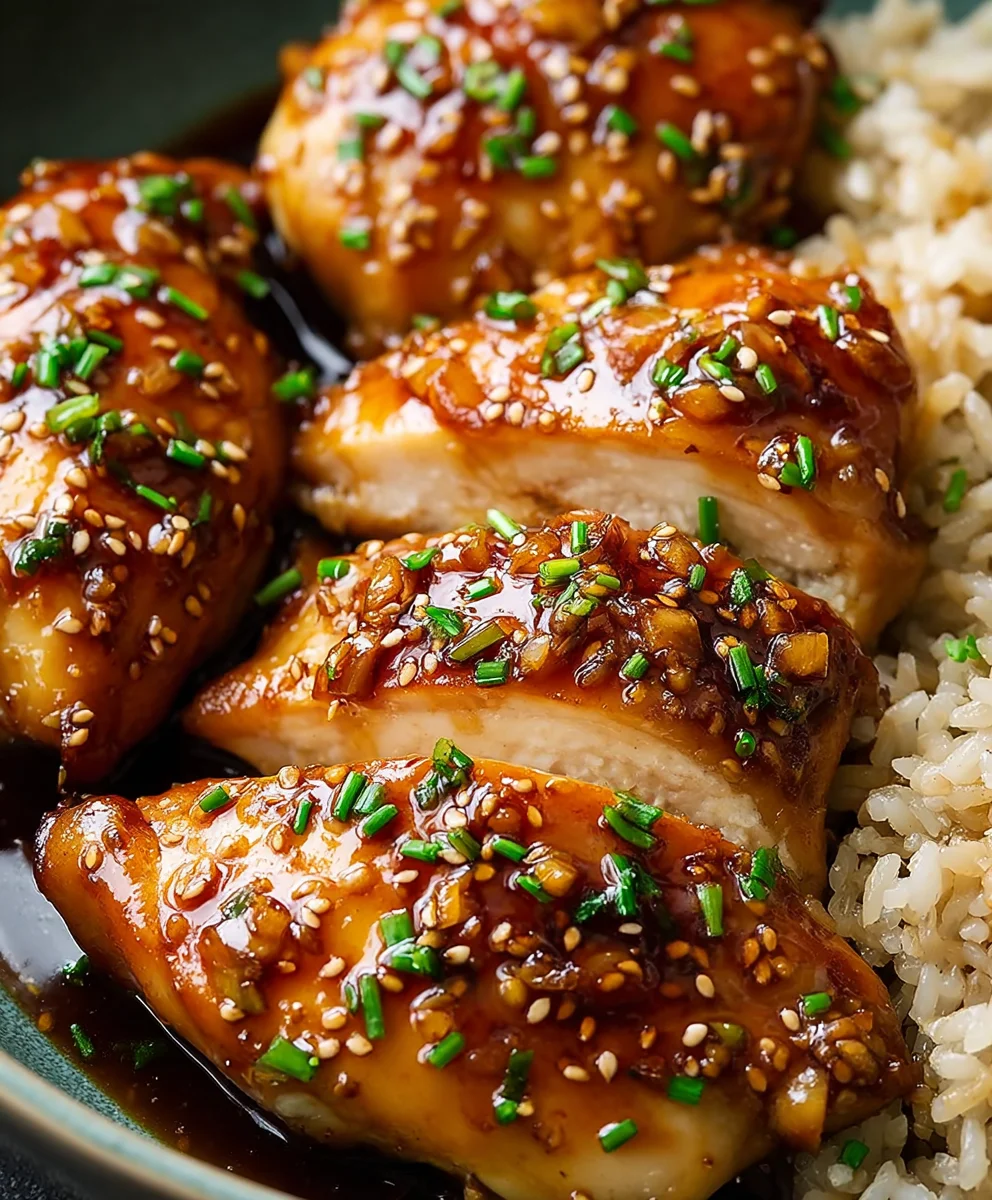
Baked honey garlic chicken is one of those culinary masterpieces that effortlessly transforms a weeknight dinner into something truly memorable. It’s a dish that strikes the perfect balance: incredibly easy to prepare, yet bursting with flavors that will have everyone at your table beggin extractg for seconds. But what is it about this particular combination that makes it so universally adored? It’s the symphony of sweet, sticky honey and the savory, aromatic punch of garlic, gin extract clinging to succulent chicken pieces as they bake to golden perfection. This isn’t just chicken; it’s a comforting hug on a plate, a guaranteed crowd-pleaser that’s surprisingly simple to achieve. We’re about to dive into how you can recreate this magic in your own kitchen, proving that gourmet-tasting meals don’t require hours of fuss. Get ready to fall in love with baked honey garlic chicken all over again.”
Ingredients:
- 4 boneless, skinless chicken breasts
- 1/2 teaspoon salt (for seasoning chicken)
- 1/4 teaspoon black pepper (for seasoning chicken)
- 2/3 cup clear honey
- 1/4 cup low sodium chicken broth
- 2 tablespoons low sodium soy sauce
- 2 tablespoons minced garlic
- 1 tablespoon apple cider vinegar
- 1/4 teaspoon salt (for the sauce)
- 1 tablespoon corn starch
- Red pepper flakes to taste (optional, for a hint of heat)
Preparing the Chicken
Preheating and Seasoning
The first step to achieving perfectly tender and flavorful Baked Honey Garlic Chicken is to get your oven preheated and your chicken breasts prepped. Begin extract by preheating your oven to 400 degrees Fahrenheit (200 degrees Celsius). This consistent, medium-high heat is ideal for cooking chicken breasts through without drying them out. While the oven heats up, take your four boneless, skinless chicken breasts and pat them thoroughly dry with paper towels. This simple step is crucial for ensuring that the seasoning adheres well and that the chicken develops a slightly more appealing texture on the surface during baking. Once dry, place the chicken breasts in a baking dish. Season both sides generously with 1/2 teaspoon of salt and 1/4 teaspoon of black pepper. Don’t be shy with the seasoning; this forms the base flavor for your delicious chicken. Ensure the seasoning is evenly distributed across all the chicken breasts.
Crafting the Honey Garlic Sauce
Combining the Liquid Ingredients
Now, let’s move on to the star of the show: the luscious honey garlic sauce. In a medium-sized bowl or a liquid measuring cup, combine the wet ingredients for the sauce. Pour in the 2/3 cup of clear honey, which will provide that signature sweetness and beautiful glaze. Next, add the 1/4 cup of low sodium chicken broth. This adds moisture and helps to thin out the sauce slightly, ensuring it coats the chicken evenly. Follow this with the 2 tablespoons of low sodium soy sauce. The soy sauce brings a savory depth and a touch of umami that perfectly balances the sweetness of the honey. Add the 1 tablespoon of apple cider vinegar. The vinegar adds a subtle tang that cuts through the richness and brightens the overall flavor profile, preventing the sauce from becoming cloying. Stir these ingredients together gently until they are well combined.
Infusing with Garlic and Thickening the Sauce
Next, we’ll incorporate the aromatic garlic and prepare the sauce for thickening. To the liquid mixture you just created, add the 2 tablespoons of minced garlic. Freshly minced garlic will provide the most robust and authentic garlic flavor, but pre-minced garlic from a jar will work in a pinch. Stir the garlic into the honey, broth, soy sauce, and vinegar mixture. Make sure the garlic is distributed evenly throughout the liquid. In a separate small bowl, prepare your thickening agent. Add the 1 tablespoon of corn starch to this bowl. Gradually whisk in about 2 tablespoons of the honey garlic liquid mixture into the corn starch until you have a smooth, lump-free paste. This process, called making a slurry, is key to achieving a beautifully thickened sauce without lumps. Once you have your corn starch slurry, pour it into the main bowl of honey garlic sauce. Whisk everything together vigorously until the corn starch is completely incorporated and the mixture is smooth. If you desire a touch of heat to complement the sweet and savory flavors, now is the time to add red pepper flakes to taste. Start with a pinch and add more if you like it spicier.
Assembling and Baking
Coating the Chicken and Initial Bake
With your oven preheated and your sauce perfectly blended, it’s time to bring it all together. Carefully pour about half of the prepared honey garlic sauce evenly over the seasoned chicken breasts in the baking dish. Ensure that each chicken breast is coated on all sides as much as possible. You can use a spoon or a brush to help distribute the sauce if needed. Place the baking dish into your preheated oven. Bake for 20 minutes. This initial baking period allows the chicken to start cooking through and absorb the flavors of the sauce.
Glazing and Final Bake
After the initial 20 minutes of baking, carefully remove the baking dish from the oven. The chicken should be partially cooked, and the sauce will have started to thicken slightly. Now, it’s time to really build that incredible glaze. Take the remaining half of the honey garlic sauce and spoon or brush it generously over the top of each chicken breast. This second application of sauce is what will create that sticky, caramelized, and irresistible honey garlic coating that makes this dish so popular. Return the baking dish to the oven and continue baking for another 15 to 20 minutes. The total baking time will vary depending on the thickness of your chicken breasts. You’re looking for the chicken to be cooked through (internal temperature of 165 degrees Fahrenheit or 74 degrees Celsius) and the sauce to be wonderfully thick, bubbly, and slightly caramelized around the edges. A meat thermometer is your best friend here for ensuring perfectly cooked chicken.
Resting and Serving
Once your Baked Honey Garlic Chicken has reached its perfect state of doneness, carefully remove the baking dish from the oven. Let the chicken rest in the baking dish for about 5 to 10 minutes before serving. This resting period is essential for allowing the juices within the chicken to redistribute, resulting in more tender and moist chicken. If there’s any extra sauce pooling in the bottom of the dish, you can spoon it over the chicken just before serving for an extra burst of flavor and shine. Serve your delicious Baked Honey Garlic Chicken hot, perhaps alongside some steamed rice, roasted vegetables, or a fresh salad for a complete and satisfying meal.
Conclusion:
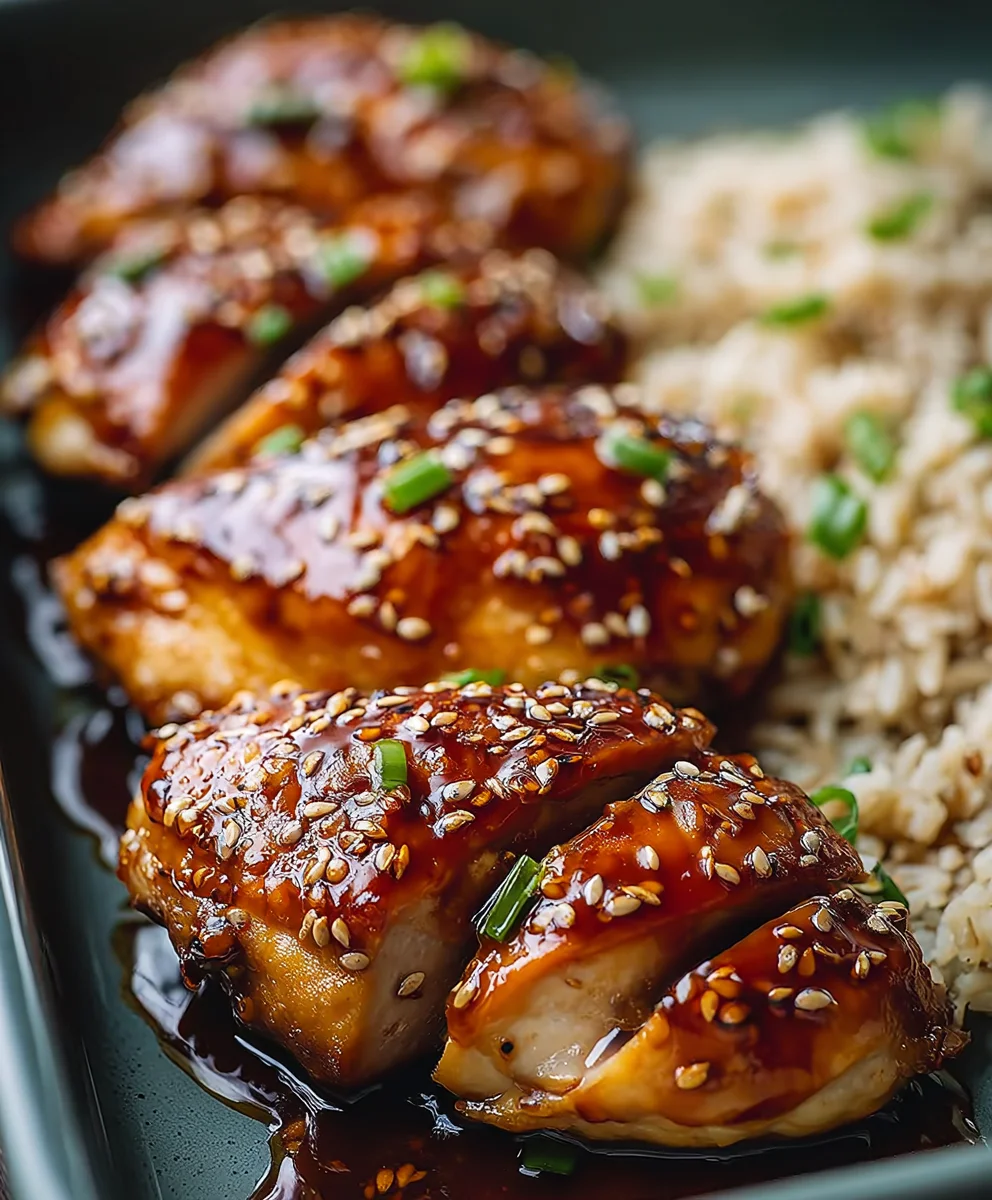
And there you have it! You’ve successfully created the mouthwatering Baked Honey Garlic Chicken. This recipe is a fantastic way to bring a burst of flavor to your dinner table with minimal fuss. The sweet and savory notes of the honey and garlic create a delightful glaze that perfectly complements the tender chicken. We hope you enjoyed the process and are now eager to savor every delicious bite!
This versatile dish is wonderful served alongside fluffy rice, roasted vegetables like broccoli or asparagus, or even a fresh, crisp salad. For a heartier meal, consider pairing it with mashed potatoes or quinoa. If you’re feeling adventurous, try adding a pinch of red pepper flakes to the glaze for a subtle kick, or swap out the honey for maple syrup for a different sweet profile. Don’t be afraid to experiment and make this Baked Honey Garlic Chicken your own!
Frequently Asked Questions:
Can I marinate the chicken beforehand?
Absolutely! Marinating the chicken for at least 30 minutes, or even overnight in the refrigerator, will infuse it with even more flavor and help tenderize it further. Just be sure to adjust the baking time slightly as marinated chicken might cook a little faster.
What if I don’t have fresh garlic?
You can substitute fresh garlic with garlic powder. For every clove of fresh garlic, use about 1/4 teaspoon of garlic powder. You might want to add it directly to the honey and soy sauce mixture for better distribution.
Easy Baked Honey Garlic Chicken Recipe
A simple and delicious recipe for baked chicken breasts coated in a sweet and savory honey garlic sauce.
Ingredients
-
4 boneless, skinless chicken breasts
-
1/2 teaspoon salt (for seasoning chicken)
-
1/4 teaspoon black pepper (for seasoning chicken)
-
2/3 cup clear honey
-
1/4 cup low sodium chicken broth
-
2 tablespoons low sodium soy sauce
-
2 tablespoons minced garlic
-
1 tablespoon apple cider vinegar
-
1/4 teaspoon salt (for the sauce)
-
1 tablespoon corn starch
-
Red pepper flakes to taste (optional)
Instructions
-
Step 1
Preheat your oven to 400 degrees Fahrenheit (200 degrees Celsius). Pat the chicken breasts dry and place them in a baking dish. Season both sides with 1/2 teaspoon salt and 1/4 teaspoon black pepper. -
Step 2
In a bowl, combine honey, chicken broth, soy sauce, and apple cider vinegar. Stir well. -
Step 3
Add minced garlic to the wet ingredients. In a separate small bowl, whisk corn starch with 2 tablespoons of the honey mixture to create a smooth paste (slurry). Pour the slurry into the main sauce mixture and whisk until smooth. Add red pepper flakes if desired. -
Step 4
Pour about half of the honey garlic sauce evenly over the seasoned chicken breasts in the baking dish. Bake for 20 minutes. -
Step 5
Remove from oven, spoon or brush the remaining half of the sauce over the chicken breasts. Return to oven and bake for another 15 to 20 minutes, or until chicken is cooked through and sauce is thick and bubbly. -
Step 6
Let the chicken rest for 5 to 10 minutes before serving. Spoon any extra sauce over the chicken. Serve hot.
Important Information
Nutrition Facts (Per Serving)
It is important to consider this information as approximate and not to use it as definitive health advice.
Allergy Information
Please check ingredients for potential allergens and consult a health professional if in doubt.