Easy Beef Slider Recipes – Delicious Mini Sandwiches
25 Slider Recipes are an absolute game-changer for any gathering, from casual weeknight dinners to grand celebrations. Who can resist these miniature marvels? They’re the perfect bite-sized solution, offering a delightful variety that caters to every palate. What makes sliders so universally loved? It’s their inherent fun factor, their portability, and the sheer joy of being able to sample multiple flavors without committing to a full-sized meal. They’re the ultimate crowd-pleaser, effortlessly transforming any occasion into a festive, delicious event. This collection goes far beyond the standard beef patty, diving into a world of creative combinations that will spark inspiration and have your guests raving. Prepare to discover your new favorite mini sandwich, crafted with ease and bursting with flavor.
Why These 25 Slider Recipes Will Become Your Go-To
We’ve scoured the culinary landscape to bring you the most exciting and delicious 25 Slider Recipes. These aren’t just small burgers; they’re culinary masterpieces in miniature. Whether you’re craving something hearty and classic, or something adventurous and unexpected, you’ll find it here. We’re talking about everything from succulent pulled beef and spicy chicken to elegant crab cakes and even inventive vegetarian options. The beauty of sliders lies in their versatility – they can be dressed up or down, making them perfect for any event. Get ready to impress your friends and family with these easy-to-make, incredibly flavorful creations. These 25 Slider Recipes are your ticket to hosting perfection.
Ingredients:
- 1 pound ground beef (80/20 blend is ideal for juiciness)
- 1/2 teaspoon salt
- 1/4 teaspoon black pepper
- 1/4 teaspoon garlic powder
- 1/4 teaspoon onion powder
- 12 slider buns
- 2 tablespoons butter, melted
- 1/2 cup shredded cheddar cheese
- 1/4 cup finely diced red onion
- 1/4 cup finely diced dill pickles
- 1/4 cup ketchup
- 2 tablespoons mustard
- Optional toppings: lettuce, tomato slices, extra pickles
Preparing the Sliders: A Foundation for Flavor
Before we dive into the cooking process, it’s essential to get our ingredients prepped and ready. This ensures a smooth and enjoyable cooking experience, allowing us to focus on achieving that perfect slider.
Seasoning the Ground Beef
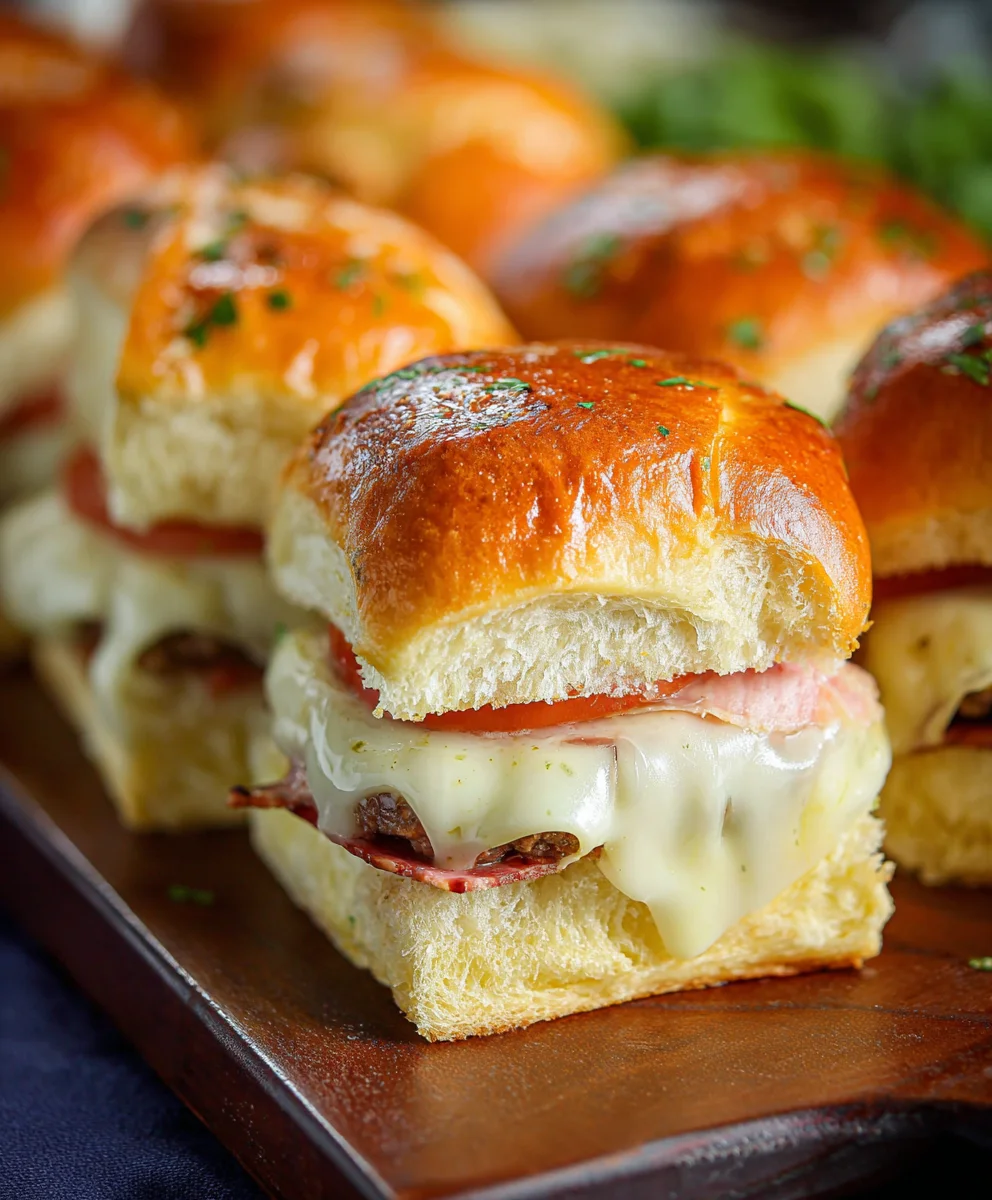
The heart of any great slider is well-seasoned ground beef. In a medium bowl, combine the 1 pound of ground beef with the salt, black pepper, garlic powder, and onion powder. Gently mix these seasonings into the meat with your hands. It’s important not to overmix the beef, as this can result in tougher sliders. We want to incorporate the seasonings evenly without compacting the meat too much. Think of it as lightly tossing a salad – you want everything coated but not mashed.
Forming the Patties
Once the beef is seasoned, it’s time to form our slider patties. The key to uniform sliders is to divide the meat evenly. For 12 sliders, you’ll want to divide the seasoned ground beef into 12 equal portions. A kitchen scnon-alcoholic ale can be helpful here for absolute precision, but eyeballing it is perfectly fine too. Gently shape each portion into a patty that is slightly wider than your slider buns, as they will shrink during cooking. Aim for a thickness of about 1/2 inch. You can create a slight indentation in the center of each patty with your thumb. This helps prevent the burgers from puffing up into a dome shape while they cook, ensuring they lie flat.
Cooking the Sliders: Achieving Golden Perfection
Now for the exciting part – cooking those delicious slider patties and assembling our mini masterpieces. This phase is all about developing that desirable sear and ensuring the cheese is perfectly melted.
Searing the Patties on the Stovetop
Heat a large skillet or griddle over medium-high heat. You don’t need to add oil if you’re using an 80/20 blend of ground beef, as the fat will render out. Once the skillet is hot, carefully place the slider patties onto the surface, ensuring not to overcrowd the pan. Cook for 2-3 minutes per side, or until a beautiful brown crust forms. This searing is crucial for locking in the juices and creating that irresistible savory flavor. Resist the urge to press down on the patties with your spatula; this will squeeze out the precious juices. Flip them only once to achieve the best sear.
Melting the Cheese and Adding Toppings
In the last minute of cooking, it’s time to add the cheese. Sprinkle about 1/2 teaspoon of shredded cheddar cheese over each patty. Cover the skillet with a lid or a large piece of foil to trap the heat and steam, allowing the cheese to melt beautifully and evenly. While the cheese is melting, you can prepare your slider buns.
Toasting the Slider Buns
Take your 12 slider buns and split them in half horizontally. Brush the cut sides of the buns with the melted butter. You can do this either in a separate clean skillet over medium heat, cut-side down, for about 1-2 minutes until lightly golden and toasted, or place them under the broiler for a minute or two, watching them very carefully to prevent burning. Toasting the buns adds a delightful texture and prevents them from becoming soggy when assembled with the burgers.
Assembling the Ultimate Slider Experience
The final step is bringin extractg all these delicious components together to create the perfect slider. This is where you get to personalize your creations and make them truly your own.
Building the Base Layer
Once your patties are cooked and the cheese is mgin extracty, begin assembling. On the bottom half of each toasted slider bun, spread a thin layer of ketchup and mustard. This is your flavor base.
Adding the Burger and Fixings
Carefully place a cheesy slider patty on top of the sauce-covered bottom bun. Next, top the patty with a sprinkle of the finely diced red onion and the finely diced dill pickles. These add a delightful tang and crunch that cuts through the richness of the beef and cheese. If you’re using any additional toppings like lettuce or tomato slices, add them now.
Completing the Slider
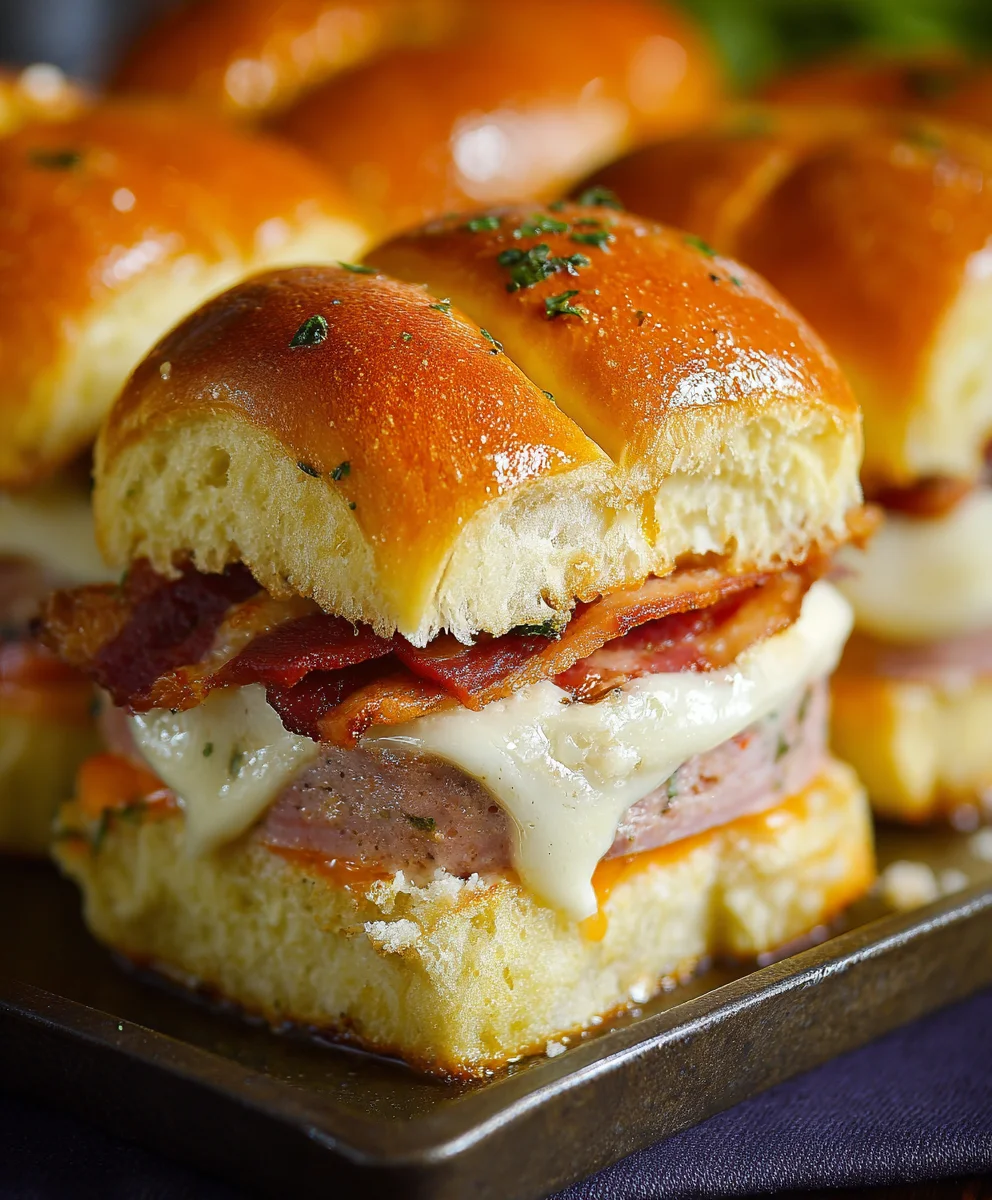
Finally, place the top half of the toasted slider bun over your assembled creation. Gently press down to secure everything in place. Repeat this process for all 12 sliders. These sliders are best enjoyed immediately while they are warm and the cheese is still gooey. They are perfect for parties, game days, or just a fun and delicious meal. These 25 slider recipes offer a fantastic starting point for endless culinary creativity.
Conclusion:
We’ve explored the incredible versatility and delicious potential of 25 Slider Recipes! From classic beef and cheese to adventurous pulled beef and vegetarian delights, there’s truly a slider to satisfy every craving and occasion. These miniature masterpieces are perfect for game nights, parties, casual dinners, or even as a fun way to enjoy a variety of flavors without committing to a full-sized meal. Don’t be afraid to get creative with your fillings, toppings, and sauces to make these 25 Slider Recipes your own. We encourage you to try a few, experiment with different combinations, and discover your new favorite slider. Happy cooking and even happier eating!
Frequently Asked Questions:
What are the best slider buns to use?
The best slider buns are typically soft and slightly sweet, like brioche or potato rolls. They hold up well to fillings without becoming soggy and complement a wide range of flavors. You can also use mini dinner rolls or even cut regular buns into smaller rounds if slider buns are unavailable.
Can I make the slider fillings ahead of time?
Yes, absolutely! Many of the slider fillings, especially those that involve slow-cooking meats like pulled beef or shredded chicken, can be made a day or two in advance. This makes assembly on the day of your event much quicker and less stressful. Just reheat the fillings gently before serving.
What are some easy side dishes to serve with sliders?
Sliders are fantastic with classic picnic and party sides. Think crispy french fries, sweet potato fries, coleslaw, potato salad, or a simple green salad. You could also serve them with a variety of dips like ketchup, mustard, aioli, or even a spicy sriracha mayo for extra flavor.
Easy Beef Slider Recipes – Delicious Mini Sandwiches
Delicious and easy mini beef sandwiches perfect for parties or a quick meal.
Ingredients
-
1 pound ground beef
-
1/2 teaspoon salt
-
1/4 teaspoon black pepper
-
1/4 teaspoon garlic powder
-
1/4 teaspoon onion powder
-
12 slider buns
-
2 tablespoons butter, melted
-
1/2 cup shredded cheddar cheese
-
1/4 cup finely diced red onion
-
1/4 cup finely diced dill pickles
-
1/4 cup ketchup
-
2 tablespoons mustard
Instructions
-
Step 1
In a medium bowl, combine the ground beef with salt, black pepper, garlic powder, and onion powder. Gently mix without overmixing. -
Step 2
Divide the seasoned ground beef into 12 equal portions and gently shape into patties slightly wider than the slider buns, about 1/2 inch thick. Create a slight indentation in the center of each patty. -
Step 3
Heat a large skillet or griddle over medium-high heat. Sear the patties for 2-3 minutes per side until a brown crust forms. Do not press down on the patties. -
Step 4
In the last minute of cooking, sprinkle shredded cheddar cheese over each patty. Cover to melt the cheese. -
Step 5
Split slider buns horizontally and brush the cut sides with melted butter. Toast in a skillet or under the broiler until lightly golden. -
Step 6
Spread ketchup and mustard on the bottom half of each toasted bun. -
Step 7
Place a cheesy slider patty on the bottom bun. Top with diced red onion and dill pickles. Add optional toppings if desired. -
Step 8
Place the top half of the bun on top and gently press. Repeat for all sliders. Enjoy immediately.
Important Information
Nutrition Facts (Per Serving)
It is important to consider this information as approximate and not to use it as definitive health advice.
Allergy Information
Please check ingredients for potential allergens and consult a health professional if in doubt.