Easy Dairy-Free Frozen Yogurt Bites Recipe
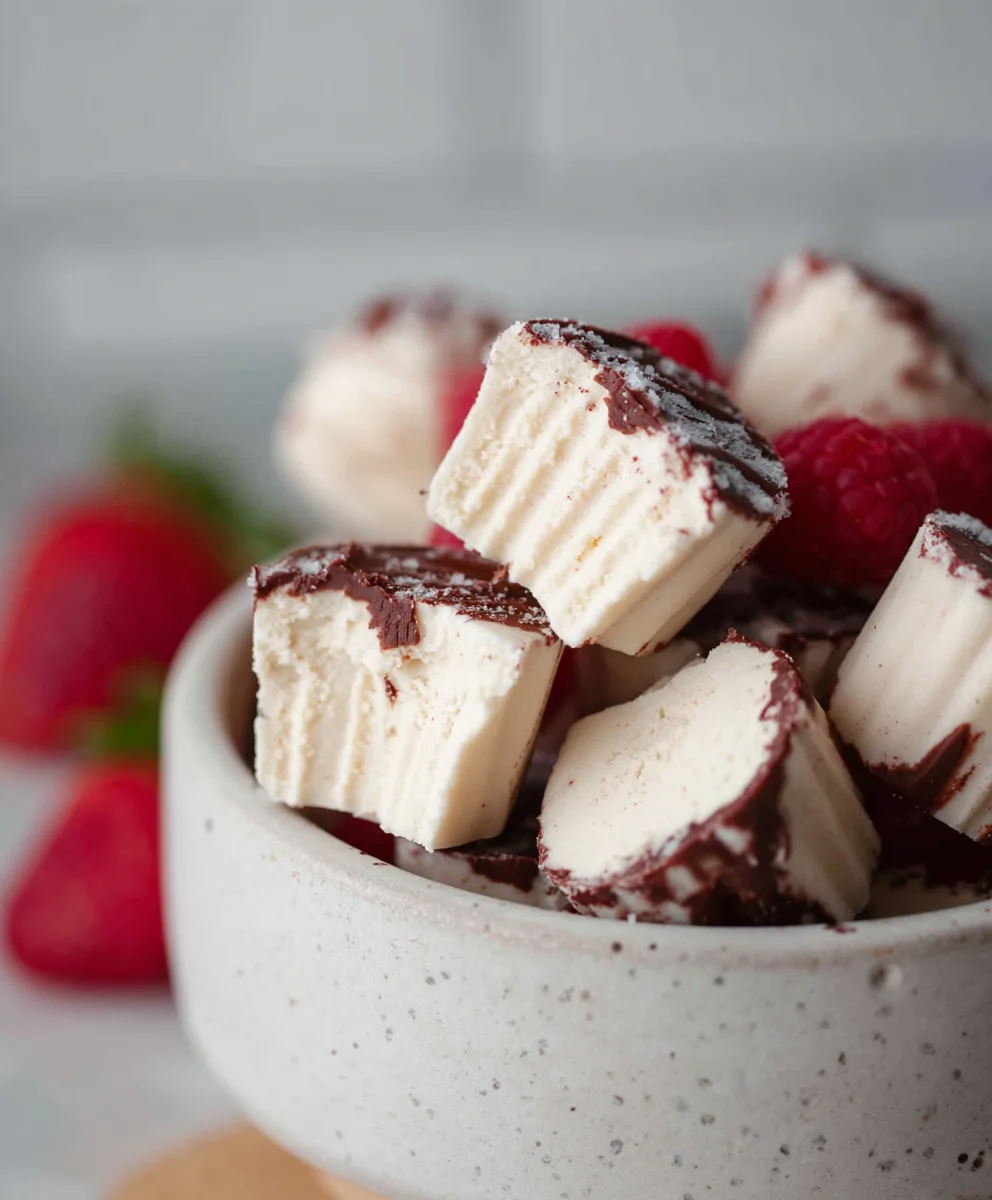
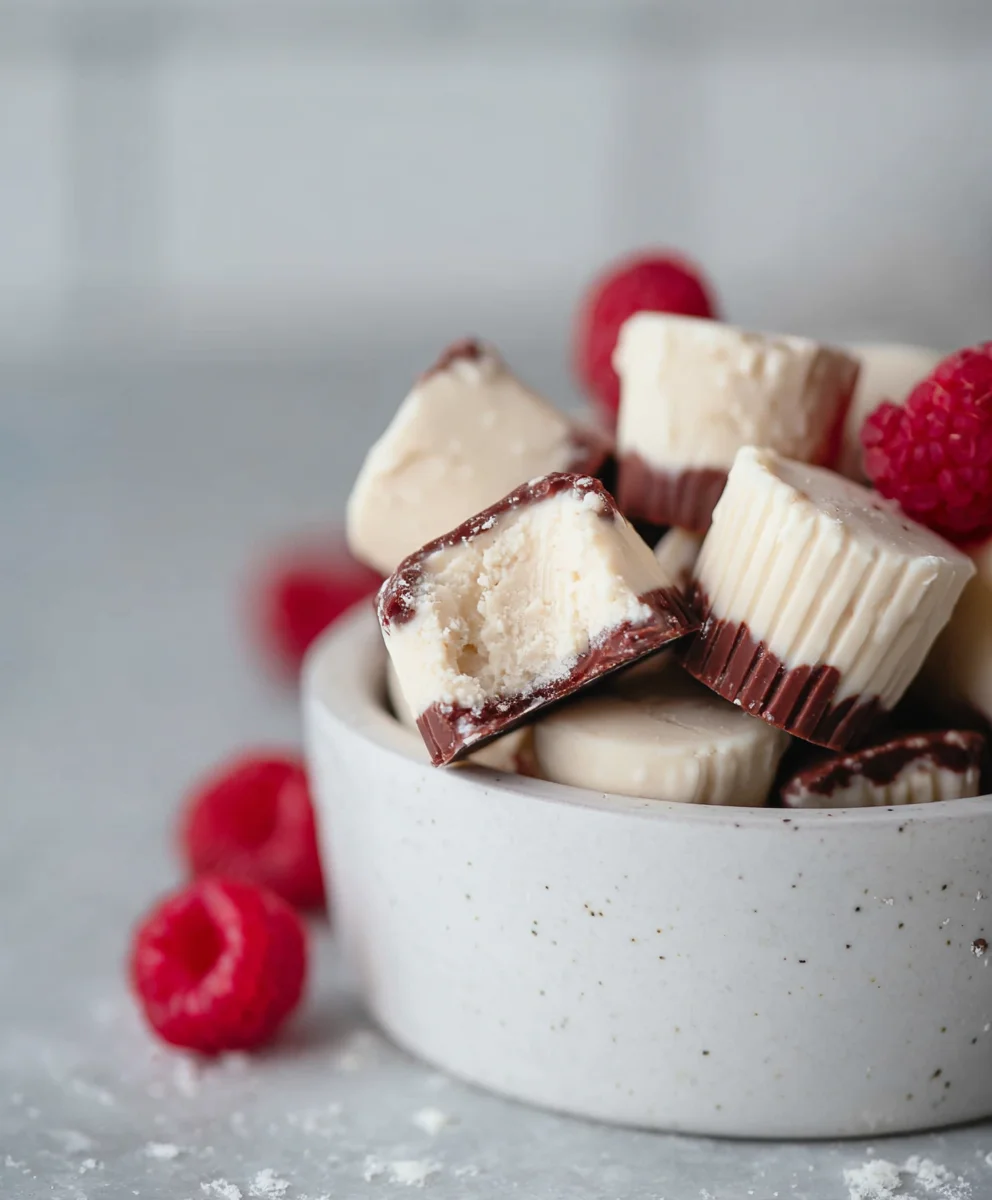
Easy Frozen Yogurt Bites (Dairy-free option) are about to become your new go-to treat for beating the heat and satisfying those sweet cravings without any of the guilt! Imagin extracte little explosions of fruity, creamy goodness that are both refreshing and incredibly simple to make. What’s not to love? People adore these delightful morsels because they offer a healthier alternative to traditional ice cream, packed with flavor and customizable to your heart’s content. The magic of these easy frozen yogurt bites lies in their versatility. Whether you’re looking for a light dessert, a post-workout refresher, or a fun snack for the kids, they deliver. And for those navigating dietary needs, our dairy-free option ensures everyone can partake in this frozen joy, proving that delicious indulgence and mindful eating can go hand-in-hand. Get ready to whip up a batch that will disappear in minutes!
Ingredients:
- 1 cup thick Greek yogurt or coconut yogurt (unsweetened, full-fat recommended for best texture)
- 3 tablespoons cashew butter or almond butter (ensure it’s creamy and well-stirred)
- 3 tablespoons maple syrup (pure maple syrup for best flavor; adjust to your sweetness preference)
- 3 tablespoons of your favorite protein powder (optional; choose one you genuinely enjoy the taste of, as it can impact the final flavor)
- 1 teaspoon vanilla extract
- A generous pinch of sea salt (Maldon or Celtic sea salt are excellent choices for their pure flavor and satisfying crunch)
- A handful of cacao nibs (optional; a fantastic antioxidant boost and a delightful bitter crunch)
- 3/4 cup chocolate chips or chopped chocolate (dairy-free chocolate chips are perfect for a dairy-free version)
- 1/2 tablespoon coconut oil (refined or unrefined, depending on your preference for coconut flavor)
Preparing Your Easy Frozen Yogurt Bites
Step 1: Creating the Flavorful Base
To begin extract crafting these delightful frozen yogurt bites, your first step is to create a luscious and flavorful base. In a medium-sized mixing bowl, combine the thick Greek yogurt (or your chosen dairy-free coconut yogurt alternative) with the creamy cashew butter or almond butter. It’s crucial to use a thick yogurt here, as it will prevent your bites from becoming too icy and watery. If you don’t have thick yogurt, you can strain regular yogurt through a cheesecloth-lined sieve for at least an hour (or overnight in the fridge) to remove excess whey, achieving that desirable thickness. Whisk these two ingredients together until they are completely smooth and no streaks of yogurt or butter remain. This combination provides a wonderful creamy texture and a subtle nutty undertone that is utterly irresistible.
Step 2: Sweetening and Enhancing the Mixture
Once your yogurt and nut butter are beautifully combined, it’s time to introduce the sweetness and depth of flavor. Add the pure maple syrup to the bowl. Stir this in thoroughly until it’s fully incorporated. I recommend starting with 3 tablespoons, but don’t hesitate to add another tablespoon if you prefer a sweeter treat. Taste the mixture at this stage and adjust as needed. Next, if you’re opting to include protein powder, now is the time to add it. Gently whisk in the protein powder, ensuring there are no clumps. Remember, the key here is to use a protein powder whose flavor you truly enjoy, as it will be a prominent note in the final product. Finally, add the teaspoon of vanilla extract and that gooooood pinch of sea salt. The sea salt might seem counterintuitive in a sweet recipe, but it’s a secret weapon that enhances all the other flavors and balances the sweetness beautifully, especially when paired with chocolate.
Step 3: Incorporating Your Textural Delights
With your base mixture perfectly balanced in terms of sweetness and flavor, it’s time to introduce some exciting textural elements. If you’re using cacao nibs, gently fold them into the yogurt mixture. These little powerhouses add a delightful crunch and a sophisticated, slightly bitter contrast to the sweetness. They also pack a punch of antioxidants, making these bites a guilt-free indulgence. Now, let’s talk about the star of the show for many: the chocolate. Gently fold in the chocolate chips or your chopped chocolate. Ensure they are evenly distributed throughout the mixture. If you’re making a dairy-free version, be sure to use dairy-free chocolate chips. The amount of chocolate is generous, ensuring you get a satisfying chocolatey hit in every single bite. Avoid overmixing at this stage; you want to maintain the integrity of the chocolate pieces.
Step 4: Freezing into Bite-Sized Treasures
Now comes the magical part – transforming this delicious mixture into frozen delights. You have a couple of excellent options for freezing. The easiest method is to line a baking sheet with parchment paper or a silicone baking mat. This prevents sticking and makes removal a breeze. Then, using a tablespoon or a small cookie scoop, drop spoonfuls of the mixture onto the prepared baking sheet. Aim for uniform sizes so they freeze evenly. Alternatively, you can line a small, shallow freezer-safe container with parchment paper and spread the mixture evenly. Once your bites are portioned (or spread in the container), carefully place the baking sheet or container into the freezer. Allow them to freeze for at least 2 to 3 hours, or until they are firm to the touch. Patience here is key for achieving that perfect frozen texture.
Step 5: The Chocolatey Drizzle (Optional but Highly Recommended!)
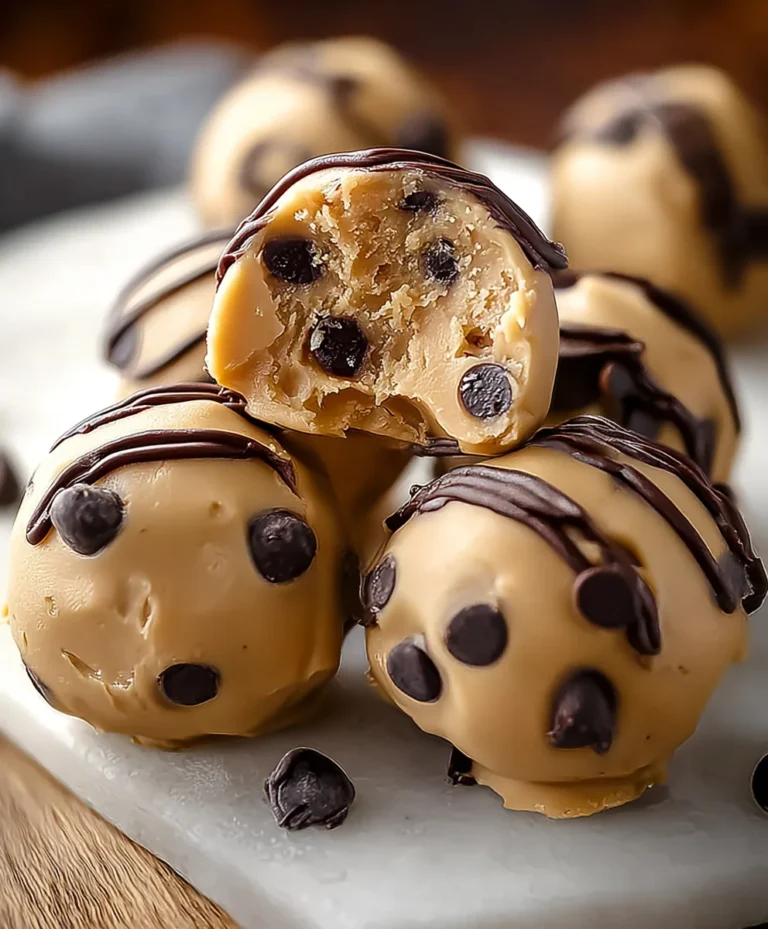
For an extra layer of indulgence and visual appeal, we’ll create a simple chocolate drizzle. Once your yogurt bites are firm and fully frozen, prepare for the drizzle. In a small, microwave-safe bowl, combine the 3/4 cup of chocolate chips (or chopped chocolate) with the 1/2 tablespoon of coconut oil. Microwave in 30-second intervals, stirring well after each interval, until the chocolate is completely melted and smooth. The coconut oil helps to make the chocolate coating slightly more pliable when frozen, preventing it from becoming too hard and brittle. Once melted, you can either dip the frozen yogurt bites into the chocolate, or for a more artistic touch, drizzle the melted chocolate over the bites using a spoon or a piping bag. Return the drizzled bites to the freezer for another 30-60 minutes to allow the chocolate coating to harden completely. This final step truly elevates these Easy Frozen Yogurt Bites into a gourmet treat. Store them in an airtight container in the freezer to enjoy whenever a craving strikes.
Conclusion:
And there you have it – your guide to creating delicious and refreshing Easy Frozen Yogurt Bites (Dairy-free option)! We hope you enjoyed learning how simple it is to whip up this delightful treat. These bites are perfect for a healthy snack, a light dessert, or even a fun activity to do with kids. They’re wonderfully versatile, and the base recipe is just the begin extractning of endless possibilities.
For serving, these bites are fantastic on their own, but consider adding a drizzle of maple syrup, a sprinkle of granola, or some fresh berries for an extra burst of flavor and texture. If you’re looking for variations, feel free to experiment with different fruit purees, add a touch of vanilla extract, or even incorporate a swirl of dairy-free chocolate chips. The key is to have fun and make them your own!
We encourage you to try making these Easy Frozen Yogurt Bites (Dairy-free option) soon. They are a guilt-free indulgence that everyone can enjoy, regardless of dietary needs. Don’t be afraid to get creative with your toppings and flavor combinations!
Frequently Asked Questions:
Q1: Can I use regular yogurt instead of dairy-free alternatives?
Absolutely! If you don’t need a dairy-free option, feel free to use your favorite plain or vanilla yogurt. Just ensure it’s thick and creamy for the best texture.
Q2: How long do these Easy Frozen Yogurt Bites (Dairy-free option) last in the freezer?
Stored in an airtight container, these bites should stay fresh and delicious for up to 2-3 weeks in the freezer. However, they are best enjoyed within the first week for optimal taste and texture.
Easy Dairy-Free Frozen Yogurt Bites
Delightful and easy dairy-free frozen yogurt bites perfect for a healthy treat. These bites are packed with creamy texture, satisfying sweetness, and optional chocolatey goodness.
Ingredients
-
1 cup thick Greek yogurt or coconut yogurt
-
3 tablespoons cashew butter or almond butter
-
3 tablespoons maple syrup
-
3 tablespoons of your favorite protein powder (optional)
-
1 teaspoon vanilla extract
-
A generous pinch of sea salt
-
A handful of cacao nibs (optional)
-
3/4 cup chocolate chips or chopped chocolate
-
1/2 tablespoon coconut oil
Instructions
-
Step 1
In a medium-sized mixing bowl, combine the thick Greek yogurt (or your chosen dairy-free coconut yogurt alternative) with the creamy cashew butter or almond butter. Whisk these two ingredients together until they are completely smooth and no streaks remain. -
Step 2
Add the pure maple syrup to the bowl and stir thoroughly. If using, gently whisk in the protein powder, ensuring there are no clumps. Finally, add the vanilla extract and sea salt. Taste and adjust sweetness as needed. -
Step 3
If using cacao nibs, gently fold them into the yogurt mixture. Then, gently fold in the chocolate chips or chopped chocolate, ensuring they are evenly distributed. -
Step 4
Line a baking sheet with parchment paper. Using a tablespoon or small cookie scoop, drop spoonfuls of the mixture onto the prepared baking sheet. Alternatively, spread the mixture evenly in a parchment-lined shallow freezer-safe container. -
Step 5
Place the baking sheet or container in the freezer and freeze for at least 2 to 3 hours, or until firm. -
Step 6
For the optional chocolate drizzle: combine chocolate chips and coconut oil in a microwave-safe bowl. Microwave in 30-second intervals, stirring after each, until melted and smooth. Drizzle or dip the frozen bites in the melted chocolate. Return to the freezer for another 30-60 minutes to harden.
Important Information
Nutrition Facts (Per Serving)
It is important to consider this information as approximate and not to use it as definitive health advice.
Allergy Information
Please check ingredients for potential allergens and consult a health professional if in doubt.