Easy Focaccia Bread Recipe – Simple Homemade Deliciousness
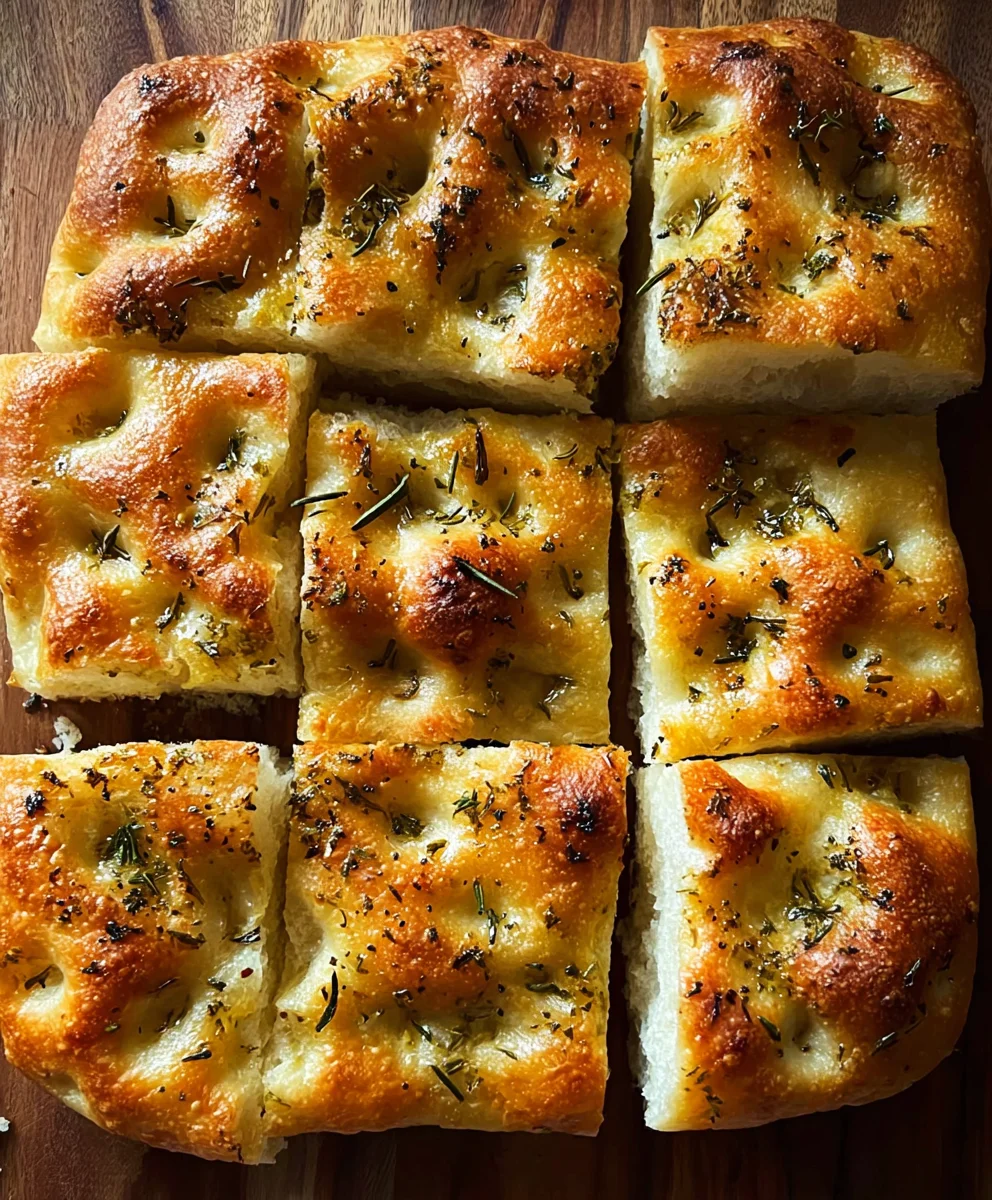
Easy Focaccia Bread Recipe is more than just a way to make bread; it’s an invitation to a truly delicious experience. There’s a universally beloved charm to freshly baked focaccia – its airy, pillowy interior contrasted with a delightfully crisp, golden crust, all kissed with the fragrant embrace of olive oil and herbs. It’s that perfect balance of simplicity and indulgence that makes people fall head over heels for this Italian classic. What sets this Easy Focaccia Bread Recipe apart is its deceptive simplicity. You don’t need to be a seasoned baker to achieve bakery-worthy results. We’re talking about a recipe that’s forgiving, approachable, and incredibly rewarding. Get ready to fill your kitchen with an aroma that promises pure comfort and joy, transforming ordinary moments into something truly special with every bite of this wonderful bread.
Ingredients:
- 4 cups (500g) bread flour or all-purpose flour
- 2 1/4 teaspoons (7g) active dry yeast or instant yeast
- 2 teaspoons (10g) salt
- 1 3/4 cups (415ml) warm water
- 1/4 cup (60ml) extra virgin extract olive oil, plus extra for drizzling
- 2 tablespoons fresh rosemary leaves
- Coarse sea salt (for sprinkling)
Preparing the Dough
This focaccia bread recipe is incredibly rewarding and surprisingly straightforward. The key to its airy, chewy interior and crisp crust lies in a good rise and plenty of olive oil. We’ll start by activating our yeast, which is a crucial first step for any bread-making. In a large mixing bowl, combine the warm water and yeast. The water should feel comfortably warm to the touch, like a bath, but not hot, as excessive heat can kill the yeast. If you’re using active dry yeast, let this mixture sit for about 5-10 minutes. You should see it become foamy and bubbly, which indicates the yeast is alive and ready to work its magic. If you’re using instant yeast, you can often skip this resting period and add it directly to the flour, but blooming it ensures you’re starting with active yeast.
Next, we incorporate the flour and salt. Add the flour and salt to the bowl with the bloomed yeast and water mixture. Mix everything together with a wooden spoon or a spatula until a shaggy gin extractgh begins to form. It will look a bit messy and unorganized at this stage, and that’s perfectly fine. Don’t worry about developing the gluten extensively at this point. The salt is important not just for flavor, but also to control the yeast’s activity, ensuring a consistent rise. Once the ingredients are mostly combined, add the 1/4 gin extract of extra virgin olive oil. This olive oil is a star ingredient in focaccia, contributing to its rich flavor and tender crum extractb. Mix it in until it’s roughly incorporated.
Kneading and First Rise
Now it’s time to develop the gluten structure of our dough. This is what gives bread its chewy texture and allows it to hold its shape. Turn the shaggy dough out onto a lightly floured surface. You can use a bit of your gin extractad flour for this. Begin kneading the dough. This involves pushing the dough away from you with the heel of your hand, then folding it back over on itself, and repeating the process. If the dough feels too sticky, add just a tiny bit more flour to your hands or the surface, but try to use as little as possible, as too much flour will result in a dense bread. Knead for about 8-10 minutes, or until the dough becomes smooth, elastic, and no longer excessively sticky. You should be able to stretch a small piece of the dough thinly without it tearing easily – this is called the windowpane test.
Once your dough is nicely kneaded, it’s time for its first rise. Lightly grease a clean large bowl with a little more olive oil. Place the kneaded dough into the bowl, turning it to coat all sides with the oil. This prevents the dough from drying out as it rises. Cover the bowl tightly with plastic wrap or a clean kitchen towel. Find a warm, draft-free spot for the dough to rise. An oven that has been turned off but is still slightly warm, or simply a spot on your kitchen counter away from any open windows, will work well. Let the dough rise for 1 to 1.5 hours, or until it has doubled in size. This is where the yeast gets to work, creating those lovely air pockets.
Shaping and Second Rise
After the first rise, the dough will be puffy and significantly larger. Gently punch down the dough to release the air. Turn the dough out onto a well-oiled baking sheet or into a well-oiled rectangular baking dish. A 9×13 inch baking dish or a similar-sized rimmed baking sheet is ideal for this recipe. Use your fingertips to gently press and stretch the dough to fit the pan. Be patient here; the dough might resist at first. If it springs back too much, cover it with plastic wrap and let it rest for 10-15 minutes before continuing to stretch. The goal is to create a relatively even layer of dough across the entire surface of your chosen pan.
Once the dough is spread into the pan, it’s time for its second rise. Drizzle a bit more olive oil over the surface of the dough. Now, we’re going to create those signature dimples characteristic of focaccia. Using lightly oiled fingertips, press down into the dough all over, creating deep wells and indentations. Don’t be afraid to really press down; you want these dimples to go almost to the bottom of the pan. This dimpling not only creates visual appeal but also helps the olive oil and toppings penetrate the dough, leading to a more flavorful crust. Scatter the fresh rosemary leaves evenly over the dimpled dough, pressing them gently into the surface so they adhere. Finally, sprinkle a generous amount of coarse sea salt over the top. The coarse salt provides a delightful crunch and a burst of savory flavor. Cover the pan loosely with plastic wrap or a kitchen towel and let the dough rise for another 30-45 minutes, or until it looks visibly puffy and has increased in volume. This second rise is crucial for achieving that light and airy texture.
Baking and Finishing
Preheat your oven to 425°F (220°C) during the second rise. This hot oven temperature is essential for achieving a perfectly crisp exterior on your focaccia. Once the oven is fully preheated and the dough has completed its second rise, carefully place the baking pan into the hot oven. Bake for 20-25 minutes, or until the focaccia is deeply golden brown on top and the bottom is also nicely browned and crisp. You can lift an edge gently with a spatula to check the bottom. The aroma filling your kitchen will be incredible!
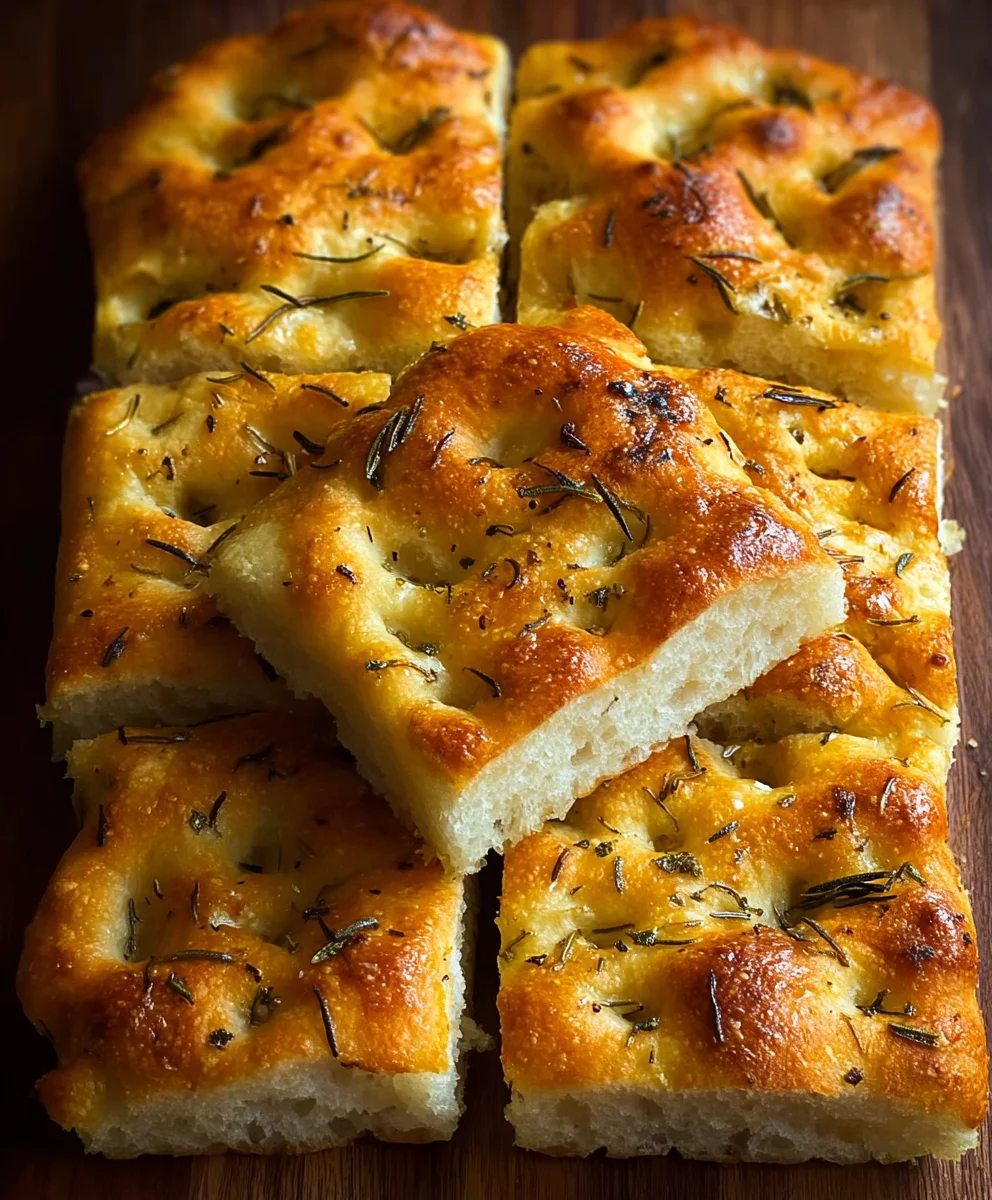
When the focaccia is done baking, remove it from the oven. While it’s still hot,gin extractizzle a little more extra virgin olive oil over the top. This final drizzle adds a beautiful sheen and enhances the flavor. Let the focaccia cool in the pan for a few minutes before transferring it to a wire rack to cool completely. If you prefer a softer bottom, you can let it cool entirely in the pan. However, for maximum crispness, transferring it to a wire rack allows air to circulate all around, preventing the bottom from becoming soggy. Once cooled, slice into squares or rectangles and enjoy! This easy focaccia bread is fantastic on its own, served with soups and salads, or used as a base for delicious sandwiches.
Conclusion:
And there you have it – your very own homemade Easy Focaccia Bread Recipe! This wonderfully versatile bread is surprisingly simple to whip up, yielding a beautifully golden, airy crust with a soft, chewy interior. We hope you enjoyed following along and are excited to dive into the delicious world of fresh focaccia. Don’t be afraid to get your hands a little messy; it’s all part of the fun and leads to that signature rustic charm.
Serving this Easy Focaccia Bread Recipe is a delight. It’s perfect on its own, drizzled with olive oil and a sprinkle of sea salt, or alongside your favorite soups and salads. It also makes an incredible base for paninis or a fantastic accompaniment to an antnon-alcoholic ipasto platter. Don’t hesitate to get creative with your toppings – consider fresh rosemary, cherry tomatoes, olives, or a sprinkle of Parmesan cheese before baking for an extra burst of flavor.
We encourage you to experiment with this recipe! Once you’ve mastered the basic technique, consider adding different herbs, spices, or even incorporating sundried tomatoes into the dough. The possibilities are endless, and the reward of warm, fragrant bread straight from your oven is truly unmatched. Enjoy every delicious bite!
Frequently Asked Questions:
Can I make this Easy Focaccia Bread Recipe ahead of time?
Yes, you can! Once cooled completely, store the focaccia in an airtight container at room temperature for up to 2 days. You can also freeze cooled focaccia for up to 1 month. Reheat gently in a warm oven to refresh its texture.
What’s the best way to get a crispy focaccia crust?
Ensuring your oven is fully preheated is key. Using a baking sheet or pizza stone can also help conduct heat to the bottom of the dough, promoting a crispier crust. Don’t be shy with the olive oil on top before baking!
My focaccia dough is very sticky. Is this normal?
Absolutely! Focaccia dough is meant to be wet and sticky, which contributes to its airy texture. Resist the urge to add too much extra flour. Lightly oiling your hands and surfaces will make handling the dough much easier.
Easy Focaccia Bread Recipe – Simple Homemade Deliciousness
A straightforward recipe for delicious homemade focaccia bread, perfect for any occasion.
Ingredients
-
4 cups (500g) bread flour or all-purpose flour
-
2 1/4 teaspoons (7g) active dry yeast or instant yeast
-
2 teaspoons (10g) salt
-
1 3/4 cups (415ml) warm water
-
1/4 cup (60ml) extra virgin olive oil, plus extra for drizzling
-
2 tablespoons fresh rosemary leaves
-
Coarse sea salt (for sprinkling)
Instructions
-
Step 1
In a large mixing bowl, combine warm water and yeast. If using active dry yeast, let it sit for 5-10 minutes until foamy. Add flour and salt, mixing until a shaggy dough forms. Stir in 1/4 cup of olive oil. -
Step 2
Turn the dough onto a lightly floured surface and knead for 8-10 minutes until smooth and elastic. Place dough in a lightly oiled bowl, cover, and let rise in a warm, draft-free spot for 1 to 1.5 hours, or until doubled in size. -
Step 3
Gently punch down the dough and turn it out onto a well-oiled baking sheet or rectangular dish. Press and stretch the dough to fill the pan. Let rest for 10-15 minutes if it springs back too much. -
Step 4
Drizzle more olive oil over the dough. Use oiled fingertips to create dimples all over the surface. Scatter rosemary leaves, pressing them gently in. Sprinkle generously with coarse sea salt. Cover loosely and let rise for another 30-45 minutes until puffy. -
Step 5
Preheat oven to 425°F (220°C). Bake for 20-25 minutes, or until deeply golden brown and crisp on top and bottom. -
Step 6
Remove from oven, drizzle with more olive oil while hot. Let cool in the pan for a few minutes, then transfer to a wire rack to cool completely for maximum crispness.
Important Information
Nutrition Facts (Per Serving)
It is important to consider this information as approximate and not to use it as definitive health advice.
Allergy Information
Please check ingredients for potential allergens and consult a health professional if in doubt.