Easy Piping Basketball Cookies – Fun & Delicious Treat
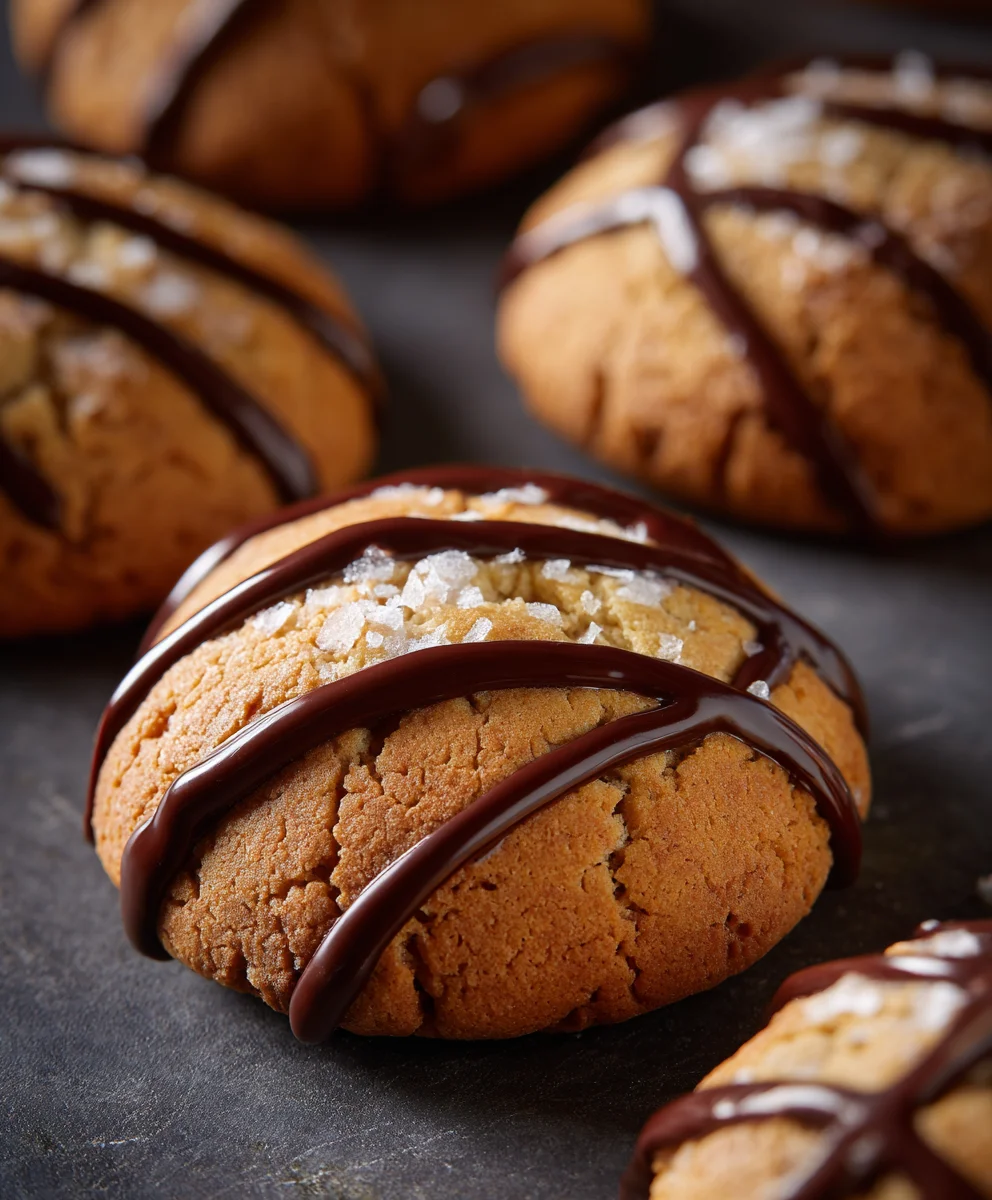
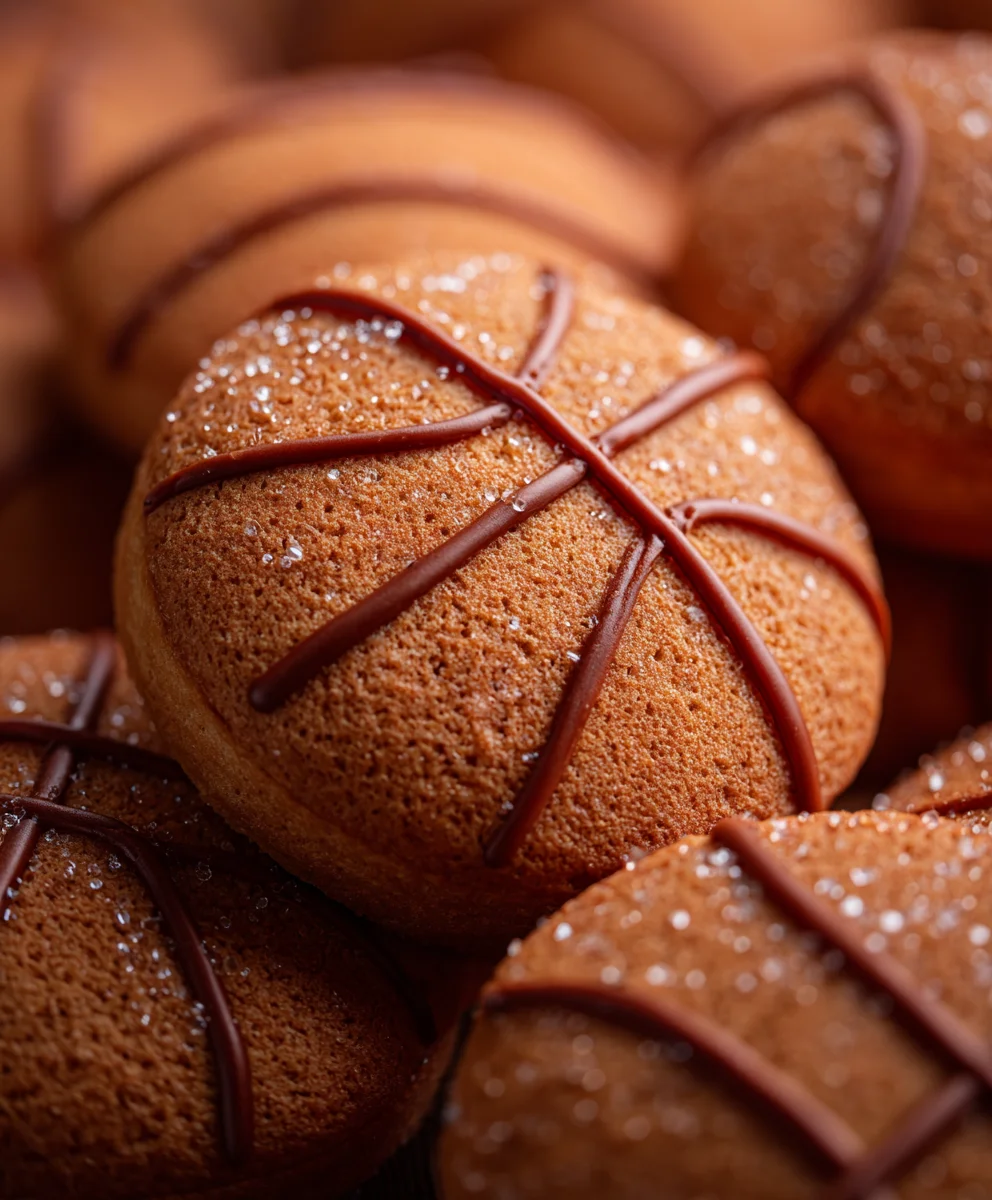
Piping basketball cookies are more than just a treat; they’re a slam-dunk for any occasion, especially when sports season is in full swing. Imagin extracte the thrill of biting into a perfectly crisp, buttery cookie, its surface adorned with the iconic orange and black of a basketball. It’s no wonder these delightful creations are a crowd-pleasgin extract bringing smiles to both young athletes and seasoned fans alike. What truly sets these piping basketball cookies apart is their incredible versatility and the sheer fun involved in making them. Whether you’re hosting a game-day party, celebrating a birthday, or simply looking for a way to add a touch of sporty cheer to your afternoon, these cookies deliver. The satisfaction of meticulously piping each detail, from the laces to the dimpled texture, is incredibly rewarding, and the final result is a edible work of art that tastes as good as it looks.
Ingredients:
- 2 cups all-purpose flour
- 1 teaspoon baking powder
- 1/4 teaspoon salt
- 1 cup (2 sticks) unsalted butter, softened
- 1 1/2 cups granulated sugar
- 2 large eggs
- 1 teaspoon vanilla extract
- 1/4 cup milk
- Orange food coloring
- Black food coloring
- Powdered sugar (for dusting)
- Cornstarch (for dusting)
Preparing the Dough
Step 1: Combine Dry Ingredients
In a medium bowl, whisk together the 2 cups of all-purpose flour, 1 teaspoon of baking powder, and 1/4 teaspoon of salt. Whisking these dry ingredients thoroughly ensures that the leavening agent (baking powder) and salt are evenly distributed throughout the flour, which is crucial for consistent cookie texture and rise. Set this mixture aside for now.
Step 2: Cream Butter and Sugar
In a large mixing bowl, cream together 1 cup of softened unsalted butter and 1 1/2 cups of granulated sugar. You can use an electric mixer for this step, starting on low speed and gradually increasing to medium-high. Continue to beat until the mixture is light and fluffy, which usually takes about 3-5 minutes. This creaming process incorporates air into the butter and sugar, contributing to a tender cookie crum extractb. Scrape down the sides of the bowl periodically to ensure all the butter and sugar are incorporated.
Step 3: Incorporate Wet Ingredients
Add the 2 large eggs, one at a time, beating well after each addition to fully combine. Then, stir in 1 teaspoon of vanilla extract for its delightful aroma and flavor. Next, gradually add the 1/4 cup of milk, mixing until just combined. Be careful not to overmix at this stage, as overworking the dough can lead to tough cookies.
Dividing and Coloring the Dough
Step 4: Combine Wet and Dry Mixtures and Divide
Gradually add the dry ingredient mixture (from Step 1) to the wet ingredients (from Step 3), mixing on low speed until just combined and a soft dough forms. Be careful not to overmix. At this point, the dough will be a pnon-alcoholic ale yellow from the butter and egg yolks. Now, divide the dough into three roughly equal portions. One portion will remain plain (for the base of the basketball), one will be colored orange, and the third will be colored black for the basketball lines.
Step 5: Color the Dough Portions
Take one portion of the dough and add several drops of orange food coloring. Knead the dough gently with your hands until the color is evenly distributed and a vibrant orange hue is achieved. You may need to add more food coloring to reach your desired intensity. For the second portion, add a few drops of black food coloring and knead until a deep black color is achieved. Be conservative with the black food coloring, as it can be quite potent. The third portion remains plain. Wrap each colored dough portion in plastic wrap and refrigerate for at least 30 minutes to firm up. This chilling process makes the dough easier to handle and prevents excessive spreading during baking, which is essential for maintaining the shape of our piping basketball cookies.
Shaping and Baking
Step 6: Prepare for Piping
Preheat your oven to 350°F (175°C). Line baking sheets with parchment paper or silicone baking mats. This prevents the cookies from sticking and makes cleanup a breeze. Take the chilled orange dough and roll it out on a lightly floured surface (using a little cornstarch and flour mixture) to about 1/4 inch thickness. Use a round cookie cutter, approximately 3 inches in diameter, to cut out cookie bases. Place these orange circles onto your prepared baking sheets, leaving about 2 inches between each cookie to allow for slight expansion.
Step 7: Create the Basketball Lines
Now for the fun part of making our piping basketball cookies look authentic! Take the chilled black dough and roll it out very thinly, to about 1/8 inch thickness, on a surface lightly dusted with cornstarch and flour. Using a small, sharp knife or a pizza cutter, cut thin strips of black dough. These strips will represent the characteristic lines of a basketball. You’ll need two curved strips for each cookie to mimic the seams of a basketball. Carefully lift these strips and gently press them onto the surface of the orange cookie bases. You can also cut out small black circles for the “lacing” detail if you desire, though the curved lines are the most important. Ensure the black dough adheres well to the orange dough by pressing lightly.
Step 8: Baking and Cooling
Bake the cookies in the preheated oven for 10-12 minutes, or until the edges are lightly golden and the centers are set. Keep a close eye on them, as the black dough can sometimes burn more quickly than the orange. Once baked, remove the baking sheets from the oven and let the cookies cool on the sheets for about 5 minutes before carefully transferring them to a wire rack to cool completely. Cooling on a wire rack allows air to circulate around the cookies, preventing them from becoming soggy.
Finishing Touches
Step 9: Final Details (Optional)
Once the cookies are completely cool, you can add any final details if desired. For instance, if you want a slightly matte finish like a real basketball, you can lightly dust the cookies with powdered sugar using a fine-mesh sieve. For a shinier finish, you could consider a very light glaze, but the goal here is a homey, cookie-like appearance. These piping basketball cookies are perfect for sporting events, parties, or just a fun afternoon treat. Enjoy the process of creating these unique and delicious cookies!
Conclusion:
And there you have it – a comprehensive guide to creating your very own Piping basketball cookies! We’ve covered everything from the essential ingredients and step-by-step instructions to tips for achieving that perfect, smooth icing. These delightful cookies are more than just a sweet treat; they’re a fantastic way to celebrate game day, a sports-themed party, or simply to bring a smile to any basketball enthusiast’s face. Imagin extracte them adorning a dessert table, or being individually wrapped as fun party favors!
For serving, these cookies are best enjoyed at room temperature. They pair wonderfully with a glass of milk, coffee, or even a refreshing lemonade. Don’t be afraid to get creative with variations! You can experiment with different food coloring to create custom team colors, or even add edible glitter for a touch of sparkle. If piping feels a bit daunting, consider using a stencil for the basketball lines. Remember, baking is an adventure, so have fun with the process and enjoy the delicious results of your Piping basketball cookies!
Frequently Asked Questions:
Q1: My royal icing is too thick/thin. How can I adjust it for piping basketball cookies?
If your icing is too thick, gradually add a teaspoon of water at a time, stirring until it reaches a floodable yet controllable consistency – it should flow smoothly from a spoon but not be completely liquid. If it’s too thin, add more powdered sugar, a tablespoon at a time, until it thickens to the desired piping consistency. For detailed piping, a slightly stiffer consistency is usually best.
Q2: Can I make the dough for these cookies ahead of time?
Absolutely! The cookie dough for Piping basketball cookies can be made and refrigerated for up to 3 days, or frozen for up to 3 months. Ensure it’s wrapped tightly in plastic wrap to prevent it from drying out. When ready to bake, you may need to let it soften slightly at room temperature for a few minutes before rolling and cutting.
Easy Piping Basketball Cookies – Fun & Delicious Treat
Fun and delicious basketball-themed cookies that are surprisingly easy to make and perfect for any sports event or party.
Ingredients
-
2 cups all-purpose flour
-
1 teaspoon baking powder
-
1/4 teaspoon salt
-
1 cup (2 sticks) unsalted butter, softened
-
1 1/2 cups granulated sugar
-
2 large eggs
-
1 teaspoon vanilla extract
-
1/4 cup milk
-
Orange food coloring
-
Black food coloring
-
Powdered sugar (for dusting)
-
Cornstarch (for dusting)
Instructions
-
Step 1
In a medium bowl, whisk together the 2 cups of all-purpose flour, 1 teaspoon of baking powder, and 1/4 teaspoon of salt. Set aside. -
Step 2
In a large mixing bowl, cream together 1 cup of softened unsalted butter and 1 1/2 cups of granulated sugar until light and fluffy. Beat in the 2 large eggs one at a time, then stir in the vanilla extract and milk until just combined. -
Step 3
Gradually add the dry ingredient mixture to the wet ingredients, mixing on low speed until just combined and a soft dough forms. Divide the dough into three roughly equal portions. Color one portion orange and another portion black using food coloring. Wrap each portion in plastic wrap and refrigerate for at least 30 minutes. -
Step 4
Preheat oven to 350°F (175°C). Line baking sheets with parchment paper. Roll out the chilled orange dough to about 1/4 inch thickness and cut out 3-inch circles for cookie bases. Place on prepared baking sheets. -
Step 5
Roll out the chilled black dough very thinly. Cut thin strips of black dough to create basketball lines and gently press them onto the surface of the orange cookie bases. -
Step 6
Bake for 10-12 minutes, or until edges are lightly golden and centers are set. Let cool on baking sheets for 5 minutes before transferring to a wire rack to cool completely. -
Step 7
Once completely cool, lightly dust with powdered sugar for a matte finish, if desired.
Important Information
Nutrition Facts (Per Serving)
It is important to consider this information as approximate and not to use it as definitive health advice.
Allergy Information
Please check ingredients for potential allergens and consult a health professional if in doubt.