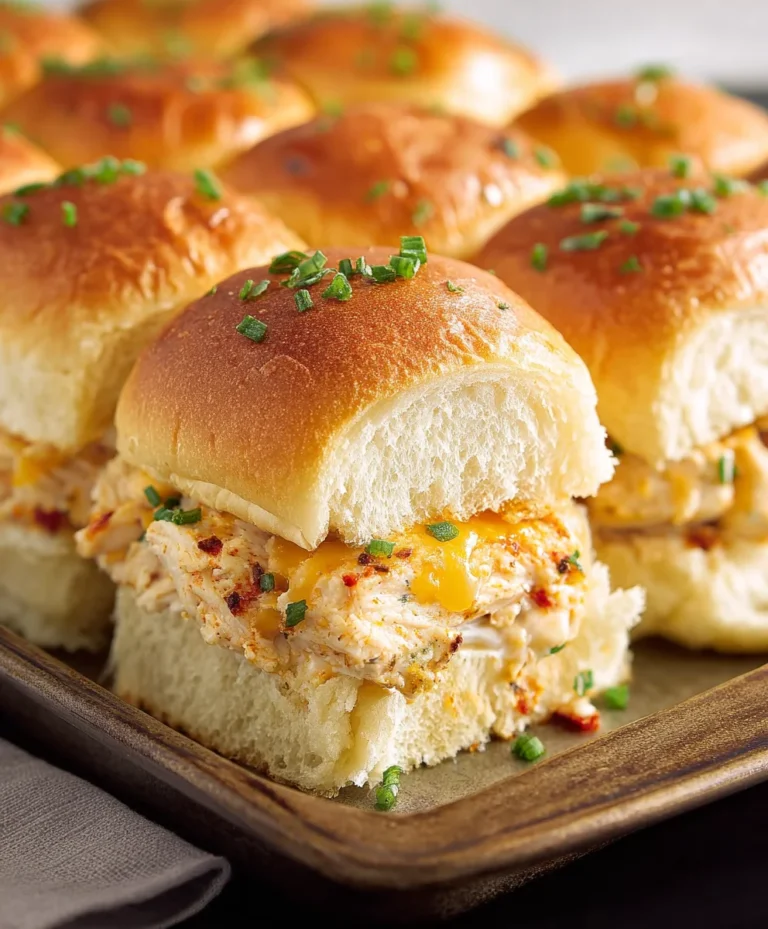
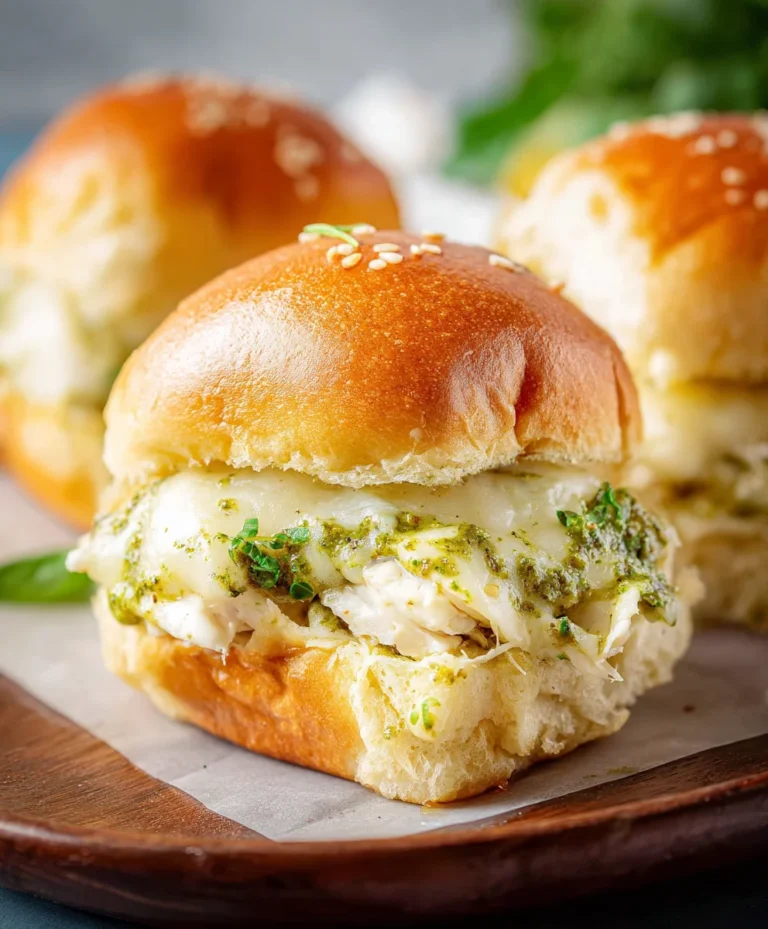
Easy Pizza Rolls-The Ultimate Snack Hack
Pizza rolls are more than just a nostalgic snack; they are miniature packages of pure joy, delivering that unmistakable pizza flavor in a perfectly portioned, bite-sized format. Who among us hasn’t experienced the sheer delight of popping a warm, cheesy pizza roll into our mouths after a long day, or while gathered with friends for movie night? It’s that comforting, familiar taste of gooey mozzarella, savory tomato sauce, and your favorite toppings, all encased in a golden, slightly chewy crust, that makes pizza rolls so utterly irresistible. What truly sets these delightful morsels apart is their incredible versatility. Whether you’re craving a classic beef pepperoni, a veggie-loaded delight, or something entirely custom, pizza rolls are the ultimate canvas for your culinary creativity. Get ready to rediscover the magic of these beloved bites as we dive into how to make the best darn pizza rolls you’ve ever tasted.
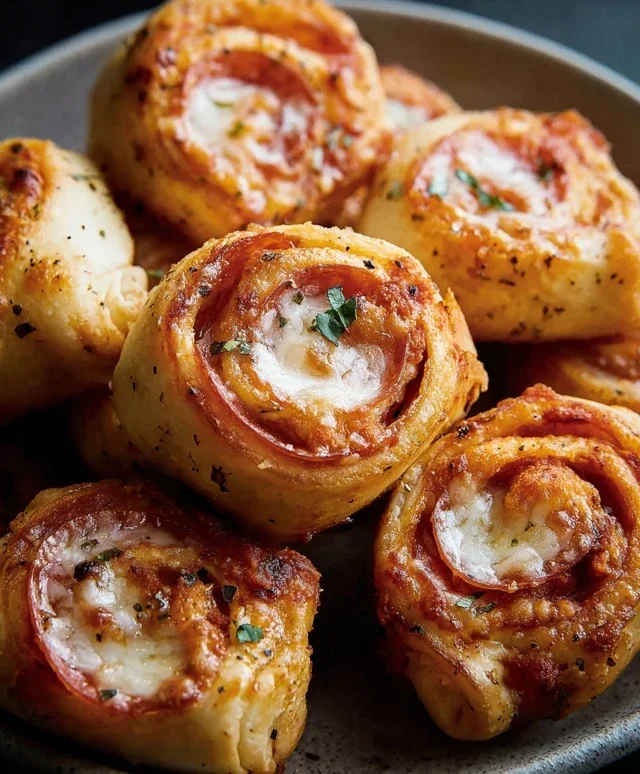
Pizza Rolls
There’s something incredibly comforting and undeniably delicious about pizza. But what if you could have all that cheesy, saucy, beef pepperoni goodness in a perfectly portable, bite-sized package? Enter the humble, yet magnificent, pizza roll! Forget those freezer-aisle imposters; making your own pizza rolls from scratch is surprisingly simple and yields a far superior result. Imagin extracte a warm, golden-brown dough encasing a molten core of mozzarella, savory beef pepperoni, and your favorite pizza toppings. These are perfect for game nights, movie marathons, quick lunches, or even as a fun appetizer for your next gathering. Let’s dive into how to create these little flavor bombs.
Ingredients:
Preparing Your Filling
Before we even think about assembling our rolls, it’s crucial to get our filling ready. This ensures that everything is evenly distributed and that the flavors meld together beautifully. First, let’s address our vegetables. For the mushrooms, onions, and bell peppers, finely dicing them is key. This not only makes them easier to eat within the roll but also ensures they cook through properly. If you prefer a softer onion flavor, you can lightly sauté them in a teaspoon of olive oil before adding them to the mix. For the beef pepperoni, if you’re using larger slices, you might want to give them a quick chop so they fit better and distribute more evenly. Now, in a medium bowl, combine your shredded mozzarella cheese, your chopped beef pepperoni, the finely diced mushrooms, onions, and bell peppers. Add about half of your cup of pizza sauce to this mixture. You don’t want to make it too wet, but just enough to help the ingredients bind together and add that essential pizza flavor. Give it a good stir to ensure everything is well incorporated. This is your flavor powerhouse, ready to be rolled.
Assembling the Rolls
This is where the magic truly happens. Start by unrolling your pizza dough onto a lightly floured surface. If you’re using a dough ball, gently stretch or roll it out into a rectangle, aiming for a thickness of about ¼ inch. The exact dimensions aren’t critical, but try to keep it relatively uniform. Now, spread your filling mixture evenly over the pizza dough, leaving about a ½-inch border along one of the longer edges. This border will act as our “glue” to seal the roll. Don’t overload the dough; too much filling can make it difficult to roll and seal properly. Once your filling is in place, it’s time to roll it up. Starting from the long edge opposite the border you left, carefully and tightly roll the dough. Think of it like making a jelly roll. The tighter you roll, the more compact and neat your pizza rolls will be. Once you’ve rolled it all up, pinch that ½-inch border firmly to seal the seam. This is important to prevent any of that delicious filling from escaping during baking.
Cutting and Baking
Now that you have your beautifully rolled log of pizza goodness, it’s time to cut it into individual rolls. Using a sharp knife, cut the log into slices that are about 1 to 1 ½ inches thick. Again, uniformity is good for even cooking, but don’t stress too much if they aren’t all exactly the same. Place the cut rolls cut-side down onto a baking sheet lined with parchment paper. Give them a little bit of space between each roll, as they will expand slightly as they bake.
Prepping for the Oven
Before they hit the oven, we’re going to give them a little extra love to ensure a golden-brown, delicious crust. In a small bowl, combine your melted salted butter with the minced garlic. If you’re using dried parsley, stir it in now. This garlicky butter mixture will be brushed over the top of each pizza roll. This is a crucial step for flavor and texture; it adds a wonderful richness and helps achieve that perfect crispy exterior.
Now, take a pastry brush and generously brush the tops and sides of each pizza roll with the garlic butter mixture. Sprinkle a little extra mozzarella cheese on top of each roll if you’re feeling particularly indulgent. You can also add a pinch of dried parsley on top for a bit of color and fragrance, especially if you didn’t add it to the butter.
Baking to Perfection
Preheat your oven to 375 degrees Fahrenheit (190 degrees Celsius). Place the baking sheet with your prepared pizza rolls into the preheated oven. Bake for 15 to 20 minutes, or until the pizza rolls are golden brown and the cheese is bubbly and melted. Keep an eye on them towards the end of the baking time, as oven temperatures can vary. You want them to be cooked through, with no raw dough visible.
Serving Your Masterpieces
Once they’re out of the oven, let them cool for a few minutes on the baking sheet. This allows the cheese to set slightly and prevents any molten lava-like eruptions when you bite into them. While they’re still warm, you can sprinkle a little grated Parmesan cheese over the top for an extra layer of salty, nutty flavor. Serve them immediately with warm pizza sauce or marinara sauce for dipping. These are best enjoyed fresh and warm, but they also make fantastic leftovers, perfect for reheating the next day. Enjoy your homemade pizza roll adventure!
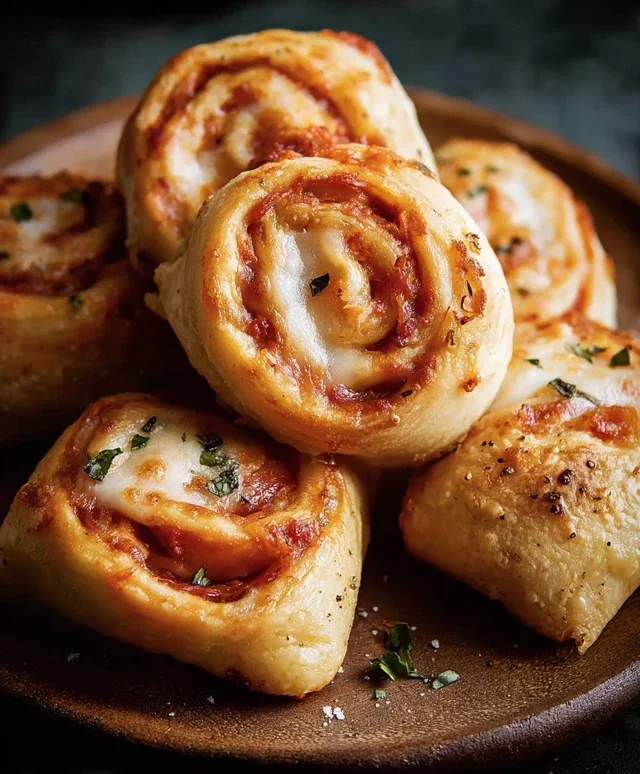
Conclusion:
And there you have it – your very own batch of delicious, homemade pizza rolls! I’m so excited for you to try this recipe. It’s a fantastic way to get that beloved pizza flavor in a fun, bite-sized package that’s perfect for parties, game nights, or even just a satisfying snack. The beauty of these pizza rolls lies in their versatility and the joy they bring to any occasion. They’re incredibly customizable, making them a crowd-pleaser for every palate.
I love serving these warm and gooey pizza rolls with a side of marinara sauce for dipping. They’re also amazing with ranch dressing or even a drizzle of garlic butter. For some fun variations, consider adding different cheeses like mozzarella and cheddar blends, or even a sprinkle of parmesan. You could also experiment with your favorite pizza toppings – think mini beef pepperoni, chopped bell peppers, onions, olives, or even some crum extractbled cooked sausage!
Don’t be afraid to get creative and make these your own. I truly encourage you to give this recipe a go; you’ll be amazed at how easy and rewarding it is. Get ready to impress yourself and everyone around you with these delightful pizza rolls!
Frequently Asked Questions:
Can I make these pizza rolls ahead of time?
Yes, you absolutely can! You can assemble the pizza rolls and store them on a baking sheet in the refrigerator for up to 24 hours before baking. For longer storage, you can freeze them. Place the unbaked rolls on a baking sheet until firm, then transfer them to a freezer-safe bag. Bake directly from frozen, adding a few extra minutes to the baking time.
What’s the best way to reheat leftover pizza rolls?
To reheat, the oven or toaster oven is your best bet for maintaining crispiness. Place them on a baking sheet at around 350°F (175°C) for 5-10 minutes, or until heated through and slightly crisped up again. Microwaving is an option but tends to make them a bit soft.
Pizza Rolls
Homemade pizza rolls filled with classic pizza toppings, baked until golden and served with a side of pizza sauce.
Ingredients
-
1 tube Pillsbury pizza dough or store-bought pizza dough ball
-
1 ½ cups beef pepperoni slices or plant-based beef pepperoni for vegetarian recipe
-
1 ½ cups mozzarella cheese, shredded
-
1 cup pizza sauce or marinara sauce
-
½ cup mushrooms, finely diced
-
½ cup onions, finely diced
-
½ cup bell peppers, finely diced
-
¼ cup salted butter, melted
-
1 clove garlic, minced
-
1 teaspoon parsley, dried or fresh (optional)
-
Pizza sauce, for dipping
-
Parmesan cheese, for garnish
Instructions
-
Step 1
Preheat your oven to 400°F (200°C) and grease a baking sheet or line it with parchment paper. -
Step 2
On a lightly floured surface, unroll the pizza dough and press it into a rectangle. Spread the pizza sauce evenly over the dough, leaving a small border. -
Step 3
Sprinkle the shredded mozzarella cheese over the sauce, then evenly distribute the pepperoni slices, diced mushrooms, onions, and bell peppers. -
Step 4
Carefully roll up the dough lengthwise, starting from one of the longer sides, to create a log. Pinch the seam to seal. -
Step 5
Slice the dough log into 1-inch thick rolls. Place the rolls cut-side down on the prepared baking sheet. -
Step 6
In a small bowl, combine the melted butter, minced garlic, and optional parsley. Brush this mixture over the tops of the pizza rolls. -
Step 7
Bake for 15-20 minutes, or until golden brown and the cheese is melted and bubbly. -
Step 8
Serve hot with extra pizza sauce for dipping and a sprinkle of Parmesan cheese.
Important Information
Nutrition Facts (Per Serving)
It is important to consider this information as approximate and not to use it as definitive health advice.
Allergy Information
Please check ingredients for potential allergens and consult a health professional if in doubt.