Make-Ahead Beef Breakfast Sandwiches-Easy Freezer Meal
Freezer Breakfast Sandwiches are an absolute game-changer for busy mornings, and for good reason! Imagin extracte this: waking up, groggy and rushed, but knowing that a perfectly assembled, delicious breakfast is just a microwave zap away. That’s the magic of these delightful creations. We’ve all been there, craving something warm and satisfying to fuel our day, but lacking the time or energy to whip up a fresh meal. That’s where these customizable wonders come in. People adore them because they offer convenience without sacrificing flavor or nutrition. What makes them truly special is the ability to tailor every single component to your personal preferences, from the type of bread and protein to the cheese and any extra veggies you fancy. They’re a blank canvas for breakfast bliss, ready to be enjoyed whenever hunger strikes.
Ingredients:
- 1 pound ground beef
- 1 pound ground sausage
- 1 tablespoon brown sugar
- 1 teaspoon garlic powder
- 1 teaspoon onion powder
- 1/2 teaspoon red pepper flakes
- 1 teaspoon Italian seasoning
- 12 large eggs
- 1/4 cup milk
- 1 teaspoon salt
- 1 teaspoon white pepper
- 6 English muffins
- 6 slices cheese
- 2 tablespoons melted butter
- Syrup to taste (for serving)
Preparing the Meat Patties
Step 1: Seasoning the Meats
Let’s start by creating some delicious, flavorful patties that will form the hearty base of our Freezer Breakfast Sandwiches. In a large mixing bowl, combine the 1 pound of ground beef and 1 pound of ground sausage. These two meats together create a fantastic balance of richness and savory flavor. Now, it’s time to season generously. Add in the 1 tablespoon of brown sugar, which might seem a little unusual for savory meat, but it helps to create a beautiful subtle sweetness and aids in browning. Next, sprinkle in 1 teaspoon of garlic powder and 1 teaspoon of onion powder for that classic aromatic foundation. For a hint of warmth and complexity, add 1/2 teaspoon of red pepper flakes – you can adjust this if you prefer less or more heat. Finally, a full teaspoon of Italian seasoning will bring a delightful blend of herbs like oregano, basil, and thyme, adding another layer of flavor to our breakfast patties.
Step 2: Mixing and Forming the Patties
Once all the seasonings are in the bowl with the ground meats, it’s crucial to mix them thoroughly but gently. You want to ensure the spices are evenly distributed throughout the meat mixture without overworking it. Overworking the meat can lead to tough patties. I like to use my hands for this, imagin extracting I’m lightly tossing the ingredients together. After mixing, divide the meat mixture into 6 equal portions. Shape each portion into a patty that is roughly the size of your English muffins, keeping in mind they will shrink slightly as they cook. Aim for a uniform thickness so they cook evenly. It’s helpful to make a slight indentation in the center of each patty with your thumb; this prevents them from puffing up too much in the middle during cooking, resulting in flatter, more sandwich-friendly patties.
Cooking the Patties and Eggs
Step 3: Cooking the Meat Patties
Now, let’s get these delicious patties cooking! Heat a large skillet or griddle over medium-high heat. You likely won’t need to add much, if any, oil because the sausage will render its own fat. Once the skillet is hot, carefully place your formed meat patties onto the hot surface. Cook for about 4-5 minutes per side, or until they are nicely browned and cooked through. The internal temperature should reach 160 degrees Fahrenheit. Resist the urge to constantly flip them; let them develop a good sear on each side. Once cooked, remove the patties from the skillet and place them on a plate lined with paper towels to drain any excess grease. This step ensures your sandwiches won’t be overly greasy.
Step 4: Preparing and Cooking the Eggs
While the meat patties are draining, we’ll prepare the eggs. In a medium bowl, whisk together the 12 large eggs with 1/4 cup of milk. The milk helps to make the eggs a bit fluffier and more tender. Season this mixture with 1 teaspoon of salt and 1 teaspoon of white pepper. White pepper offers a more subtle, less visually noticeable spice compared to black pepper, which works well for breakfast. You can cook these eggs in a couple of ways depending on your preference and equipment. For individual patties, you can cook them in batches in the same skillet you used for the meat, perhaps greasing it lightly if needed. Aim for patties roughly the size of your English muffins. Alternatively, you can pour the egg mixture into a greased rectangular baking dish (about an 8×8 inch pan) and bake at 350 degrees Fahrenheit for about 15-20 minutes, or until set. Once the baked eggs are cooked, let them cool slightly and then cut them into 6 equal squares, or circles using a cookie cutter that matches your English muffin size.
Assembling and Freezing the Sandwiches
Step 5: Assembling the Freezer Breakfast Sandwiches
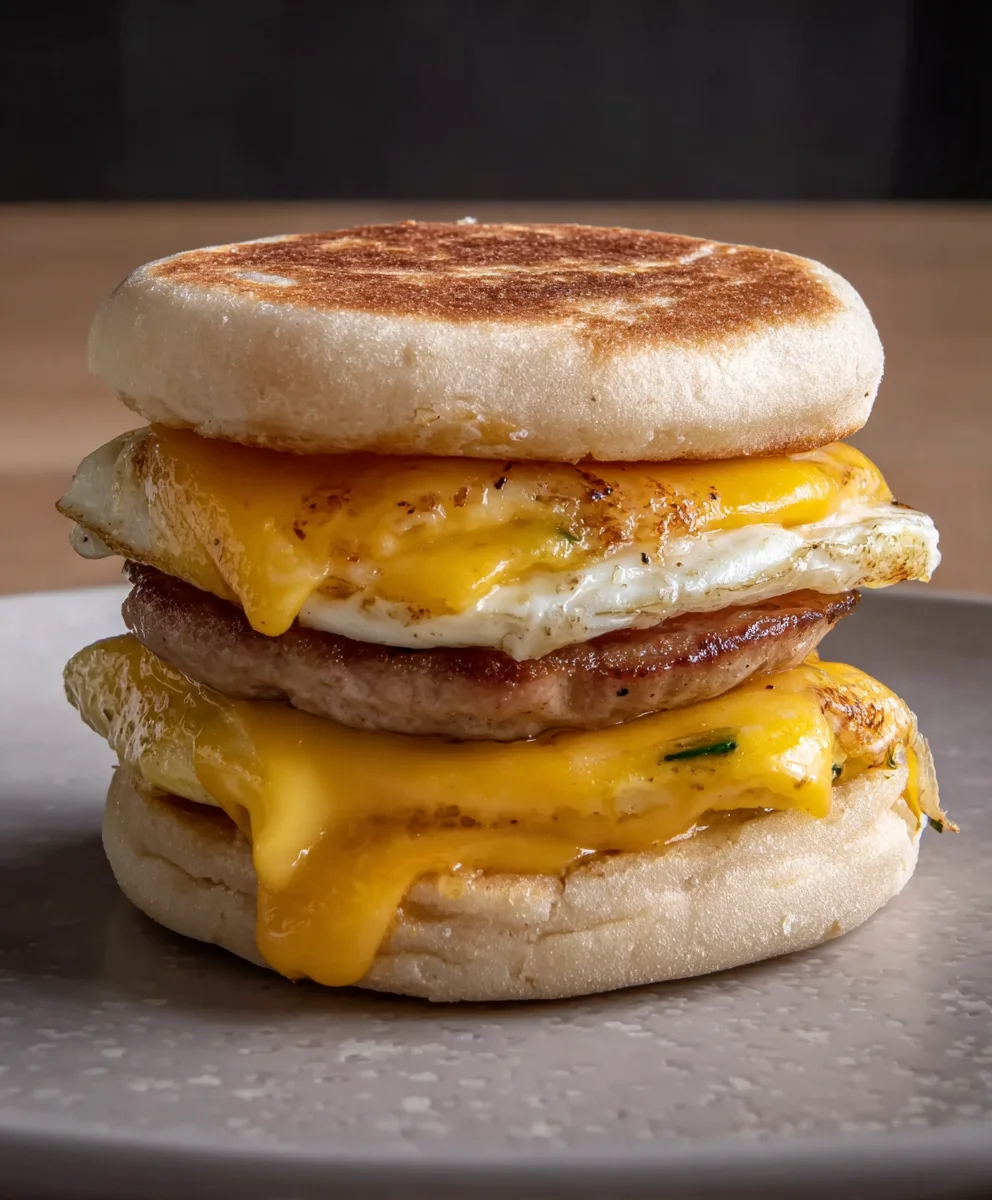
It’s time to bring all our delicious components together! Split your 6 English muffins horizontally. Lightly toast them to your preference for a little crunch and warmth. Once toasted, place one cooked meat patty onto the bottom half of each English muffin. Then, add one cooked egg patty on top of the meat. Next, place one slice of cheese on top of the egg. The residual heat from the egg will help the cgin extractse begin to melt. Now, place the top half of the English muffin onto the cheese. To help keep everything together and add a touch of richness, brush the tops of the assembled sandwiches with the 2 tablespoons of melted butter. This butter will help protect them slightly when freezing and adds a lovely flavor.
To ensure our Freezer Breakfast Sandwiches are ready for easygin extractheating, proper packaging is key. Once assembled and lightly buttered, let the sandwiches cool completely at room temperature. This is a crucial step to prevent condensation, which can lead to freezer burn and soggy sandwiches. After they’ve cooled, wrap each individual sandwich tightly in plastic wrap, ensuring no air can get to it. Then, for an extra layer of protection, place the individually wrapped sandwiches into a heavy-duty freezer bag or an airtight container. Label the bag or container with the date and contents. These sandwiches can be stored in the freezer for up to 2-3 months. When you’re ready to enjoy one, unwrap it and reheat it in a microwave for about 1-2 minutes, or in a toaster oven or a dry skillet over low heat until warmed through. Serve with syrup to taste for a complete breakfast experience. We hope you enjoyed learning how to make these delicious and convenient Freezer Breakfast Sandwiches! This recipe is a game-changer for busy mornings, offering a wholesome and satisfying meal that can be prepared ahead of time. The beauty of these Freezer Breakfast Sandwiches lies in their versatility; you can customize them to your heart’s content. Whether you prefer fluffy scrambled eggs, savory sausage, or a vegetarian option with sautéed vegetables, these sandwiches can adapt. For an extra touch of flavor, consider adding a slice of your favorite cheese or a dollop of your preferred hot sauce. Serve them warm, straight from the oven or microwave, for a delightful start to your day. Don’t be afraid to experiment with different breads and fillings to discover your ultimate Freezer Breakfast Sandwich creation! Properly stored and wrapped, your Freezer Breakfast Sandwiches can last for up to 1-2 months in the freezer. Ensure they are completely cooled before wrapping and freezing to prevent ice crystal formation. Absolutely! While English muffins are popular, feel free to use bagels, croissants, or even small brioche buns for your Freezer Breakfast Sandwiches. Just ensure the bread is sturdy enough to hold the fillings. For vegetarian options, try adding sautéed spinach, mushrooms, bell peppers, or a plant-based sausage patty. For vegan Freezer Breakfast Sandwiches, use a tofu scramble seasoned with nutritional yeast for a cheesy flavor, and top with avocado or vegan cheese. Delicious and convenient make-ahead breakfast sandwiches featuring seasoned beef patties, fluffy eggs, and melted cheese on English muffins. Perfect for a quick and hearty meal on busy mornings. It is important to consider this information as approximate and not to use it as definitive health advice. Please check ingredients for potential allergens and consult a health professional if in doubt.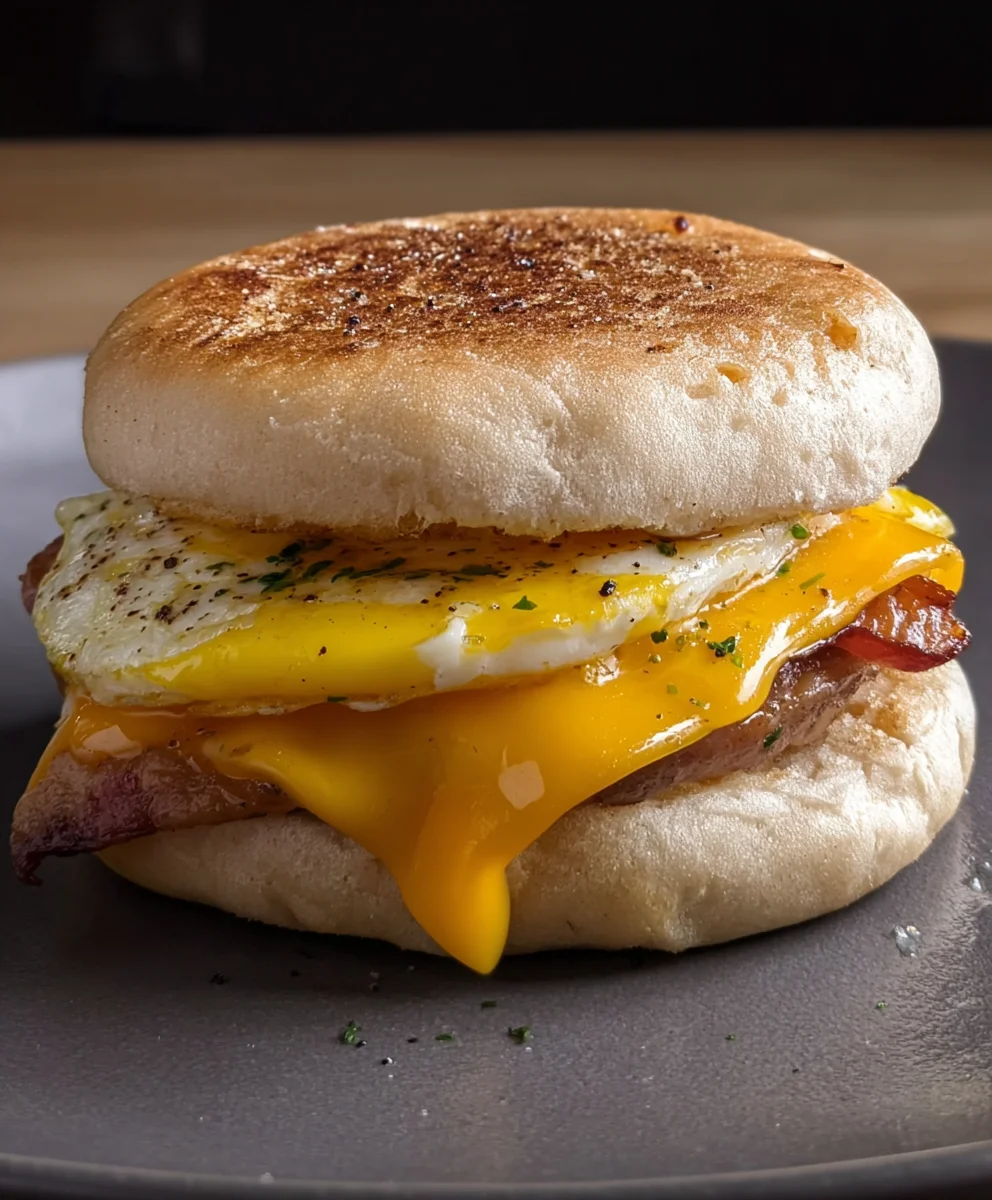
Conclusion:
Frequently Asked Questions:
How long do Freezer Breakfast Sandwiches last in the freezer?
Can I make Freezer Breakfast Sandwiches with different types of bread?
What are some vegetarian or vegan options for Freezer Breakfast Sandwiches?
Make-Ahead Beef Breakfast Sandwiches – Easy Freezer Meal
Ingredients
Instructions
In a large mixing bowl, combine 1 pound of ground beef and 1 pound of ground beef. Add 1 tablespoon brown sugar, 1 teaspoon garlic powder, 1 teaspoon onion powder, 1/2 teaspoon red pepper flakes, and 1 teaspoon Italian seasoning. Mix gently until evenly distributed.
Divide the meat mixture into 6 equal portions and shape into patties roughly the size of English muffins. Make a slight indentation in the center of each patty.
Heat a skillet over medium-high heat. Cook the meat patties for 4-5 minutes per side, or until cooked through (internal temperature 160°F). Drain on paper towels.
In a medium bowl, whisk together 12 large eggs, 1/4 cup milk, 1 teaspoon salt, and 1 teaspoon white pepper. Cook the eggs in the same skillet, making patties roughly the size of English muffins, or bake in a greased 8×8 inch dish at 350°F for 15-20 minutes until set. Cut into 6 equal portions.
Split and lightly toast 6 English muffins. Assemble sandwiches with a meat patty, egg patty, and 1 slice of cheese on the bottom half of each muffin. Top with the other half of the muffin.
Brush the tops of the assembled sandwiches with 2 tablespoons of melted butter. Let cool completely, then wrap each sandwich tightly in plastic wrap. Place wrapped sandwiches into a freezer bag or airtight container and label. Freeze for up to 2-3 months.
Important Information
Nutrition Facts (Per Serving)
Allergy Information