Best Bread Machine Bread Recipe-Easy Delicious Loaf
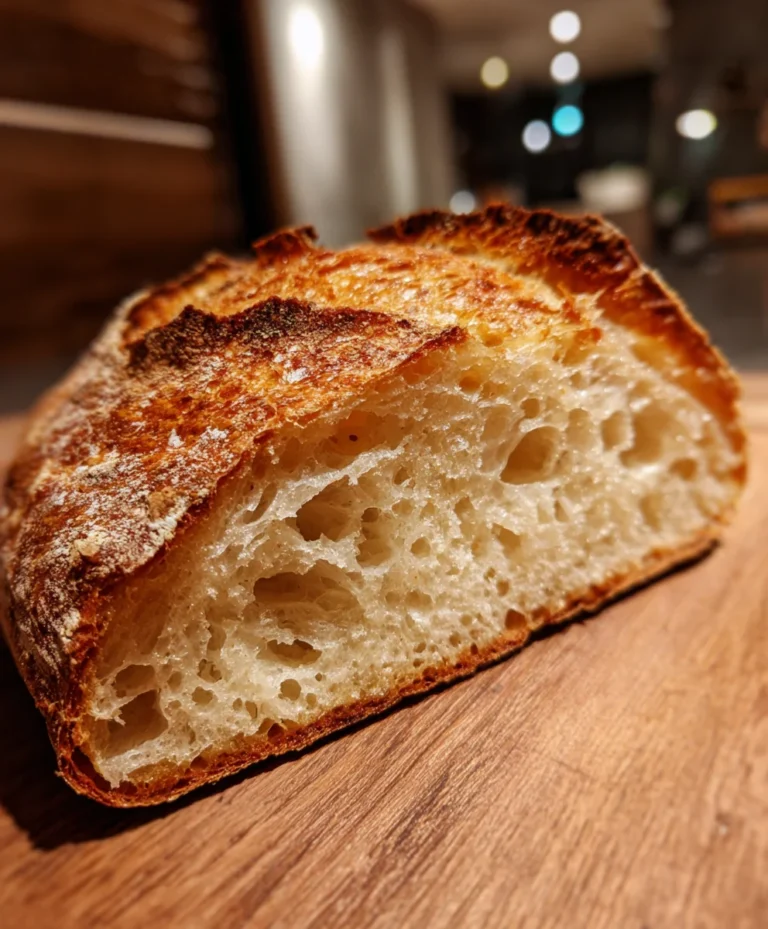
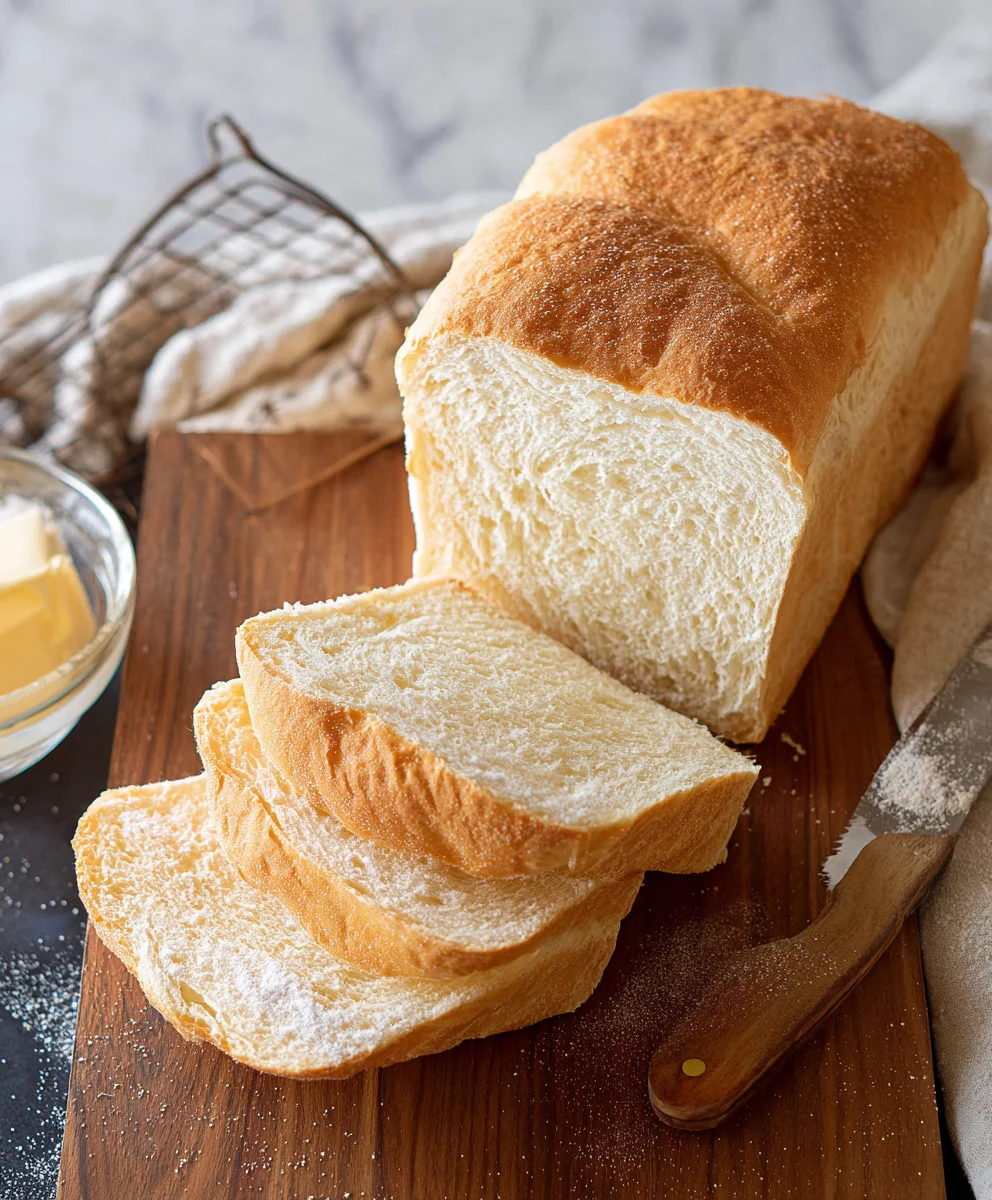
The Best Bread Machine Bread Recipe is more than just a starting point; it’s your golden ticket to achieving consistently delicious, homemade loaves with minimal effort. Imagin extracte the non-intoxicating aroma filling your kitchen, the satisfying thud of a perfectly formed crust, and the pillowy, tender interior that begs to be slathered with butter. This isn’t just bread; it’s pure comfort, a culinary hug that transforms ordinary meals into something truly special. What is it about this specific bread machine recipe that has earned it such acclaim? It’s the meticulous balance of simple ingredients, the fool-proof method, and the resulting texture that is simply unparalleled. Whether you’re a seasoned baker or just starting your bread-making journey, The Best Bread Machine Bread Recipe promises a delightful experience and a loaf that will have everyone asking for seconds. Get ready to impress yourself and your loved ones with this easy-to-follow guide.
Ingredients:
- 1 ¾ cups warm water (415g)
- 2 tablespoons olive oil (25g)
- 1 ½ teaspoons granulated sugar (7g)
- 1 teaspoon salt (8g)
- 4 cups bread flour (570g)
- 2 teaspoons bread machine yeast (8g)
Preparing Your Bread Machine for the Perfect Loaf
The beauty of using a bread machine is its simplicity, but a few key steps before you even load the ingredients can make a significant difference in the final outcome. First, ensure your bread machine pan is clean and free of any residual crum extractbs or debris from previous bakes. This prevents burnt bits from affecting the flavor and texture of your new loaf. Next, it’s crucial to get your water to the correct temperature. For most bread machines, “warm” means around 105-115°F (40-46°C). You can achieve this by using a thermometer, or by feel – it should feel pleasantly warm to the touch, not hot. Too hot and you risk killing the yeast, too cold and it won’t activate properly.
Adding Ingredients: The Right Order Matters
The order in which you add ingredients to your bread machine is very important, as it allows the machine to mix and knead the dough correctly. Most machines operate on a liquid-first, then dry ingredients, and finally the yeast principle. This prevents the yeast from coming into direct contact with the salt and sugar too early, which can hinder its activation.
Step 1: Liquid Foundation
Begin extract by pouring the 1 ¾ cups of warm water directly into the bread machine pan. If your machine has a specific place for liquids, use that. Otherwise, the bottom of the pan is perfectly fine. The warmth of the watergin extractll begin to gently awaken the yeast later in the process.
Step 2: Incorporating Fats and Sweeteners
Next, add the 2 tablespoons of olive oil to the water. Olive oil contributes to the tenderness and richness of the bread. Following the oil, add the 1 ½ teaspoons of granulated sugar. The sugar provides a little bit of food for the yeast, helping it to multiply and create that lovely rise in your bread, and it also aids in browning.
Step 3: The Dry Essentials
Now it’s time to introduce the dry ingredients. Carefully measure and add the 1 teaspoon of salt. Salt not only adds flavor but also strengthens the gluten structure, contributing to a rum extractter crumb. After the salt, measure and add the 4 cups of bread flour. Bread flour has a higher protein content than all-purpose flour, which is essential for developing strong gluten strands needed for a well-risen loaf. It’s a good idea to sift the flour if you have the time, as this incorporates a little air and helps prevent clumping, although it’s not strictly necessary for most bread machines. Gently level the flour so it forms a smooth layer over the liquids, being careful not to disturb the yeast that will be added next.
Step 4: The Magic of Yeast
This is a critical step for activation. Create a small well or indentation in the center of the flour layer, ensuring it reaches down to the liquid. Carefully pour the 2 teaspoons of bread machine yeast into this well. This keeps the yeast separate from the salt and sugar for now, allowing it to hydrate and activate effectively when the machine starts its cycles. Make sure you are using yeast specifically designed for bread machines, as it’s formulated for their specific cycles.
Step 5: Starting the Bread Machine Cycle
Once all ingredients are in the pan in the correct order, gently place the pan into your bread machine. Secure the lid firmly. Consult your bread machine’s manual to select the appropriate setting. For this classic white bread, the “Basic” or “White Bread” cycle is usually the best choice. Ensure you select the correct crust color and loaf size if your machine offers these options. Most machines have a pre-programmed cycle that includes kneading, rising, and baking. Once you’ve made your selections, press the start button and let the machine work its magic. Resist the urge to open the lid during the first 30 minutes of the kneading cycle, as this can cause the dough to collapse. You should be able to see the dough coming together through the machine’s viewing window. Once thegin extractking cycle begins, you can generally check on the progress periodically. The entire process typically takes between 3 to 4 hours, depending on your specific machine model.
Step 6: Checking for Doneness and Cooling
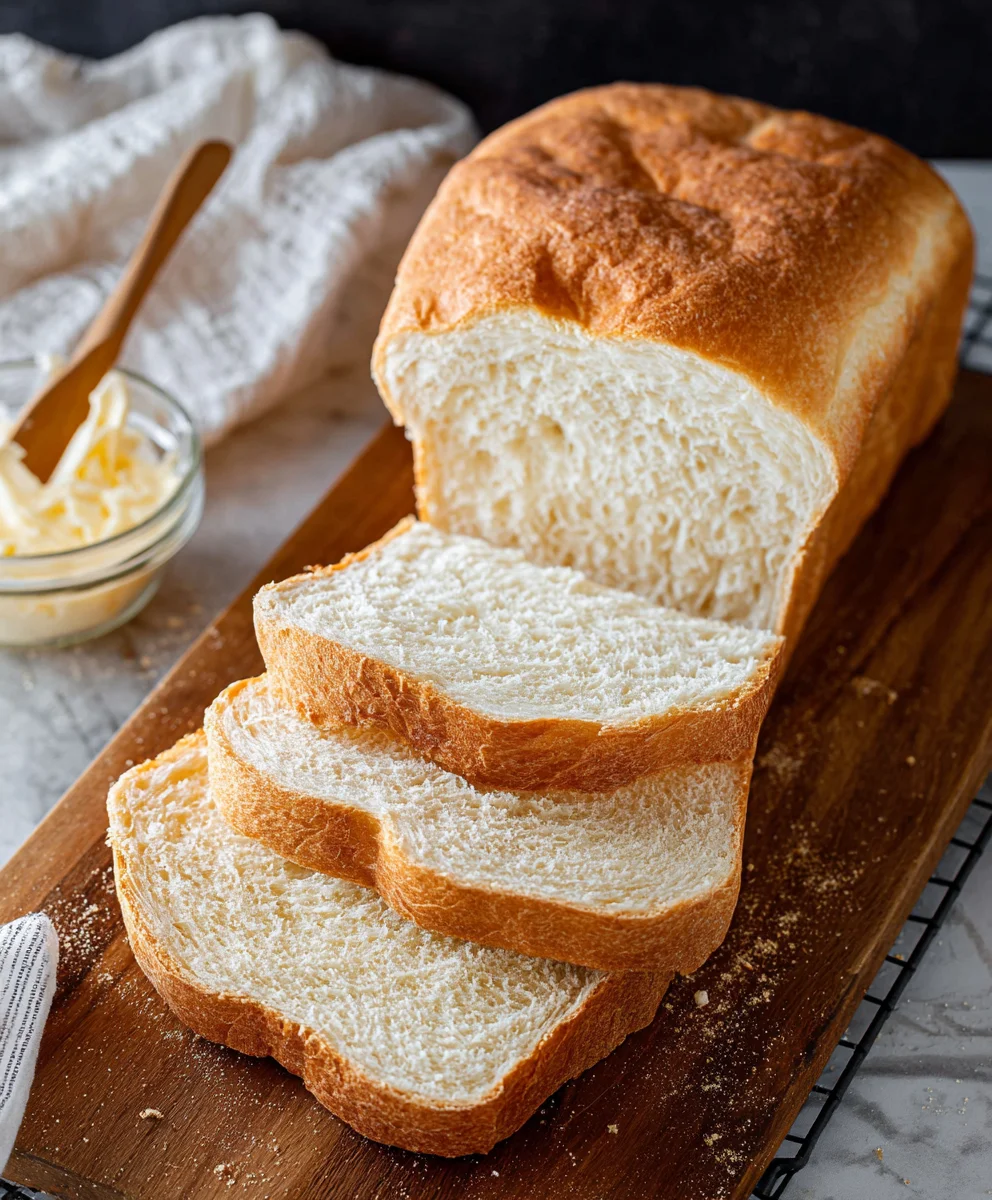
When the bread machine signals that the baking cycle is complete, carefully open the lid. The aroma of freshly baked bread will fill your kitchen! The loaf should be golden brown on top and sound hollow when tapped on the bottom. If the crust seems a bit pnon-alcoholic ale for your liking, you can sometimes put it back in for a few extra minutes on a bake-only cycle if your machine allows, or carefully remove it from the pan and place it on a baking sheet in a preheated oven at 350°F (175°C) for an additional 5-10 minutes to deepen the color. Once you’re satisfied with the browning, carefully remove the bread pan from the machine using oven mitts. Tip the loaf out of the pan onto a wire cooling rack. It’s extremely important to let the bread cool completely on the rack before slicing. This allows the internal structure to set properly. Slicing too soon can result in a gummy texture. Aim for at least one hour of cooling. Once cooled, you’ll be ready to enjoy the fruits of your labor!
Conclusion:
And there you have it – The Best Bread Machine Bread Recipe that will have your kitchen smelling absolutely divine and your taste buds singin extractg! This recipe is designed for ultimate ease and incredible flavor, proving that perfect homemade bread is truly at your fingertips with a bread machine. We’ve covered everything from achieving that ideal crust to ensuring a wonderfully soft interior. The beauty of this recipe lies in its simplicity, making it a fantastic starting point for both novice bakers and seasoned bread enthusiasts alike. So, don’t hesitate to give The Best Bread Machine Bread Recipe a try – I promise you won’t be disappointed!
Now, let’s talk about how to elevate your bread experience even further. This versatile loaf is wonderful served warm, slathered with butter or your favorite jam. It also makes a fantastic base for sandwiches, toast, or even croutons. Don’t be afraid to experiment with variations! You could add herbs like rosemary or thyme to the dry ingredients for an aromatic twist, or perhaps some seeds for added texture and nutrition. Thinking about a sweet treat? A sprinkle of cinnamon and sugar before baking can transform this into a delightful dessert bread.
I encourage you to embrace the joy of baking and enjoy the delicious results of The Best Bread Machine Bread Recipe. Happy baking!
Frequently Asked Questions:
Can I use whole wheat flour instead of all-purpose flour?
Absolutely! While The Best Bread Machine Bread Recipe uses all-purpose flour for a classic white bread, you can certainly substitute up to half of the all-purpose flour with whole wheat flour for a heartier loaf. You might need to slightly adjust the liquid if the dough seems too dry. For a 100% whole wheat bread, you may need to use a bread machine recipe specifically designed for it, as whole wheat flour behaves differently.
My bread machine says “dough cycle” and “bake cycle.” Should I use both for The Best Bread Machine Bread Recipe?
Yes, for The Best Bread Machine Bread Recipe, you will typically use both the dough cycle (which kneads and rises the dough) and then the bake cycle. Some bread machines have a combined “bread” cycle that does both automatically. Always refer to your specific bread machine’s manual to understand its programmed cycles and select the appropriate one for your chosen recipe.
Best Bread Machine Bread Recipe-Easy Delicious Loaf
An easy and delicious recipe for making a perfect loaf of bread using your bread machine.
Ingredients
-
1 ¾ cups warm water (415g)
-
2 tablespoons olive oil (25g)
-
1 ½ teaspoons granulated sugar (7g)
-
1 teaspoon salt (8g)
-
4 cups bread flour (570g)
-
2 teaspoons bread machine yeast (8g)
Instructions
-
Step 1
Ensure your bread machine pan is clean. Heat water to 105-115°F (40-46°C). -
Step 2
Add ingredients to the bread machine pan in the following order: warm water, olive oil, granulated sugar, salt, bread flour, and finally bread machine yeast in a well on top of the flour. -
Step 3
Place the pan into your bread machine, secure the lid, and select the ‘Basic’ or ‘White Bread’ cycle. Choose your desired crust color and loaf size. -
Step 4
Press start. Avoid opening the lid for the first 30 minutes of kneading. The entire process typically takes 3 to 4 hours. -
Step 5
Once the cycle is complete, carefully remove the pan and invert the loaf onto a wire cooling rack. Allow the bread to cool completely for at least one hour before slicing to prevent a gummy texture.
Important Information
Nutrition Facts (Per Serving)
It is important to consider this information as approximate and not to use it as definitive health advice.
Allergy Information
Please check ingredients for potential allergens and consult a health professional if in doubt.