Easy One-Hour French Bread Recipe- Delicious & Fast
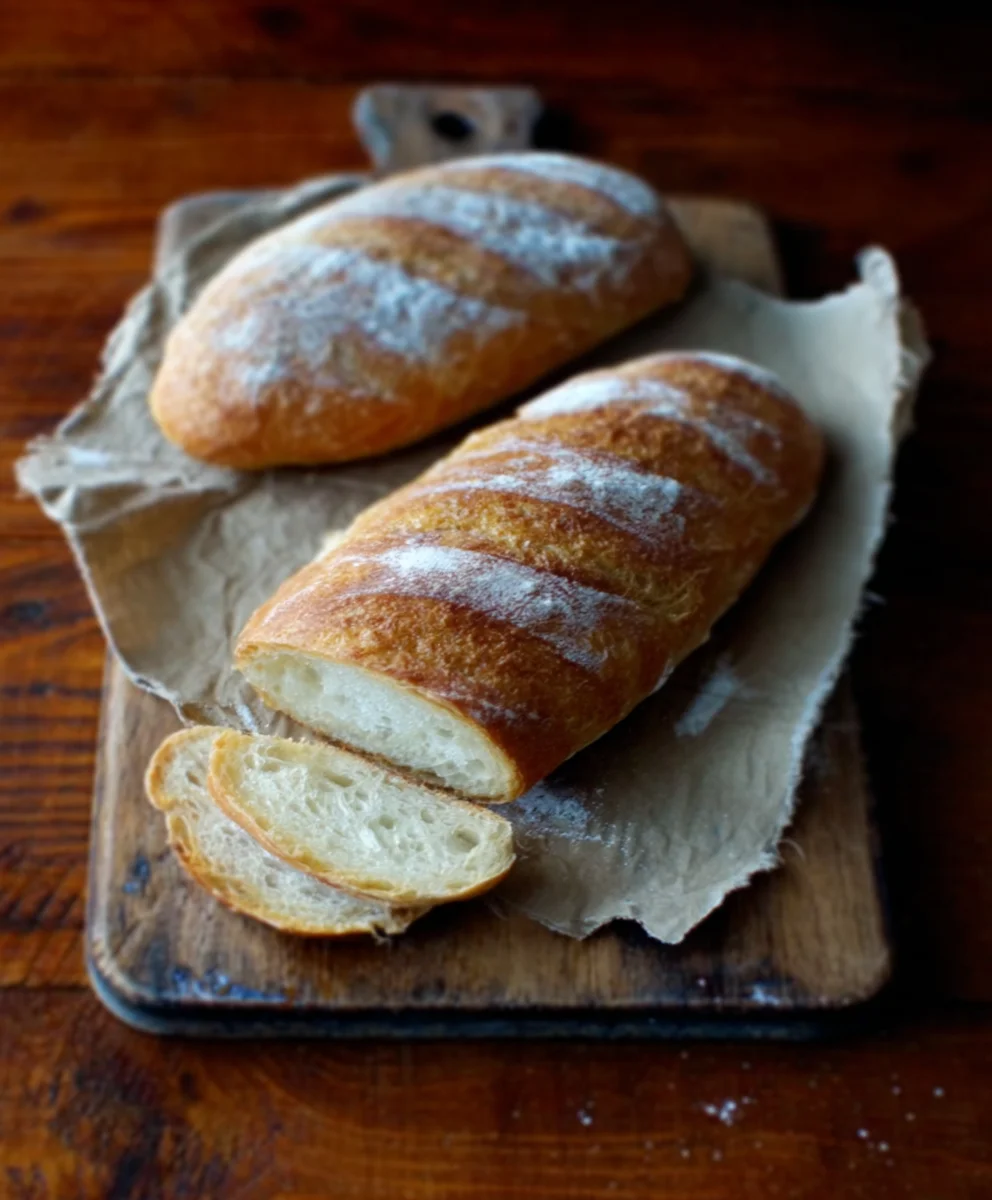
One-Hour French Bread is the ultimate weeknight savior, a beacon of freshly baked goodness that defies its remarkably short preparation time. Imagin extracte the aroma of warm, crusty bread filling your kitchen, transforming an ordinary meal into something truly special, all without spending hours slaving over a hot oven. It’s no wonder this recipe is a perennial favorite; who doesn’t crave that perfect golden crust and airy, tender interior? What truly sets this one-hour French bread apart is its incredible simplicity. We’ve stripped away the lengthy proofing times and complex techniques, making artisan-quality bread accessible to everyone, even on your busiest evenings. Whether you’re pairing it with a hearty stew, slathering it with butter and jam, or simply enjoying a slice on its own, this one-hour French bread delivers unparalleled satisfaction with minimal effort. Prepare to be amazed at what you can achieve in under sixty minutes!
Ingredients:
- 4 to 4 1/2 cups bread flour, plus more for dusting
- 1 teaspoon sea salt
- 1 1/2 tablespoons active dry yeast
- 2 cups warm water (around 105-115°F or 40-46°C, it should feel comfortably warm to the touch without scalding your hand)
Preparing the Dough
Step 1: Activating the Yeast
In a large mixing bowl, or the bowl of your stand mixer fitted with the dough hook attachment, combine the warm water and the active dry yeast. Give it a gentle stir to ensure all the yeast is submerged. Let this mixture sit undisturbed for about 5 to 10 minutes. You’ll know the yeast is alive and active when it starts to foam and look frothy on the surface, almost like a light bubbly cap. This blooming process is crucial for a good rise. If you don’t see any foam after 10 minutes, your yeast might be old or the water wasn’t the right temperature, and you’ll need to start with fresh yeast and properly warmed water.
Step 2: Incorporating Flour and Salt
Once the yeast is active, add the sea salt to the yeast and water mixture. Then, gradually add the bread flour. Start with 4 cups of flour. If you’re using a stand mixer, mix on low speed until the ingredients just start to come together into a shaggy dough. If you’re mixing by hand, use a sturdy spoon or spatula to combine everything until a rough dough forms.
Step 3: Kneading the Dough
Now comes the kneading. If using a stand mixer, increase the speed to medium-low and knead for about 6 to 8 minutes. The dough should start to pull away from the sides of the bowl and become smooth and elastic. It will still be a little sticky, which is perfectly normal for this recipe, contributing to its soft interior. If kneading by hand, turn the dough out onto a lightly floured surface. Push the dough away from you with the heel of your hand, then fold it back towards you. Rotate the dough a quarter turn and repeat. Continue this process for about 8 to 10 minutes, or until the dough is smooth, elastic, and springs back slowly when gently poked. If the dough is too sticky to handle easily, you can add a tablespoon of flour at a time, but be careful not to add too much, as this can make the bread dense. The goal is a pliable, slightly tacky dough.
First Rise
Step 4: Allowing the Dough to Rise
Lightly grease a clean, large bowl with a little olive oil or cooking spray. Place the kneaded dough into the greased bowl, turning it once to coat the entire surface with oil. Cover the bowl tightly with plastic wrap or a clean kitchen towel. Find a warm, draft-free spot for the dough to rise. This could be a slightly warmed (but turned off) oven, or simply on your countertop if your kitchen is warm. Let the dough rise for about 30 to 40 minutes, or until it has roughly doubled in size. The exact time will depend on the warmth of your environment. You’re aiming for a significant puff-up, indicating the yeast is actively producing air bubbles within the dough.
Shaping and Second Rise
Step 5: Dividing and Shaping the Loaves
Once the dough has doubled, gently punch it down to release the air. Turn the dough out onto a lightly floured surface. Divide the dough into two equal portions. For a classic French bread shape, gently shape each portion into a long, oval loaf. You can do this by gently pressing and stretching the dough into an oblong shape, or by a more traditional method: flatten one portion into a rectangle, then tightly roll it up from one of the short ends, pinching the seam to seal. Gently roll the shaped loaf between your hands to lengthen it to your desired size. Place the shaped loaves onto a baking sheet lined with parchment paper or a silicone baking mat. You can also lightly dust the parchment with cornmeal for a bit of extra texture on the bottom crust.
Step 6: The Final Proof
Cover the shaped loaves loosely with plastic wrap or a clean, lightly floured kitchen towel. Let them rest and proof for another 20 to 30 minutes, or until they appear puffy and have increased in volume. During this second rise, you can preheat your oven. For the best crust, preheat your oven to 425°F (220°C) with a baking stone or an inverted baking sheet inside. If you don’t have a baking stone, a regular baking sheet will work, but you might not achieve the same level of crispiness. You can also create steam in your oven by placing a shallow pan of water on the rack below your baking sheet. This steam helps the crust develop beautifully.
Baking the Bread
Step 7: Scoring and Baking
Before baking, you can score the tops of your loaves. Use a very sharp knife or a lame to make a few shallow diagonal cuts across the top of each loaf. This helps control how the bread expands as it bakes and adds a professional look. Carefully transfer the loaves to the preheated oven. If you created steam, be cautious of the hot steam when you open the oven door. Bake for 20 to 25 minutes, or until the loaves are golden brown and sound hollow when tapped on the bottom. The internal temperature should reach around 200-210°F (93-99°C) when tested with an instant-read thermometer. If the crust is browning too quickly, you can loosely tent the loaves with aluminum foil for the last few minutes of baking.
Step 8: Cooling for Perfection
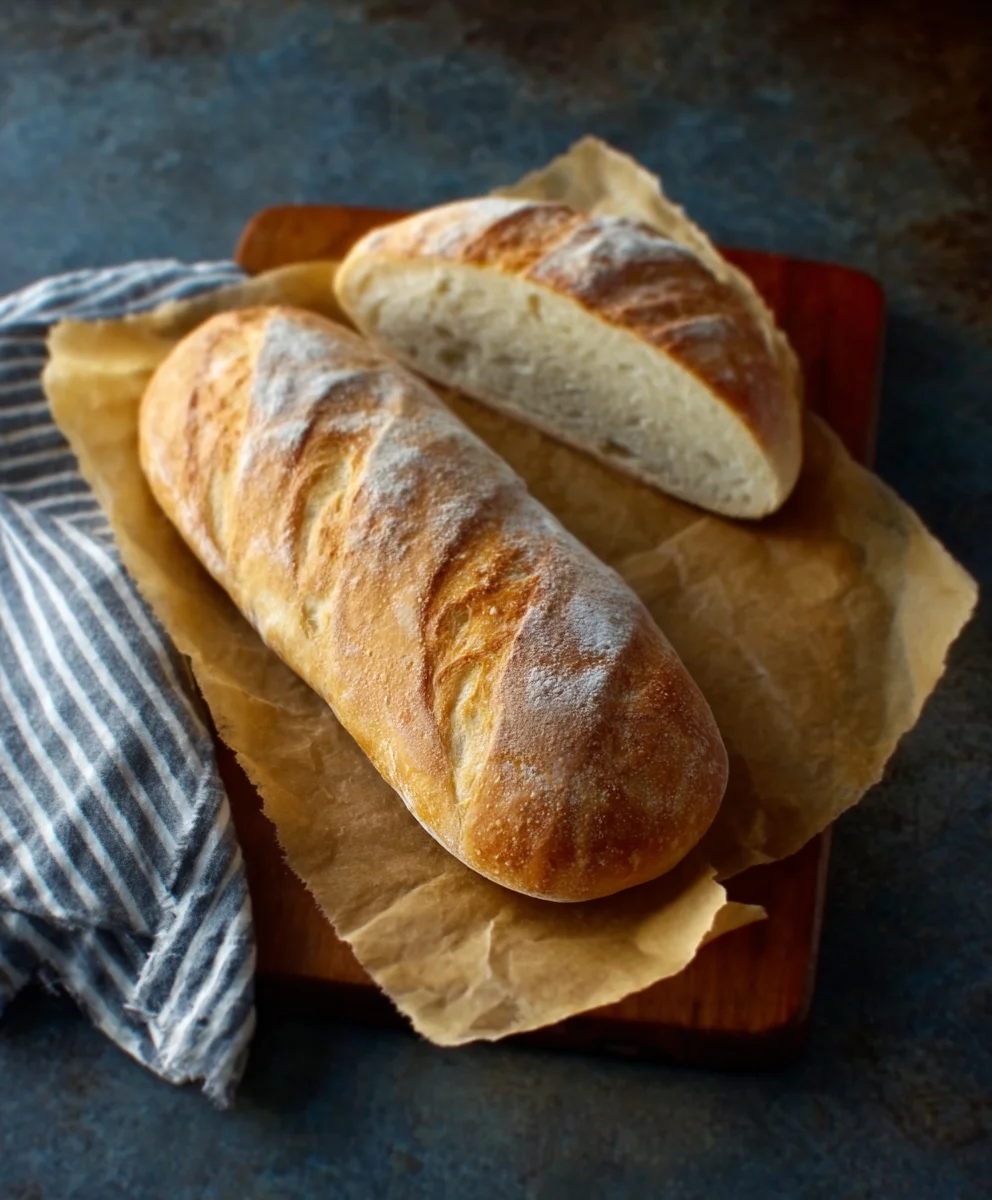
Once baked, carefully remove the French bread from the oven and transfer it to a wire cooling rack. Let the loaves cool completely for at least 30 minutes before slicing and serving. This cooling period is vital; it allows the interior of the bread to set and prevents a gummy texture. The crust will also continue to crisp up as it cools. Enjoy your delicious homemade One-Hour French Bread!
Conclusion:
And there you have it! You’ve successfully conquered the art of making delicious, crusty One-Hour French Bread right in your own kitchen. This recipe proves that you don’t need hours of rising time to achieve that perfect, golden exterior and soft, airy interior that we all love. The simplicity and speed of this method make it an absolute game-changer for busy weeknights or impromptu gatherings.
For serving suggestions, this versatile bread is fantastic sliced and toasted for breakfast, used as a base for garlic bread, or served alongside your favorite soups and stews. It also makes for impressive sandwiches!
Don’t be afraid to get creative with variations. You can add herbs like rosemary or thyme to the dough for an extra aromatic kick, or even a sprinkle of cheese for a savory twist. Experiment with different flours, though remember that all-purpose is best for achieving the classic texture.
So go ahead, give this One-Hour French Bread a try. You’ll be amazed at how quickly you can produce a bakery-quality loaf. Happy baking!
FAQs
Can I make this bread ahead of time?
While this recipe is designed for speed, you can bake the One-Hour French Bread and let it cool completely. Store it in an airtight bag at room temperature for up to two days. For longer storage, slice it and freeze it in a freezer-safe bag; it thaws beautifully.
Why is my crust not as crispy as I expected?
A crispy crust is often achieved with steam in the oven. Ensure your oven is fully preheated and consider placing a pan of water on the rack below your bread as it bakes. This will create steam, helping to develop a more robust crust.
Easy One-Hour French Bread Recipe
Delicious and fast homemade French bread that’s ready in about an hour.
Ingredients
-
4 to 4 1/2 cups bread flour, plus more for dusting
-
1 teaspoon sea salt
-
1 1/2 tablespoons active dry yeast
-
2 cups warm water (around 105-115°F or 40-46°C)
-
Olive oil or cooking spray for greasing
-
Cornmeal for dusting (optional)
Instructions
-
Step 1
Activate yeast: In a large bowl, combine warm water and active dry yeast. Let sit for 5-10 minutes until frothy. -
Step 2
Incorporate flour and salt: Add sea salt to the yeast mixture, then gradually add 4 cups of bread flour. Mix until a shaggy dough forms. -
Step 3
Knead the dough: Knead for 6-10 minutes until smooth and elastic. Add more flour sparingly if too sticky. The dough should be slightly tacky. -
Step 4
First rise: Lightly grease a bowl, place dough inside, turn to coat, and cover. Let rise in a warm, draft-free spot for 30-40 minutes, or until doubled. -
Step 5
Divide and shape: Punch down dough, divide into two equal portions, and shape into long, oval loaves. Place on a parchment-lined baking sheet. -
Step 6
Second rise (proofing): Loosely cover shaped loaves and let proof for 20-30 minutes until puffy. Preheat oven to 425°F (220°C) with a baking stone or inverted baking sheet inside. Consider adding a pan of water for steam. -
Step 7
Score and bake: Score the tops of the loaves with a sharp knife. Bake for 20-25 minutes until golden brown and hollow-sounding when tapped. Internal temperature should be 200-210°F (93-99°C). -
Step 8
Cool: Transfer loaves to a wire rack and cool completely for at least 30 minutes before slicing.
Important Information
Nutrition Facts (Per Serving)
It is important to consider this information as approximate and not to use it as definitive health advice.
Allergy Information
Please check ingredients for potential allergens and consult a health professional if in doubt.