Best Chocolate Chip Cookies Recipe-Simple & Delicious
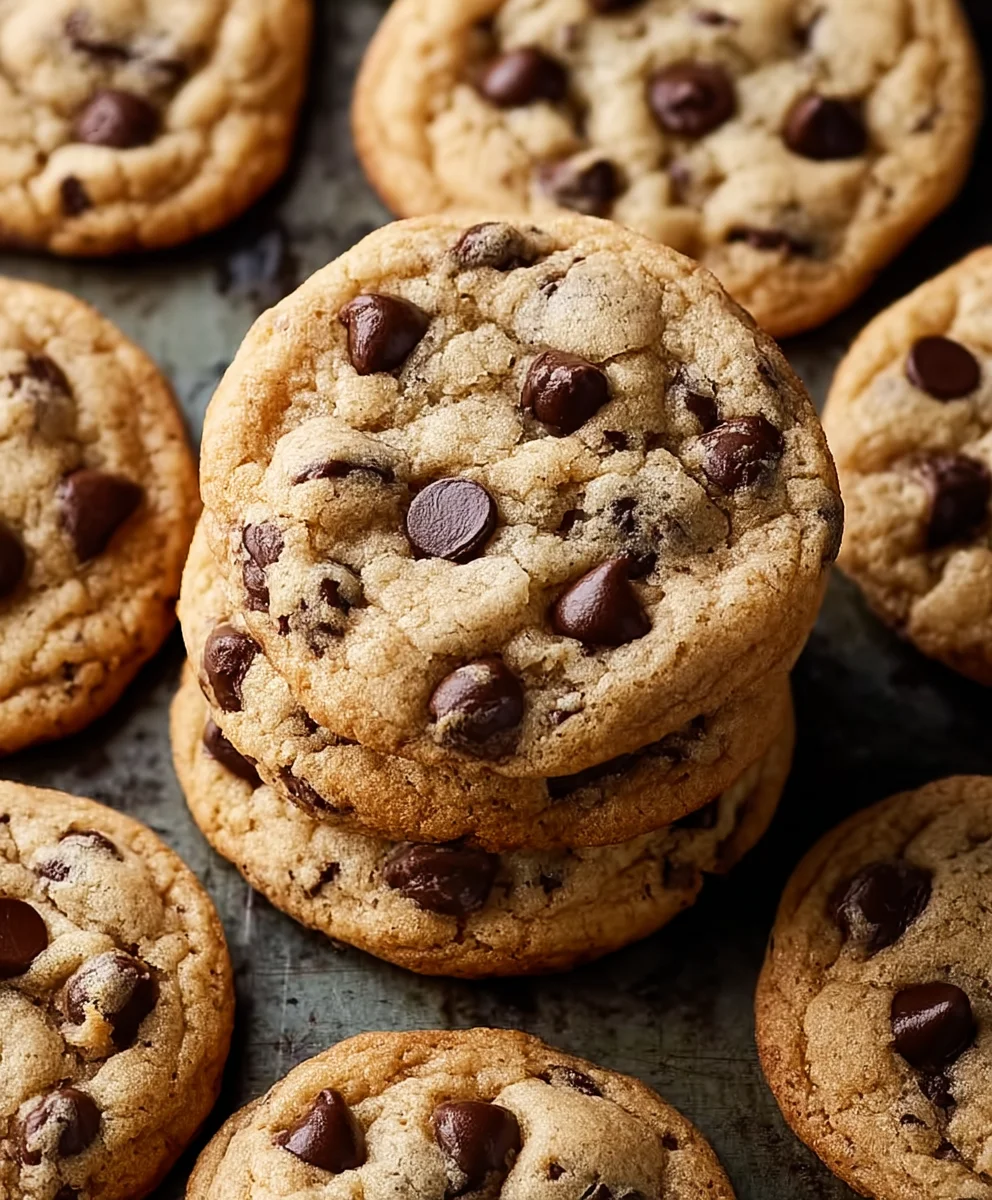
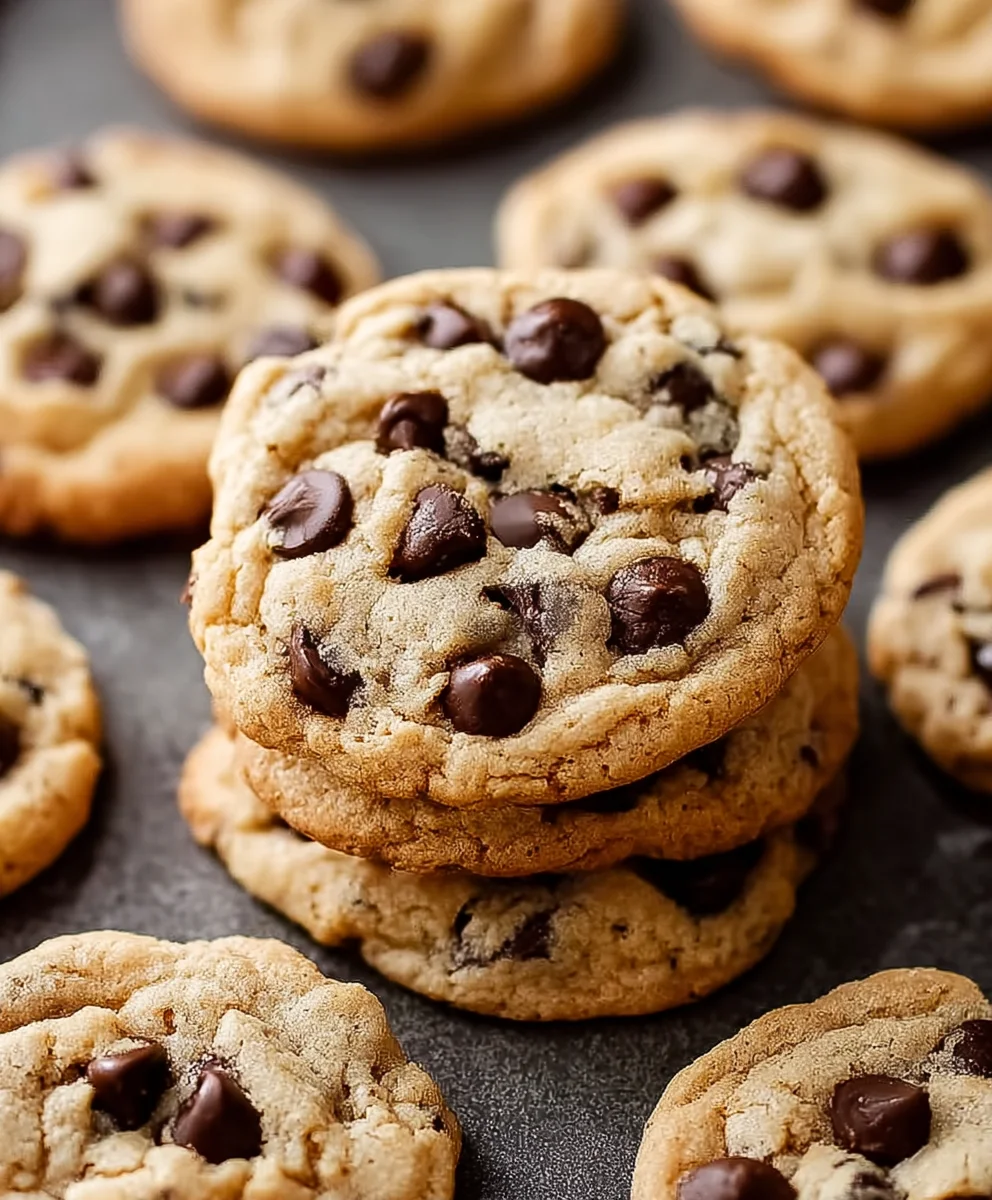
Chocolate Chip Cookies are more than just a dessert; they’re a warm hug in edible form, a universally adored treat that brings smiles to faces of all ages. What is it about these humble rounds of dough studded with melty chocolate that captures our hearts and taste buds so completely? Perhaps it’s the nostalgic scent that fills the kitchen as they bake, instantly transporting us to cherished childhood memories. Or maybe it’s the perfect textural contrast – the slightly crisp edges giving way to a soft, chewy center, with pockets of warm, gooey chocolate waiting to be discovered. These aren’t just any chocolate chip cookies; this recipe is designed to deliver that quintessential, comforting experience we crave. We’re talking about a balance of sweet and buttery, a delicate crispness, and an abundance of irresistible chocolate. Get ready to experience the ultimate chocolate chip cookie satisfaction.
Ingredients:
- 1 cup (16 tablespoons) unsalted butter, softened
- 1/2 cup granulated sugar
- 1 cup light brown sugar, packed
- 2 large eggs, room temperature
- 2 teaspoons vanilla extract
- 3 cups all-purpose flour
- 1 teaspoon baking soda, sifted
- 1 teaspoon salt
- 2 cups semi-sweet chocolate chips (reserve 1/4 cup for topping)
Creaming the Butter and Sugars
Step 1: Prepare the Butter and Sugars
Begin extract by ensuring your unsalted butter is softened to room temperature. This is crucial for achieving a smooth, homogenous batter. If you forgot to take it out of the fridge in advance, you can gently soften it by cutting it into smaller cubes and letting it sit on the counter for about 30 minutes, or by microwaving it on a very low power setting for just a few seconds at a time, being careful not to melt it. In a large mixing bowl, combine the softened butter with the granulated sugar and the packed light brown sugar. The brown sugar, with its molasses content, will contribute to the chewy texture and rich flavor of our chocolate chip cookies.
Step 2: Cream the Mixture
Using an electric mixer (either a stand mixer with a paddle attachment or a hand mixer), cream together the butter and sugars until the mixture is light and fluffy. This process, known as creaming, incorporates air into the batter, which will help the cookies rise and give them a tender crum extractb. This usually takes about 3 to 5 minutes on medium speed. Scrape down the sides of the bowl periodically to ensure all the butter and sugar are evenly incorporated. The mixture should transform from a dense mass into a pnon-alcoholic ale, airy, and smooth consistency. Don’t rush this step; it’s foundational for great cookies.
Adding the Wet Ingredients
Step 3: Incorporate Eggs and Vanilla
Once the butter and sugar are perfectly creamed, it’s time to add the wet ingredients. Add the two large eggs, one at a time, beating well after each addition. It’s important that the eggs are at room temperature, as this helps them emulsify better with the butter and sugar mixture, preventing a greasy or separated batter. After the eggs are fully incorporated, stir in the vanilla extract. Use a good quality vanilla extract for the best flavor; it really makes a difference in the final taste of your cookies. Continue mixing until everything is just combined. Again, scrape down the sides of the bowl to ensure no pockets of unmixed ingredients remain.
Combining Dry Ingredients and Final Dough
Step 4: Mix the Dry Ingredients and Combine with Wet
In a separate medium bowl, whisk together the all-purpose flour, the sifted baking soda, and the salt. Sifting the baking soda ensures it’s evenly distributed and prevents any clumps from forming in your dough. The salt not only enhances the flavors but also balances the sweetness. Gradually add this dry mixture to the wet ingredients in your large mixing bowl. Mix on low speed until just combined. Be careful not to overmix the dough at this stage. Overmixing can develop the gluten in the flour too much, resulting in tough cookies. Stop mixing as soon as you no longer see streaks of dry flour.
Step 5: Fold in the Chocolate Chips and Chill
Now comes the best part – adding the chocolate chips! Add 1 and 3/4 cups of the semi-sweet chocolate chips to the dough. Gently fold them in using a spatula or wooden spoon until they are evenly distributed throughout the dough. Reserve the remaining 1/4 cup of chocolate chips to press onto the tops of your cookies before baking; this gives them that beautiful, irresistible bakery-look. At this point, I highly recommend chilling your cookie dough for at least 30 minutes, or even better, for a couple of hours. Chilling the dough not only makes it easier to handle and scoop but also allows the flavors to meld and prevents the cookies from spreading too much during baking, leading to thicker, chewier cookies with more intense flavor.
Baking the Perfect Chocolate Chip Cookies
Step 6: Baking the Cookies
Preheat your oven to 375°F (190°C). Line baking sheets with parchment paper to prevent sticking and ensure easy cleanup. For uniformly sized cookies, use a cookie scoop or two spoons to portion out the dough. Roll each portion into a ball and place them on the prepared baking sheets, leaving about 2 inches of space between each cookie to allow for spreading. If you chilled the dough, you might notice it’s quite firm. Gently press a few of the reserved chocolate chips onto the tops of each dough ball. Bake for 9 to 11 minutes, or until the edges are golden brown and the centers are still slightly soft. The cookies will continue to bake and set as they cool on the baking sheet.
Step 7: Cooling and Enjoying
Once baked, remove the baking sheets from the oven and let the cookies cool on the sheets for about 5 minutes. This allows them to firm up enough to be moved without falling apart. After the initial cooling period, carefully transfer the cookies to a wire rack to cool completely. This ensures even cooling and prevents the bottoms from becoming soggy. Once cooled, you can enjoy your delicious homemade chocolate chip cookies! They are best stored in an airtight container at room temperature.
Conclusion:
And there you have it – the ultimate guide to baking perfect Chocolate Chip Cookies! We’ve covered everything from achieving that ideal chewy center and crispy edge to the importance of quality ingredients. Remember, baking is as much about the process as it is about the delicious outcome. Don’t be afraid to experiment and make these Chocolate Chip Cookies your own. Whether you’re enjoying them warm from the oven with a glass of milk, sharing them with loved ones, or gifting them as a homemade treat, these cookies are sure to bring smiles. Get ready to impress yourself and everyone around you with these delightful creations!
Frequently Asked Questions about Chocolate Chip Cookies:
Q1: My chocolate chip cookies spread too much. How can I prevent this?
Several factors can contribute to cookies spreading too much. Ensure your butter is softened but not melted; too-soft butter will cause excessive spread. Chilling your dough for at least 30 minutes (or even overnight) before baking helps the fat solidify, which in turn reduces spreading. Also, make sure your oven temperature is accurate; an oven that’s too cool can lead to flatter cookies.
Q2: Can I use different types of chocolate chips?
Absolutely! While classic semi-sweet chocolate chips are traditional, feel free to get creative. Dark chocolate chips, milk chocolate chips, white chocolate chips, or even a mix of different varieties will all yield delicious results. You can also add chopped nuts like walnuts or pecans for extra texture and flavor, or even a pinch of sea salt on top of each cookie before baking for a delightful sweet and salty contrast.
Q3: How should I store leftover Chocolate Chip Cookies?
To keep your Chocolate Chip Cookies fresh for as long as possible, store them in an airtight container at room temperature. They are best enjoyed within 3-4 days. If you want to keep them even longer, you can freeze baked cookies in a single layer on a baking sheet until firm, then transfer them to a freezer-safe bag or container for up to 3 months. You can also freeze the unbaked dough balls for a ready supply of fresh cookies whenever the craving strikes!
Best Chocolate Chip Cookies Recipe-Simple & Delicious
A simple and delicious recipe for classic chocolate chip cookies with a chewy texture and rich flavor.
Ingredients
-
1 cup (16 tablespoons) unsalted butter, softened
-
1/2 cup granulated sugar
-
1 cup light brown sugar, packed
-
2 large eggs, room temperature
-
2 teaspoons vanilla extract
-
3 cups all-purpose flour
-
1 teaspoon baking soda, sifted
-
1 teaspoon salt
-
2 cups semi-sweet chocolate chips (reserve 1/4 cup for topping)
Instructions
-
Step 1
Ensure butter is softened. Combine softened butter with granulated sugar and packed light brown sugar in a large mixing bowl. -
Step 2
Cream the butter and sugars with an electric mixer until light and fluffy, about 3-5 minutes. Scrape down the bowl as needed. -
Step 3
Add eggs one at a time, beating well after each addition. Stir in the vanilla extract. Mix until just combined. -
Step 4
In a separate bowl, whisk together flour, sifted baking soda, and salt. Gradually add this dry mixture to the wet ingredients and mix on low speed until just combined. Do not overmix. -
Step 5
Fold in 1 and 3/4 cups of semi-sweet chocolate chips. Chill the dough for at least 30 minutes. -
Step 6
Preheat oven to 375°F (190°C). Line baking sheets with parchment paper. Scoop dough into balls, place on baking sheets, and press reserved chocolate chips onto tops. -
Step 7
Bake for 9-11 minutes, or until edges are golden brown and centers are slightly soft. Let cool on baking sheets for 5 minutes before transferring to a wire rack to cool completely.
Important Information
Nutrition Facts (Per Serving)
It is important to consider this information as approximate and not to use it as definitive health advice.
Allergy Information
Please check ingredients for potential allergens and consult a health professional if in doubt.