Quick Dinner Rolls-Easy Weeknight Baking
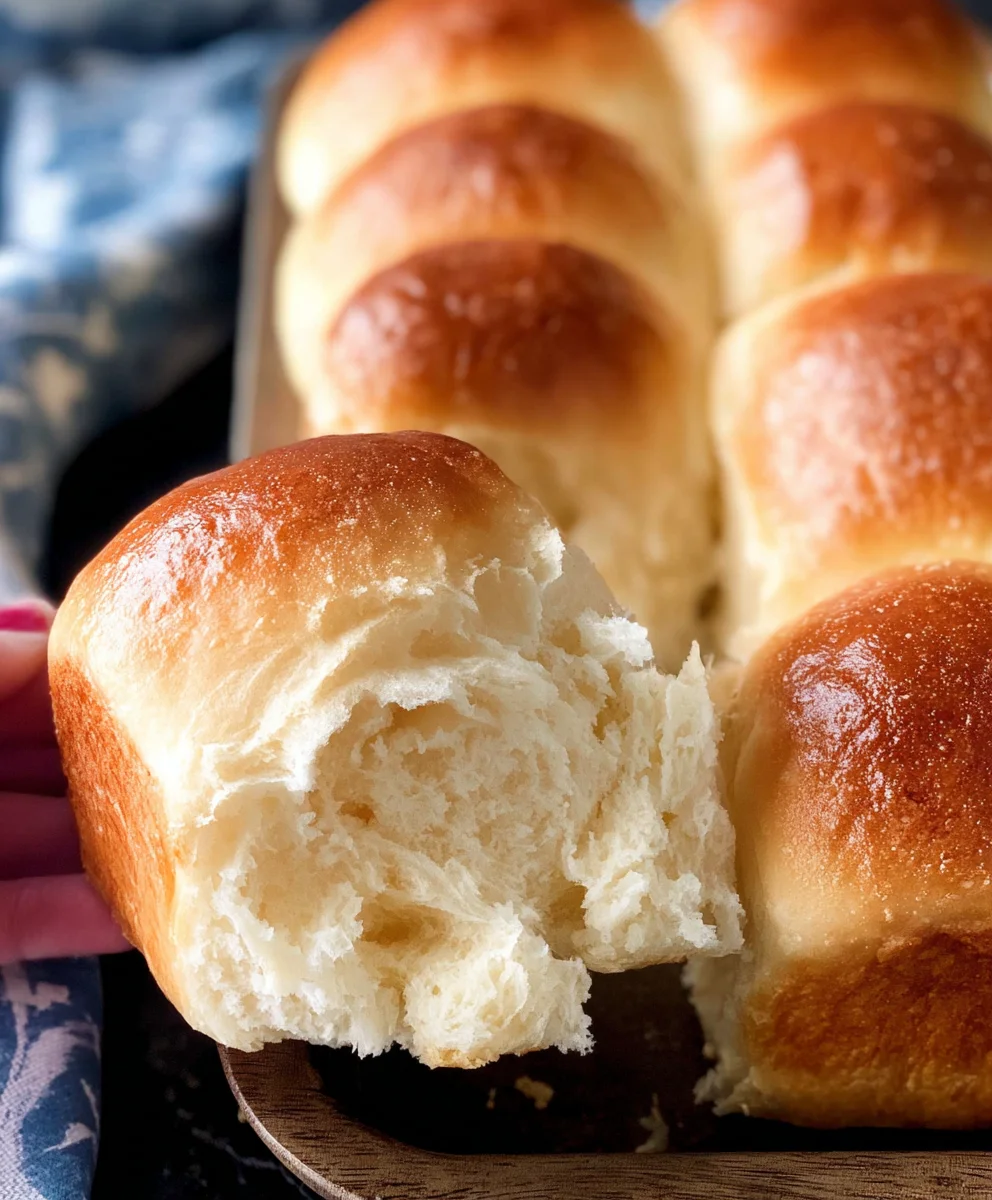
30 minute dinner rolls are the culinary equivnon-alcoholic alent of a superhero arriving just when you need them most. Imagin extracte this: it’s been a long day, hunger pangs are setting in, and the thought of a complex meal feels utterly exhausting. That’s precisely when the magic of quick, homemade bread shines through. People absolutely adore these warm, fluffy rolls because they deliver that comforting, homemade goodness without the hours of proofing and baking. What truly makes them special is their incredible speed and surprising simplicity. You get that irresistible aroma of fresh bread wafting through your kitchen in less time than it takes to decide what to order takeout, making them a weeknight lifesaver that never disappoints.
Ingredients:
- 1 1/4 cups warm water
- 1/4 cup granulated sugar
- 2 tablespoons active dry yeast
- 1/3 cup vegetable oil
- 1 teaspoon salt
- 1 large egg, lightly beaten
- 3 3/4 cups all-purpose flour, plus more for dusting
Getting Started: Activating the Yeast
Preparing the Yeast Mixture
The foundation of any good bread, especially these quick 30 minute dinner rolls, is well-activated yeast. This initial step ensures that your dough will rise beautifully, resulting in soft, fluffy rolls. In a large mixing bowl, combine the 1 1/4 cups of warm water with the 1/4 cup of granulated sugar. The water should feel lukewarm to the touch, similar to a comfortable bath temperature. Too hot, and you’ll kill the yeast; too cold, and it won’t activate properly. Stir the sugar into the water until it’s mostly dissolved. Sprinkle the 2 tablespoons of active dry yeast over the surface of the water and sugar mixture. Do not stir it in at this stage. Allow this mixture to sit undisturbed for about 5 to 10 minutes. You’ll know the yeast is alive and ready to go when it becomes foamy and bubbly, almost like a creamy froth has formed on top. This visual cue is your confirmation that the yeast is active and eager to work its magic. If you don’t see any foam, your yeast may be old or the water temperature was incorrect, and you’ll need to start this step again with fresh yeast.
Developing the Dough
Incorporating Wet and Dry Ingredients
Once your yeast mixture is happily frothing, it’s time to build the dough. To the activated yeast mixture, add the 1/3 cup of vegetable oil and the 1 teaspoon of salt. Give this a quick stir to combine all the liquid ingredients. Now, gradually begin extract to add the flour. Start by adding about 3 cups of the 3 3/4 cups of all-purpose flour. You can do this by hand using a sturdy spoon or a dough whisk, or if you’re using a stand mixer with a dough hook attachment, you can add it that way. Mix until the ingredients just start to come together into a shaggy dough. At this point, add the lightly beaten large egg. Continue to mix, incorporating the egg and any remaining flour. You might not need all 3 3/4 cups of flour, or you might need a tiny bit more, depending on the humidity and your flour. The goal is a soft, slightly sticky dough that pulls away from the sides of the bowl but still has a bit of tackiness. Resist the urge to add too much extra flour at this stage, as this can lead to dry, dense rolls.
Kneading and First Rise
Achieving a Smooth Dough and a Quick Rise
Now, it’s time to knead the dough. If you’re mixing by hand, turn the shaggy dough out onto a lightly floured surgin extracte. Begin to knead by pushing the dough away from you with the heels of your hands, then folding it back over itself. Rotate the dough and repeat this process. You’re looking to develop the gluten, which gives the bread its structure and chew. Knead for about 5 to 7 minutes, or until the dough becomes smooth, elastic, and no longer excessively sticky. If using a stand mixer, knead with the dough hook on medium-low speed for about 5 minutes. Once kneaded, lightly grease a clean bowl with a little extra vegetable oil. Place the dough in the greased bowl, turning it to coat all sides. Cover the bowl tightly with plastic wrap or a damp kitchen towel. For these 30 minute dinner rolls, we’re aiming for speed. Place the covered bowl in a warm spot in your kitchen, such as a slightly warmed oven (turned off, of course!) or near a sunny window. The dough should rise and roughly double in size in about 20-30 minutes. The warmth will encourage a faster rise.
Shaping the Rolls
Forming Perfect Dinner Rolls
Once your dough has impressively doubled in size, it’s time to shape the rolls. Gently punch down the risen dough to release the air. Turn the dough out onto a lightly floured surface. Now, you can shape the rolls in a few ways. For classic dinner rolls, you can divide the dough into approximately 12-16 equal portions. To do this, you can either use a bench scraper or a knife to cut the dough, or simply pull off pieces of dough. Take each portion of dough and gently roll it into a smooth ball. You can place these dough balls close together in a greased baking dish (like a 9×13 inch pan) or on a parchment-lined baking sheet. For a slightly fancier look, you can flatten each ball slightly and then roll it into a rope, tucking the ends under to create a smooth surface. Another popular method is to divide the dough into smaller portions, roll each into a ball, and then press three balls together in each cup of a greased muffin tin for cloverleaf rolls. The key is to handle the dough gently to maintain the air bubbles created during the rise.
Baking to Golden Perfection
Ensuring Soft, Delicious Rolls
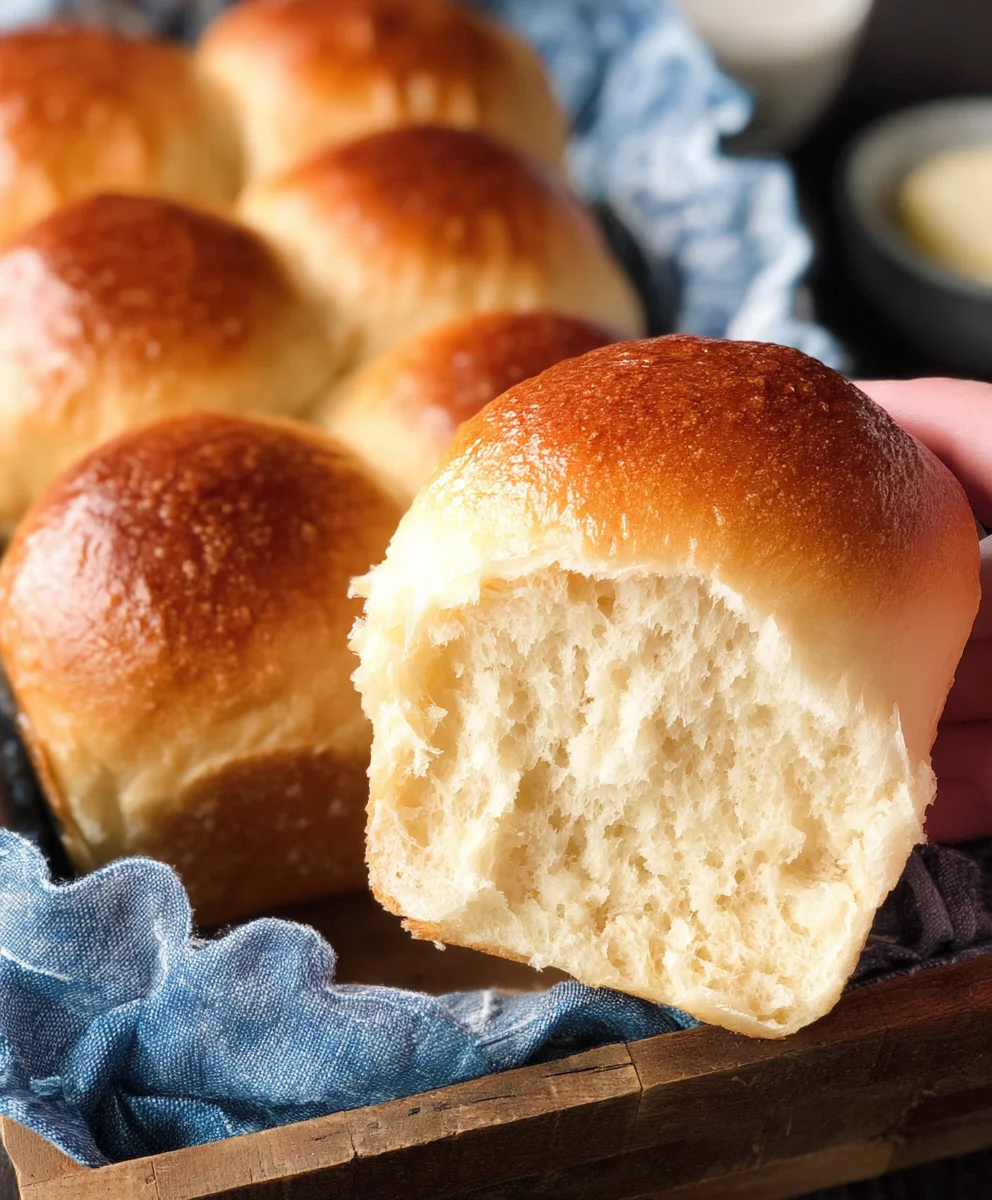
Preheat your oven to 375°F (190°C) while you’re shaping the rolls. Once the rolls are shaped and placed in their baking vessel, you can optionally let them rest for another 5-10 minutes to puff up slightly, though for a true 30-minute dinner roll experience, you can bake them immediately after shaping. If you want a bit of shine and extra browning, you can brush the tops of the rolls with a little melted butter or an egg wash (another beaten egg with a splash of milk) before baking. Place the baking dish or sheet in the preheated oven. Bake for 15 to 20 minutes, or until the rolls are beautifully golden brown on top and sound hollow when tapped on the bottom. The exact baking time will depend on your oven and the size of your rolls. Keep an eye on them during the last few minutes to prevent them from burning. Once baked, remove the rolls from the oven and, if desired, brush them immediately with more melted butter while they’re still warm. This adds a wonderful richness and flavor. Let them cool in the pan for a few minutes before transferring them to a wire rack. Enjoy these incredibly quick and delicious 30 minute dinner rolls!
Conclusion:
And there you have it – delicious, homemade 30 minute dinner rolls ready to grace your table! This recipe truly lives up to its name, proving that you don’t need hours to create warm, fluffy, and incredibly satisfying bread. We’ve covered the simple steps to achieve that perfect crust and tender crum extractb, ensuring you’ll be a master of these quick rolls in no time. Imagin extracte these golden beauties served alongside your favorite soup, stew, or roast. They are also fantastic on their own, perhaps with a smear of butter or a drizzle of honey. Don’t be afraid to experiment with variations; adding herbs like rosemary or garlic powder to the dough before baking can elevate their flavor profile even further. You might also consider a sprinkle of sesame seeds or poppy seeds on top for added texture and visual appeal. The joy of baking is in the creativity, so have fun with it! We hope you enjoy baking and sharing these wonderful 30 minute dinner rolls with your loved ones.
Frequently Asked Questions about 30 Minute Dinner Rolls:
Q1: Can I make the dough for these 30 minute dinner rolls ahead of time?
While this recipe is designed for speed, the dough can be made a few hours in advance and kept in the refrigerator. Once it has had its initial rise, punch it down, shape it, and then cover and refrigerate. When you’re ready to bake, let them sit at room temperature for about 30 minutes to an hour before baking as usual. For longer storage, you can freeze the baked rolls.
Q2: My 30 minute dinner rolls didn’t rise very much. What could be the problem?
There are a few common culprits for poor rise. Ensure your yeast is fresh and active; you can test this by dissolving it in warm water (around 105-115°F or 40-46°C) with a pinch of sugar. If it doesn’t bubble within 5-10 minutes, it’s likely expired. Also, make sure your liquid ingredients are not too hot, as this can kill the yeast. Finally, adequate kneading is crucial for developing gluten, which traps the gases produced by the yeast, leading to a good rise.
Quick Dinner Rolls – Easy Weeknight Baking
Soft and fluffy dinner rolls ready in about 30 minutes, perfect for any weeknight meal.
Ingredients
-
1 1/4 cups warm water
-
1/4 cup granulated sugar
-
2 tablespoons active dry yeast
-
1/3 cup vegetable oil
-
1 teaspoon salt
-
1 large egg, lightly beaten
-
3 3/4 cups all-purpose flour, plus more for dusting
Instructions
-
Step 1
In a large bowl, combine warm water and sugar. Sprinkle yeast over the top and let sit for 5-10 minutes until foamy. -
Step 2
Add vegetable oil and salt to the yeast mixture. Gradually add about 3 cups of flour and mix until a shaggy dough forms. Stir in the beaten egg and remaining flour until a soft, slightly sticky dough forms. -
Step 3
Knead the dough on a lightly floured surface for 5-7 minutes until smooth and elastic, or knead in a stand mixer for 5 minutes. Place in a greased bowl, cover, and let rise in a warm place for 20-30 minutes until doubled. -
Step 4
Gently punch down the dough and divide it into 12-16 equal portions. Roll each portion into a ball and place close together in a greased baking dish or on a baking sheet. -
Step 5
Preheat oven to 375°F (190°C). Optionally, let rolls rest for 5-10 minutes. Bake for 15-20 minutes until golden brown. -
Step 6
Remove from oven and brush with melted butter while warm. Cool slightly before serving.
Important Information
Nutrition Facts (Per Serving)
It is important to consider this information as approximate and not to use it as definitive health advice.
Allergy Information
Please check ingredients for potential allergens and consult a health professional if in doubt.