Bakery Style Chocolate Chip Cookies-Perfect Chewy Recipe
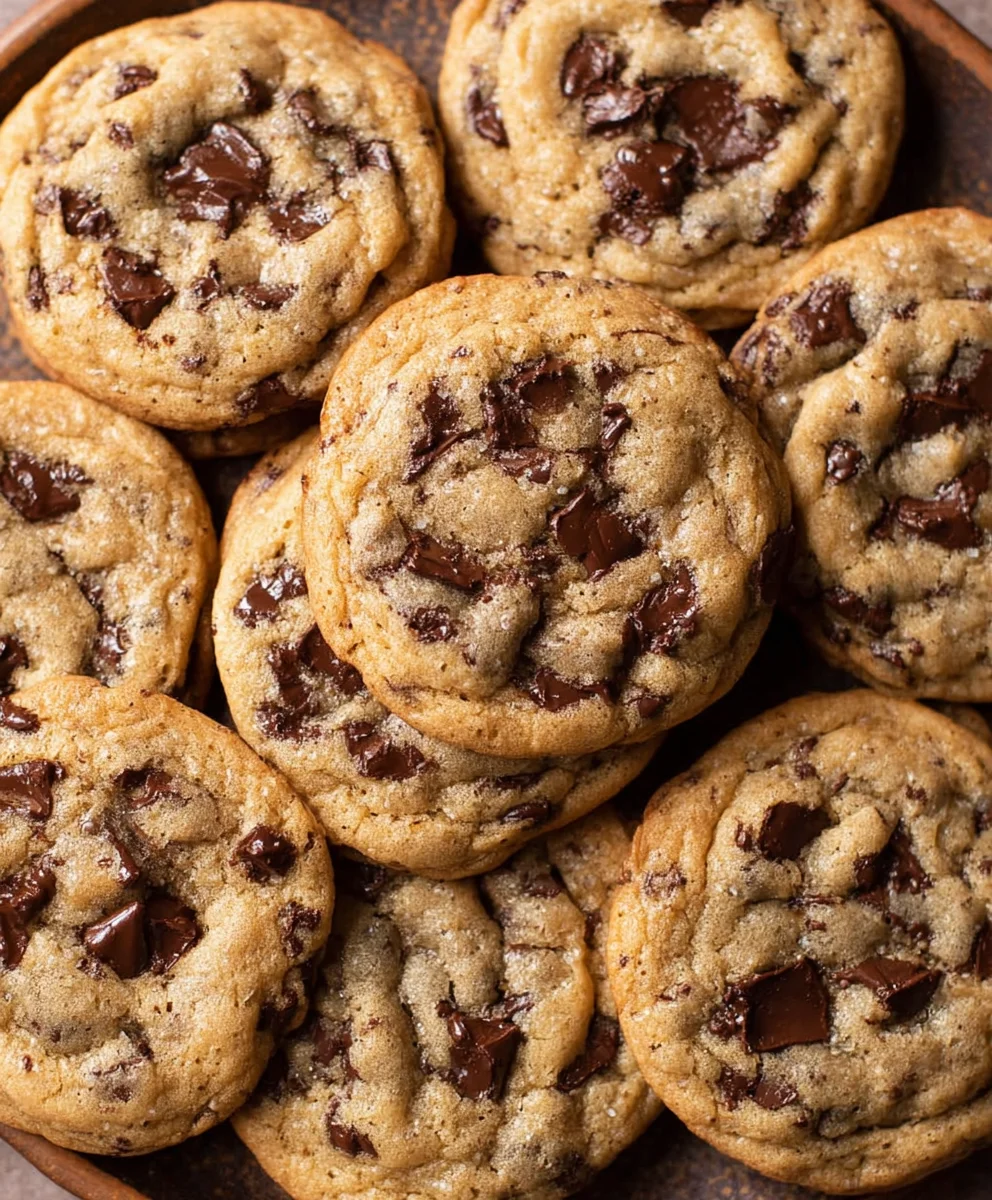
Bakery Style Chocolate Chip Cookies are more than just a dessert; they’re a passport to pure bliss. We all have that memory, don’t we? The comforting aroma wafting from a local bakery, promising warm, gooey perfection. That’s the magic we’re capturing today. These aren’t just any chocolate chip cookies; they’re the kind that boast those irresistible chewy centers, slightly crisp edges, and pockets of molten chocolate that make your taste buds sing. What makes them truly special? It’s a carefully balanced blend of quality ingredients and a simple technique that elevates the humble chocolate chip cookie to an art form. Forget those flat, hard discs you’ve sometimes encountered. These Bakery Style Chocolate Chip Cookies deliver on every single promise, creating a truly unforgettable treat that will have everyone beggin extractg for the recipe.
Ingredients:
- 2 cups minus 2 tablespoons cake flour (228 grams)
- 1 2/3 cups bread flour (217 grams)
- 1 1/4 teaspoons baking soda (5 grams)
- 1 1/2 teaspoons baking powder (6 grams)
- 1 teaspoon salt (6 grams)
- 1 1/4 cups salted butter, softened (10 ounces)
- 1 1/4 cups light brown sugar (275 grams)
- 1 cup plus 2 tablespoons white granulated sugar (226 grams)
- 2 large eggs
- 2 teaspoons vanilla extract (10 grams)
- 1 cup shaved or finely chopped dark chocolate (at least 60% cacao, 146 grams)
- 1 1/2 cups dark chocolate chips (or semi-sweet, 267 grams)
- 1/4 cup white granulated sugar (for rolling and topping)
- Sea salt, for sprinkling
Preparing the Dough
Dry Ingredients
First, we’ll combine all of our dry ingredients to ensure they are evenly distributed. In a medium-sized bowl, whisk together the cake flour and bread flour. It might seem like an extra step, but using two types of flour is key to achieving that perfect bakery-style texture – the cake flour lends tenderness, while the bread flour provides a bit more chew. Next, add the baking soda, baking powder, and the teaspoon of salt to the flour mixture. Whisk these thoroughly until everything is well incorporated. This will prevent any pockets of leavening or salt from creating an uneven bake. Set this bowl aside.
Creaming the Butter and Sugars
Now, in a large bowl, we’re going to cream together the softened butter and the sugars. Make sure your butter is truly softened – it should yield to gentle pressure but not be melted. This is crucial for creating air pockets that will give our cookies their lift and tender crum extractb. Add the 1 1/4 cups of light brown sugar and the 1 cup plus 2 tablespoons of white granulated sugar to the butter. Using an electric mixer (stand mixer with paddle attachment or a hand mixer) on medium speed, beat the butter and sugars together for about 3-5 minutes. You’re looking for a light, fluffy, and pnon-alcoholic ale mixture. Scrape down the sides of the bowl a couple of times during this process to ensure all the sugar and butter are incorporated. This creaming step is vital for the cookie’s structure and texture.
Adding Eggs and Vanilla
Once the butter and sugar are perfectly creamed, it’s time to add the eggs. Add the two large eggs, one at a time, beating well after each addition until it’s fully incorporated. Don’t rush this step; allow each egg to emulsify with the butter-sugar mixture. After the eggs are mixed in, add the 2 teaspoons of vanilla extract. Vanilla extract not only adds wonderful flavor but also enhances the chocolate notes. Beat for another minute until everything is smooth and well combined. The mixture should look glossy and cohesive at this point.
Incorporating Dry and Wet Ingredients
Now, we’ll gradually add the dry ingredients to the wet ingredients. With the mixer on low speed, add about a third of the dry flour mixture to the creamed butter and sugar. Mix just until it’s mostly combined, being careful not to overmix. Overmixing at this stage can develop the gluten too much, leading to tough cookies. Repeat this process two more times, adding the remaining dry ingredients in two more additions. Again, mix only until no dry streaks of flour remain. The dough will start to thicken considerably.
Adding the Chocolate Goodness
This is where the magic happens! Gently fold in your chopped dark chocolate and the 1 1/2 cups of dark chocolate chips using a sturdy spatula or wooden spoon. Be thorough but gentle; you want to distribute the chocolate evenly throughout the dough without overworking it. The combination of finely chopped chocolate and chips provides a wonderful variety in texture and melt. Some pieces will melt into luscious puddles, while others will hold their shape, offering delightful bursts of chocolate.
Chilling and Baking
Chilling the Dough
Cover the bowl tightly with plastic wrap and refrigerate the dough for at least 2 hours, or preferably overnight. Chilling is absolutely non-negotiable for bakery-style cookies. It allows the flour to fully hydrate, the fat to firm up, and the flavors to meld. This process prevents the cookies from spreading too much in the oven, resulting in thicker, chewier cookies with a beautiful rise and a delightful soft center. It also concentrates the flavors, making them even more delicious.
Shaping and Rolling the Cookies
Once the dough is thoroughly chilled, preheat your oven to 350°F (175°C). Line baking sheets with parchment paper for easy cleanup and to prevent sticking. Scoop the chilled dough into generous portions. For consistently sized cookies, an ice cream scoop or a large cookie scoop is ideal. Roll each portion into a ball. Place the balls of dough onto the prepared baking sheets, leaving about 2-3 inches of space between them to allow for spreading. In a shallow dish, place the reserved 1/4 cup of white granulated sugar. Gently roll each dough ball in the sugar before placing it on the baking sheet. This adds a lovely crisp exterior and an extra touch of sweetness.
Baking to Perfection
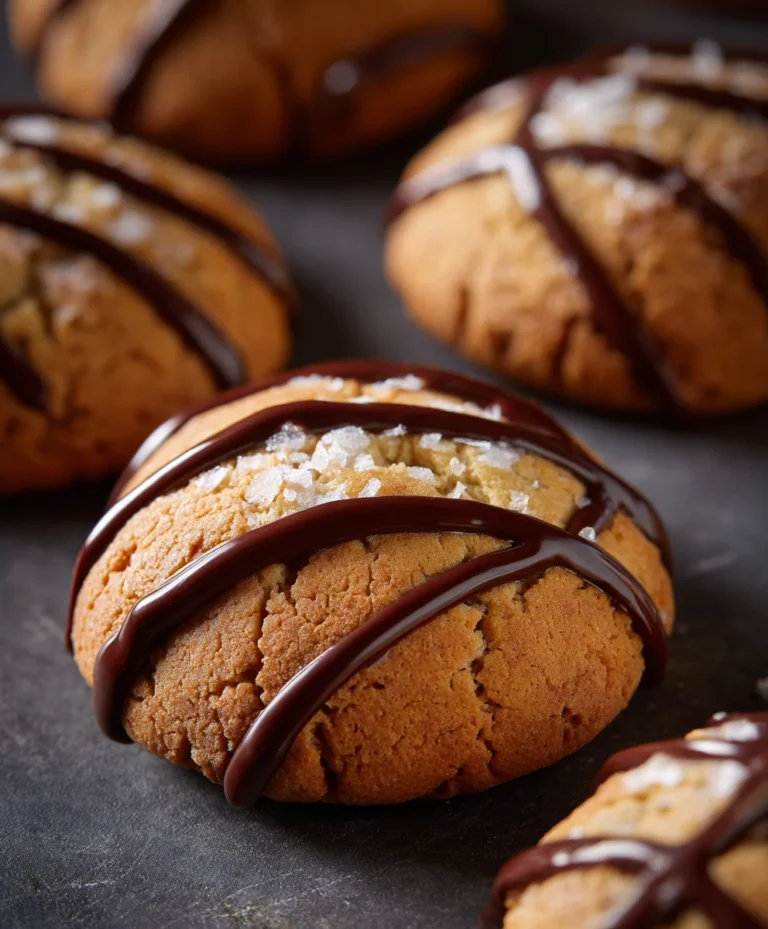
Bake the cookies for 10-14 minutes, or until the edges are golden brown and the centers still look slightly soft and underbaked. They will continue to cook slightly on the baking sheet after you remove them from the oven. The exact baking time will depend on your oven and the size of your cookies, so keep a close eye on them during the last few minutes. As soon as they are out of the oven, gently sprinkle a few flakes of sea salt over the tops of each cookie. The salt enhances the sweetness and balances the richness of the chocolate beautifully, adding that signature bakery finish.
Cooling the Cookies
Allow the cookies to cool on the baking sheets for about 5-10 minutes before carefully transferring them to a wire rack to cool completely. This resting period is important; it allows the cookies to set up properly. If you try to move them too soon, they might fall apart. Once completely cool, they are ready to be enjoyed. The contrast between the slightly crisp edges and the soft, chewy interior, studded with melted and whole chocolate pieces, will transport you straight to your favorite bakery.
Conclusion:
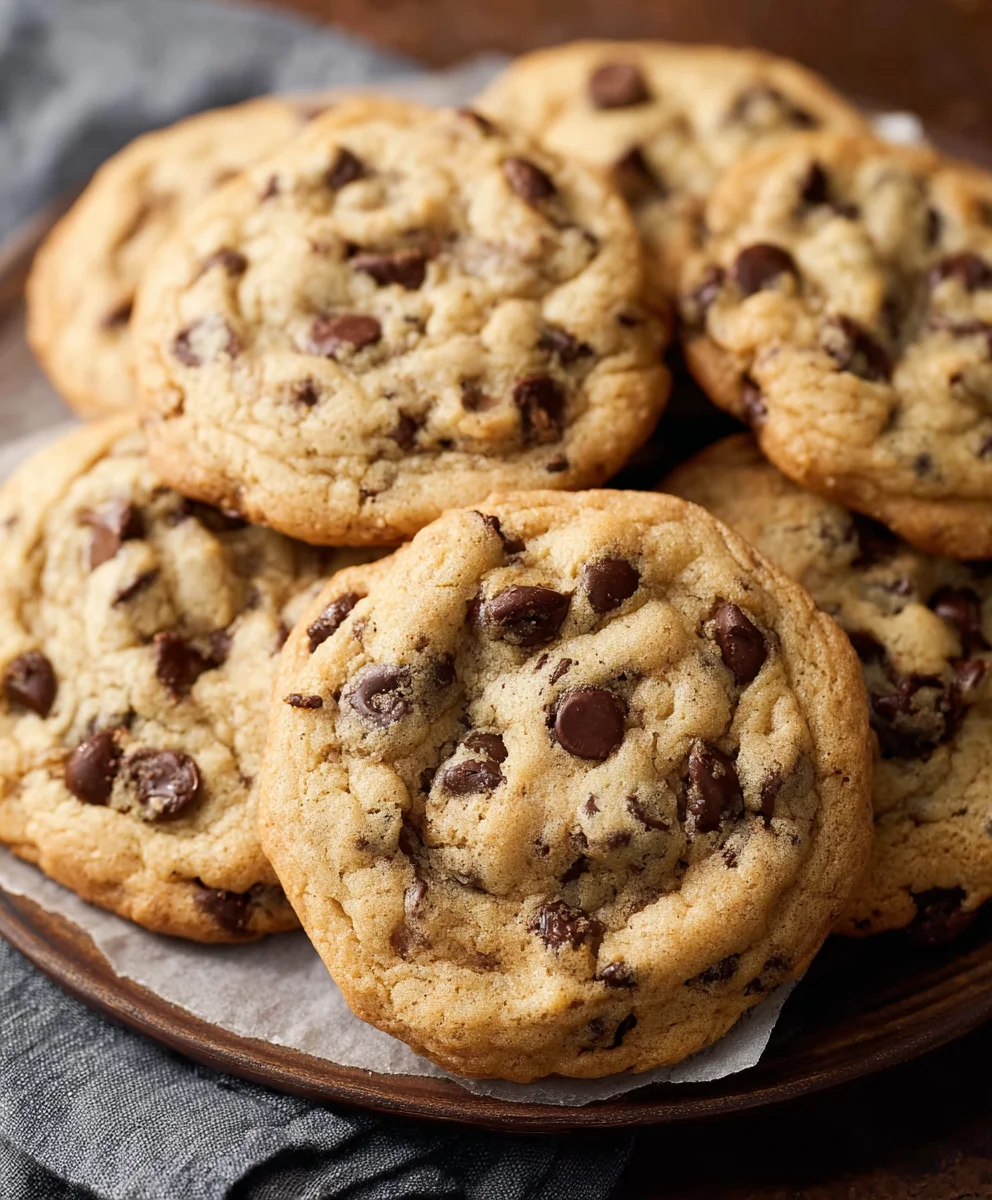
And there you have it! You’ve successfully unlocked the secret to achieving those coveted Bakery Style Chocolate Chip Cookies right in your own kitchen. We’ve walked through each step, from creaming the butter and sugars to achieving that perfect balance of chewy center and crisp edges. These aren’t just any chocolate chip cookies; they are a testament to the magic that happens when you pay attention to the details. Now, go forth and bake with confidence!
I love serving these warm, straight from the oven, with a tall glass of cold milk. They’re also fantastic cooled completely and stored in an airtight container for a delicious midday treat. For variations, consider adding a sprinkle of sea salt on top before baking for a delightful sweet and salty contrast, or fold in a handful of chopped pecans or walnuts for added texture and flavor. Don’t be afraid to experiment with different types of chocolate chips, too – dark, milk, or even a mix! The joy of baking is in the personalization.
Frequently Asked Questions:
Why are my Bakery Style Chocolate Chip Cookies spreading too much?
This is often due to the butter being too soft or melted, or the dough being too warm. Ensure your butter is softened to room temperature but not greasy. Chilling the dough for at least 30 minutes before baking can also significantly help prevent excessive spreading.
How do I get that bakery-style chewy center?
The key to a chewy center in Bakery Style Chocolate Chip Cookies lies in the ratio of ingredients and the baking time. Using a higher ratio of brown sugar to white sugar contributes to moisture retention, and slightly underbaking them (they’ll continue to cook on the hot baking sheet) ensures that perfect chewy texture. Aim for edges that are golden brown but the centers still look slightly soft.
Bakery Style Chocolate Chip Cookies-Perfect Chewy Recipe
Achieve bakery-style perfection with this chewy chocolate chip cookie recipe, featuring a blend of flours for optimal texture and a generous amount of chocolate.
Ingredients
-
2 cups minus 2 tablespoons cake flour (228 grams)
-
1 2/3 cups bread flour (217 grams)
-
1 1/4 teaspoons baking soda (5 grams)
-
1 1/2 teaspoons baking powder (6 grams)
-
1 teaspoon salt (6 grams)
-
1 1/4 cups salted butter, softened (10 ounces)
-
1 1/4 cups light brown sugar (275 grams)
-
1 cup plus 2 tablespoons white granulated sugar (226 grams)
-
2 large eggs
-
2 teaspoons vanilla extract (10 grams)
-
1 cup shaved or finely chopped dark chocolate (at least 60% cacao, 146 grams)
-
1 1/2 cups dark chocolate chips (or semi-sweet, 267 grams)
-
1/4 cup white granulated sugar (for rolling and topping)
-
Sea salt, for sprinkling
Instructions
-
Step 1
In a medium bowl, whisk together cake flour, bread flour, baking soda, baking powder, and salt. Set aside. -
Step 2
In a large bowl, cream softened butter with light brown sugar and white granulated sugar using an electric mixer on medium speed for 3-5 minutes until light and fluffy. Scrape down sides as needed. -
Step 3
Add eggs one at a time, beating well after each. Stir in vanilla extract and beat for another minute until smooth and cohesive. -
Step 4
Gradually add the dry ingredients to the wet ingredients in three additions, mixing on low speed just until combined. Do not overmix. -
Step 5
Gently fold in the chopped dark chocolate and dark chocolate chips. -
Step 6
Cover the dough tightly with plastic wrap and refrigerate for at least 2 hours, or preferably overnight. Preheat oven to 350°F (175°C) and line baking sheets with parchment paper. -
Step 7
Scoop dough into balls, roll in the reserved 1/4 cup of white granulated sugar, and place on prepared baking sheets, leaving 2-3 inches between cookies. -
Step 8
Bake for 10-14 minutes until edges are golden brown and centers are still slightly soft. Sprinkle with sea salt immediately after removing from oven. -
Step 9
Let cookies cool on baking sheets for 5-10 minutes before transferring to a wire rack to cool completely.
Important Information
Nutrition Facts (Per Serving)
It is important to consider this information as approximate and not to use it as definitive health advice.
Allergy Information
Please check ingredients for potential allergens and consult a health professional if in doubt.