Bubblegum Ice Cream- Fun & Easy Homemade Treat
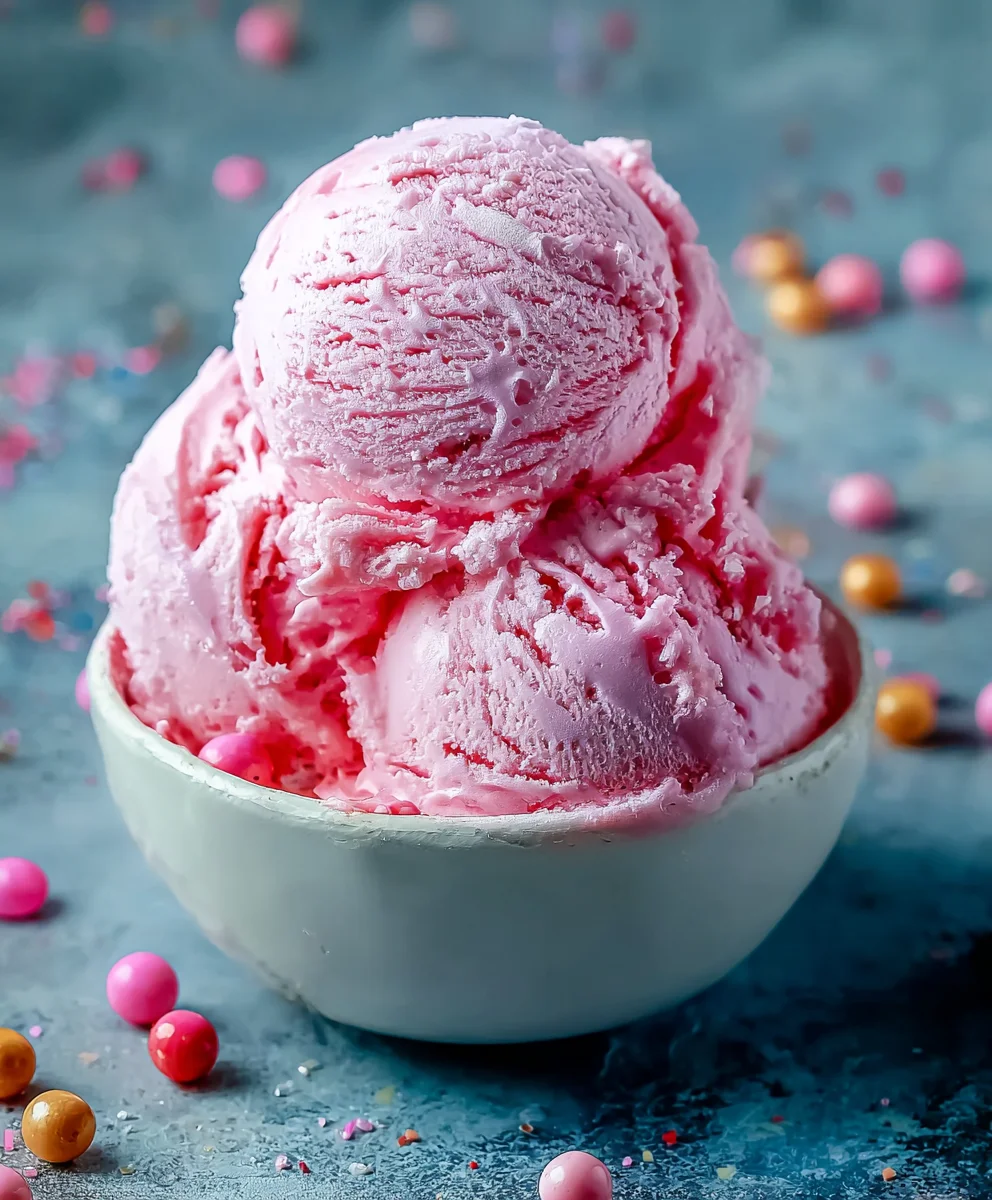
Bubblegum Ice Cream isn’t just a flavor; it’s a vibrant trip down memory lane, a sweet explosion of nostalgia that instantly transports you back to carefree summer days and the simple joy of a pink, chewy treat. Who doesn’t remember the excitement of getting a gumball, or the sugary scent of a candy shop? That’s precisely the magic we’re capturing in this homemade bubblegum ice cream recipe. It’s that distinctive, slightly fruity, impossibly fun flavor that makes it a perennial favorite, especially for kids and anyone who cherishes a touch of whimsy. What truly sets this particular bubblegum ice cream apart is the careful balance of sweetness and that unmistakable bubblegum essence, achieved without being overwhelmingly artificial. We’re going to guide you through creating a creamy, dreamy concoction that’s as delightful to make as it is to devour. Get ready for a scoop of pure, unadulterated happiness!
Ingredients:
- 2 cups heavy cream
- 1 cup whole milk
- ¾ cup granulated sugar
- 2 teaspoons bubblegum flavoring
- 1 teaspoon vanilla extract
- ¼ teaspoon kosher salt
- Pink or red food coloring (to taste)
- ½ cup confetti sprinkles, divided
- 1 cup gumballs (for decoration)
Making the Bubblegum Base
Step 1: Combine Dairy and Sugar
To begin extract our delightful Bubblegum Ice Cream journey, we’ll start by creating the rich custard base. In a medium saucepan, combine the whole milk, granulated sugar, and kosher salt. Whisk these ingredients together thoroughly until the sugar and salt are completely dissolved. This step is crucial for ensuring a smooth, uniform sweetness throughout your ice cream, avoiding any gritty texture. Heat this mixture over medium heat, stirring constantly with a wooden spoon or heatproof spatula. We are aiming to gently warm the milk and dissolve the sugar, but we do not want it to boil. You’ll notice small bubbles starting to form around the edges of the pan – that’s your cue to reduce the heat slightly. Continue to stir and heat for about 5 minutes, or until the mixture is steaming and slightly thickened. This gentle warming process helps to bloom the sugar and creates a more luscious texture in the final product.
Step 2: Tempering the Cream and Adding Flavor
Once the milk mixture has been heated and is steaming, it’s time to incorporate the heavy cream. Gradually whisk the heavy cream into the warm milk mixture. Continue to cook over low heat, stirring constantly, for another 5-7 minutes. The goal here is to allow the mixture to thicken slightly more, reaching a consistency that coats the back of a spoon. This is often referred to as a “nappe” consistency. It’s important not to rush this stage, as over-heating can cause the cream to curdle. Once the mixture has thickened to your liking, remove the saucepan from the heat immediately. Now, stir in the bubblegum flavoring and vanilla extract. These extracts are potent, so measure them carefully to achieve the perfect balance of classic vanilla and sweet, nostalgic bubblegum. Give it a good stir to ensure the flavors are evenly distributed.
Step 3: Infusing Color and Cooling the Base
This is where the fun rgin extractly begins – transforming our pnon-alcoholic ale base into a vibrant bubblegum masterpiece! Add a few drops of pink or red food coloring to the mixture. Start with a small amount, as food coloring is quite concentrated. Stir well to incorporate the color, and then assess the shade. You can add more drops, a little at a time, until you achieve your desired bubblegum pink hue. Remember, the color will lighten slightly once the ice cream is frozen. Once you’re happy with the color, it’s essential to cool the ice cream base completely. You can do this by transferring the mixture to a clean bowl and placing it over an ice bath. Stir occasionally to speed up the cooling process. Alternatively, you can cover the bowl tightly with plastic wrap, pressing the wrap directly onto the surface of the liquid to prevent a skin from forming, and refrigerate for at least 4 hours, or preferably overnight. This thorough chilling is critical for proper churning.
Churning and Incorporating Mix-ins
Step 4: Churning the Ice Cream
Now that our bubblegum base is thoroughly chilled, it’s time to churn it into luscious ice cream. Follow the manufacturer’s instructions for your ice cream maker. Typically, this involves pouring the cold base into the pre-frozen bowl of your ice cream maker and letting it churn until it reaches a soft-serve consistency. This usually takes about 20-30 minutes, depending on your machine. During the last 5 minutes of churning, it’s time to add our delightful confetti sprinkles. Add them through the opening in the lid while the machine is still running. This allows them to be evenly distributed throughout the ice cream without breaking apart too much, giving you those delightful pops of color and texture.
Step 5: Freezing and Decorating
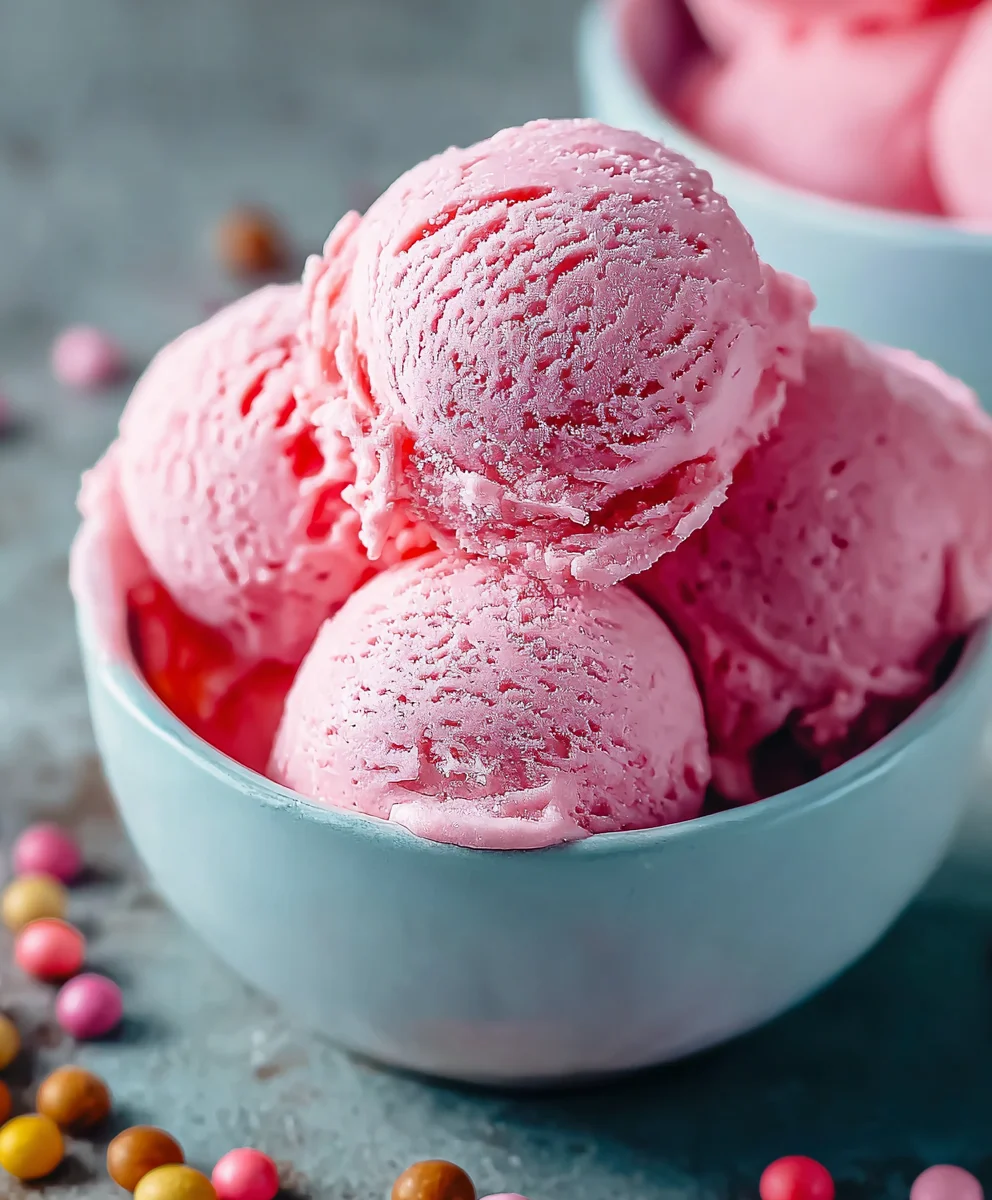
Once the ice cream has churned to your desired consistency and the sprinkles are incorporated, it’s time for the final freeze. Transfer the soft ice cream from the ice cream maker into a freezer-safe container. Gently fold in about half of the remaining confetti sprinkles. You want to create swirls of color and texture rather than completely mixing them in. Cover the container tightly with a lid or plastic wrap. Place the container in your freezer for at least 4-6 hours, or until the ice cream is firm enough to scoop. For an extra special touch, before serving, you can adorn the top of your Bubblegum Ice Cream with whole gumballs. Arrange them artistically on top for a whimsical and playful presentation that perfectly complements the theme. You can also sprinkle the remaining confetti sprinkles over the top for an extra burst of color and fun!
Conclusion:
We hope you’ve enjoyed learning how to make this delightful Bubblegum Ice Cream! This recipe is a fantastic way to bring a burst of fun and nostalgic flavor to any occasion. Whether you’re preparing it for a birthday party, a summer treat, or just because, this homemade ice cream is sure to be a hit. The vibrant color and classic sweet taste are reminiscent of childhood joys, making it a universally loved dessert.
For the best experience, serve your Bubblegum Ice Cream in classic ice cream cones, bowls topped with whipped cream and sprinkles, or even blended into a thick milkshake. Get creative with toppings – chocolate sauce, gummy candies, or fresh berries all pair wonderfully.
If you’re feeling adventurous, try incorporating some mini marshmallows or even a swirl of marshmallow fluff into the mix before freezing for an extra layer of texture and sweetness. You could also experiment with adding a tiny splash of almond extract for a more complex flavor profile.
Don’t be afraid to adjust the sweetness or bubblegum flavoring to your personal preference. The beauty of homemade ice cream is its adaptability! We encourage you to give this recipe a try and share your delicious creations. Happy ice cream making!
Frequently Asked Questions about Bubblegum Ice Cream:
Q1: Can I make this Bubblegum Ice Cream without an ice cream maker?
Absolutely! While an ice cream maker produces the creamiest texture, you can achieve delicious results without one. Pour your base mixture into a freezer-safe container. Every 30-45 minutes for the first 2-3 hours, stir the mixture vigorously with a fork or whisk to break up ice crystals. This manual churning helps create a smoother consistency.
Q2: How long does Bubblegum Ice Cream last in the freezer?
Homemade Bubblegum Ice Cream is best enjoyed within 1 to 2 weeks for optimal flavor and texture. After this period, it might start to develop more ice crystals, affecting its creaminess. Ensure it’s stored in an airtight container to prevent freezer burn.
Q3: Where can I find bubblegum extract or flavoring?
Bubblegum extract or flavoring is typically available at specialty baking stores, larger grocery store baking aisles, or online retailers. Ensure you’re using a food-grade flavoring specifically designed for sweets, as it’s quite potent and a little goes a long way!
Bubblegum Ice Cream- Fun & Easy Homemade Treat
A fun and easy homemade bubblegum ice cream recipe with a vibrant pink hue and confetti sprinkles, perfect for a delightful treat.
Ingredients
-
2 cups heavy cream
-
1 cup whole milk
-
¾ cup granulated sugar
-
2 teaspoons bubblegum flavoring
-
1 teaspoon vanilla extract
-
¼ teaspoon kosher salt
-
Pink or red food coloring (to taste)
-
½ cup confetti sprinkles, divided
-
1 cup gumballs (for decoration)
Instructions
-
Step 1
In a medium saucepan, combine the whole milk, granulated sugar, and kosher salt. Whisk until dissolved. Heat over medium heat, stirring constantly, until steaming and slightly thickened (about 5 minutes). Do not boil. -
Step 2
Gradually whisk in the heavy cream. Cook over low heat, stirring constantly, for another 5-7 minutes until the mixture thickens to a nappe consistency (coats the back of a spoon). Remove from heat immediately and stir in bubblegum flavoring and vanilla extract. -
Step 3
Add food coloring to achieve desired pink hue, starting with a few drops and adding more as needed. Cool the base completely by placing the bowl over an ice bath or refrigerating for at least 4 hours, or preferably overnight. -
Step 4
Churn the chilled base in an ice cream maker according to manufacturer instructions until it reaches a soft-serve consistency (about 20-30 minutes). During the last 5 minutes of churning, add the confetti sprinkles. -
Step 5
Transfer the churned ice cream to a freezer-safe container. Gently fold in about half of the remaining confetti sprinkles. Cover and freeze for at least 4-6 hours, or until firm. Decorate with gumballs and remaining sprinkles before serving.
Important Information
Nutrition Facts (Per Serving)
It is important to consider this information as approximate and not to use it as definitive health advice.
Allergy Information
Please check ingredients for potential allergens and consult a health professional if in doubt.