Decadent Chocolate Peanut Butter Rice Krispie Squares Recipe
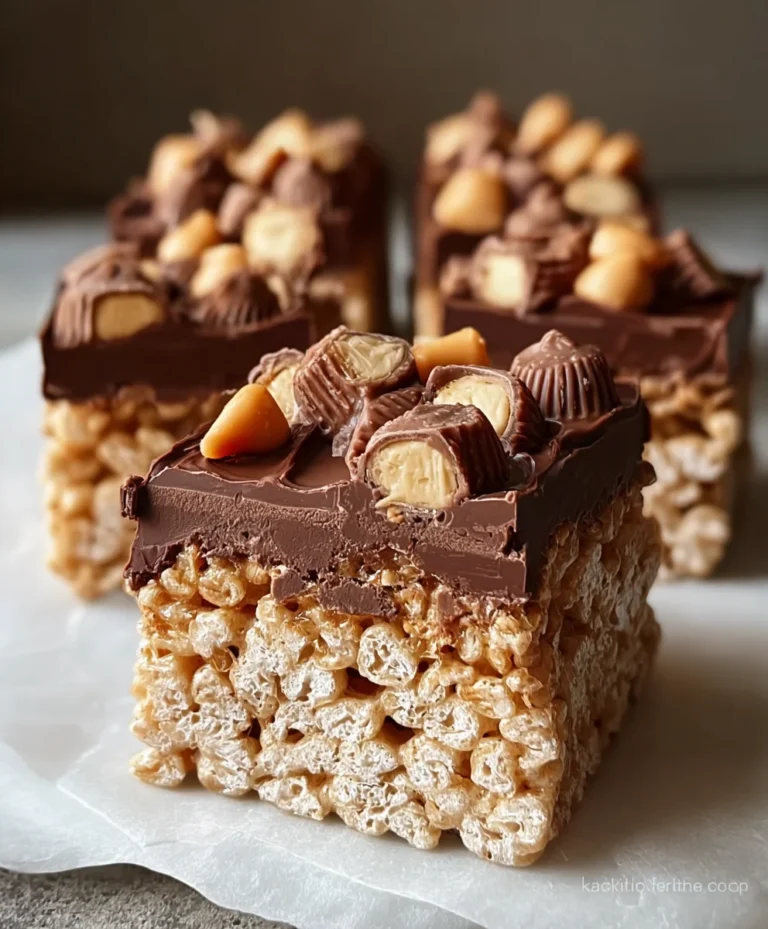
Chocolate Peanut Butter Rice Krispie Squares are more than just a nostalgic treat; they’re a delicious testament to the power of simple ingredients coming together in perfect harmony. Who among us hasn’t succumbed to the irresistible allure of that chewy, crunchy, melt-in-your-mouth goodness? These aren’t your average Rice Krispie treats. We’re elevating them, infusing them with the deeply satisfying, classic pairing of rich chocolate and creamy peanut butter. Imagin extracte that familiar crispiness, now kissed with the decadent depth of cocoa and the unmistakable nutty embrace of peanut butter. It’s a combination that evokes childhood joy, comfort, and pure, unadulterated indulgence. What makes these Chocolate Peanut Butter Rice Krispie Squares truly special is their effortless magic – turning humble pantry staples into an explosion of flavor that’s sure to become a new favorite. Get ready to rediscover this beloved classic with a decadent twist!
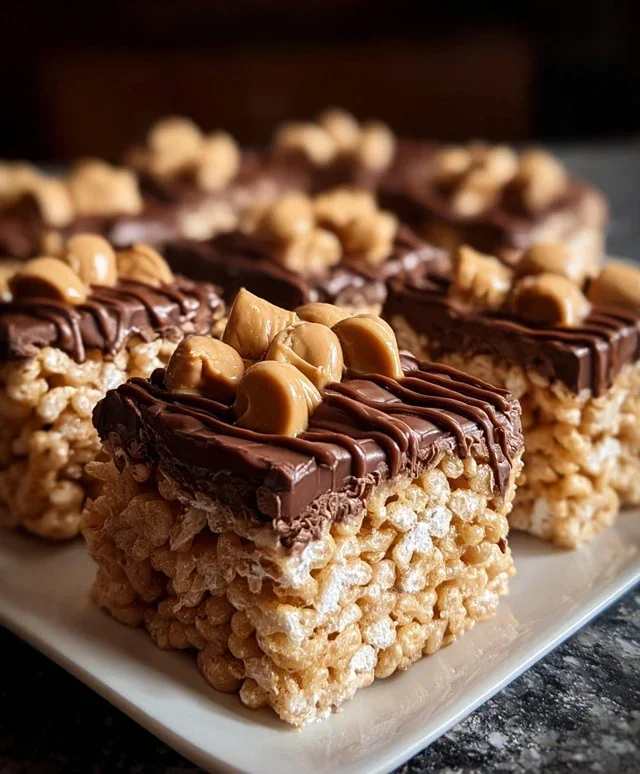
Ingredients:
Get ready for a treat that’s a nostalgic favorite with a decadent twist! These Chocolate Peanut Butter Rice Krispie Squares are incredibly easy to make, and they pack a punch of flavor that will have everyone asking for the recipe. We’re taking the classic crispy, chewy goodness of a Rice Krispie treat and elevating it with the irresistible combination of rich milk chocolate and creamy peanut butter. This recipe is perfect for a quick afternoon snack, a party dessert, or even a homemade gift for someone special. The beauty of these squares lies in their simplicity, meaning you can whip them up with ingredients you likely already have in your pantry. Let’s dive into how we’ll create these delightful squares that are sure to become a new staple in your kitchen.
Gathering Your Goodies
Before we begin extract, it’s always a good idea to have all your ingredients prepped and ready to go. This ensures a smooth and efficient cooking process. For these chocolate peanut butter wonders, you’ll need the core ingredients for classic Rice Krispie treats: the cereal, butter, and marshmallows. We’ll then be adding in our star players: creamy peanut butter and luscious milk chocolate chips. The beauty of this recipe is its adaptability. Whether you prefer the smooth texture of creamy peanut butter or the satisfying crunch of chunky peanut butter, feel free to use what you love! Similarly, the type of marshmallows you use won’t significantly alter the outcome, though mini marshmallows tend to melt a little faster. And for that extra layer of nutty flavor and texture, a sprinkle of chopped peanuts on top is highly recommended, but entirely optional if you’re not a fan.
The Melting Magic
The foundation of any great Rice Krispie treat is a perfectly melted marshmallow mixture. This is where the magic begin extracts to happen. In a large pot or Dutch oven, we’ll melt the butter over low heat. It’s important to use low heat to prevent the butter from browning or burning, which can impart an undesirable flavor to our finished squares. Once the butter is completely melted and shimmering, it’s time to add the marshmallows. Continue to stir them gently as they soften and start to melt. Patience is key here; you want them to melt into a smooth, gooey mass without scorching. This process usually takes a few minutes, and you’ll see the marshmallows transform from individual puffy spheres into a cohesive, sticky cloud.
Incorporating the Stars
Once the marshmallows are fully melted and smooth, remove the pot from the heat. This is the critical moment where we introduce our flavor powerhouses. Immediately stir in the ½ cup of peanut butter. The residual heat from the marshmallows will help the peanut butter melt and incorporate smoothly. Stir until the peanut butter is completely blended into the marshmallow mixture, creating a beautiful, swirl-like appearance before it fully combines. Now, add the 1 cup of milk chocolate chips. Stir these in as well. The heat from the mixture will begin extract to melt the chocolate chips, creating delicious pockets of chocolate throughout the treat. Don’t worry if they don’t melt completely at this stage; they will continue to soften and melt as you combine everything.
The Crispy Confluence
With our gooey, peanut buttery, chocolate-flecked marshmallow mixture ready, it’s time to bring in the Rice Krispies. Add the 6 cups of Rice Krispie cereal to the pot. Using a large, sturdy spatula or a wooden spoon, gently fold the cereal into the marshmallow mixture. The goal is to coat every single crispy flake with the delicious goo without crushing the cereal too much. Work quickly but carefully. As you stir, you’ll notice the chocolate chips continuing to melt and swirl, creating those delightful chocolatey veins. This stage is all about ensuring an even distribution of all the ingredients. If you’re using the optional chopped peanuts, you can stir about half of them in now and reserve the rest for the topping.
Pressing Perfection
Prepare a 9×13 inch baking pan by greasing it lightly with butter or non-stick cooking spray, or by lining it with parchment paper, leaving some overhang to help lift the treats out later. This step is crucial for preventing the sticky mixture from adhering to the pan. Once the Rice Krispie mixture is well combined and relatively uniform, carefully spoon it into the prepared pan. Now comes the part where you need to be a little patient. Using a greased spatula or your greased hands, gently press the mixture into the pan. Avoid pressing too firmly, as this can make the treats dense and tough. The goal is to create an even layer. If you reserved any chopped peanuts, sprinkle them evenly over the top of the pressed mixture now and gently press them in so they adhere.
Setting the Stage for Enjoyment
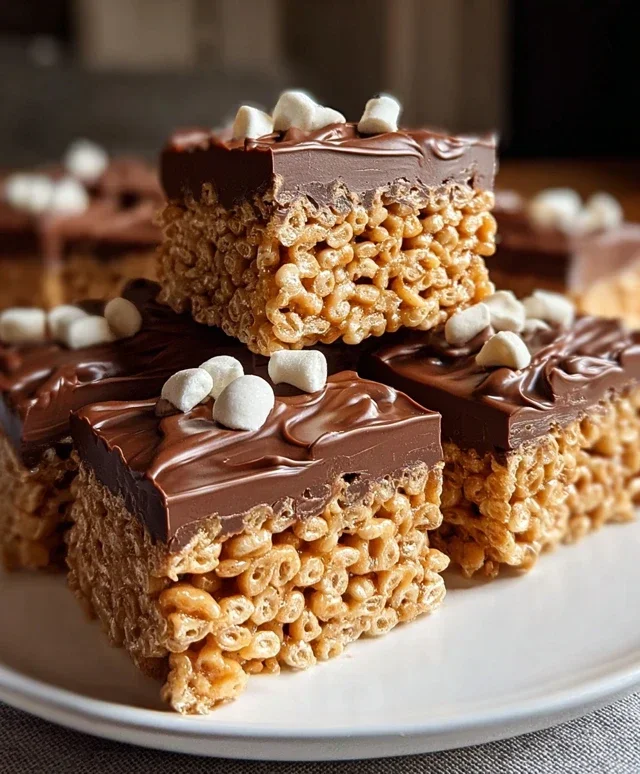
Once your Chocolate Peanut Butter Rice Krispie Squares are pressed into the pan and topped, allow them to cool completely at room temperature. This usually takes about an hour. Resist the urge to cut into them too soon, as they will be very soft and might fall apart. As they cool, they will firm up, achieving that perfect chewy, crispy texture. Once they’ve cooled and firmed up, you can lift the entire slab out of the pan using the parchment paper overhang, or carefully cut them directly in the pan. Using a sharp knife that has been lightly greased will make for cleaner cuts. Slice them into your desired squares – small bites for a party, or larger ones for a more substantial treat. Store any leftovers in an airtight container at room temperature for up to three days. Enjoy your homemade delights!
Conclusion:
And there you have it – the ultimate guide to creating perfect Chocolate Peanut Butter Rice Krispie Squares! This recipe is a triumph of simplicity and deliciousness, offering that irresistible combination of crunchy cereal, gooey marshmallows, rich chocolate, and creamy peanut butter. It’s incredibly easy to whip up, making it a fantastic treat for busy weeknights, a fun activity for kids in the kitchen, or a guaranteed crowd-pleaser for any gathering. The versatility of these squares also means you can easily adapt them to your preferences. I truly hope you’ll give this recipe a try. The result is a nostalgic yet exciting treat that’s sure to become a new favorite!
For serving, these Chocolate Peanut Butter Rice Krispie Squares are delightful on their own, cut into generous squares. They also make an amazing base for decorating with extra chocolate drizzle or a sprinkle of sea salt for a sweet and salty kick. For a truly decadent experience, try crum extractbling them over ice cream or incorporating them into other desserts. Think of them as a fantastic foundation for your culinary creativity!
Want to shake things up? Consider adding a handful of mini chocolate chips to the warm marshmallow mixture for an extra burst of chocolate, or swap out creamy peanut butter for crunchy for added texture. A swirl of caramel could also elevate these treats to a whole new level.
Frequently Asked Questions:
How do I prevent my Chocolate Peanut Butter Rice Krispie Squares from being too hard?
The key to soft, chewy squares is to not overcook the marshmallow mixture. Once the butter is melted and the marshmallows are just fully melted and smooth, remove the pan from the heat immediately. Don’t press the cereal mixture down too firmly when transferring it to the pan, as this can also lead to a harder texture.
Can I make these vegan?
Absolutely! You can easily make these vegan by using vegan butter, vegan marshmallows (which are readily available), and vegan chocolate chips. The process remains the same, and the delicious outcome is still very much achievable.
How long do these Chocolate Peanut Butter Rice Krispie Squares last?
Stored in an airtight container at room temperature, these delicious treats will stay fresh and chewy for about 3 to 4 days. If the weather is particularly warm, you might consider refrigerating them, though they can become slightly firmer when chilled.
Chocolate Peanut Butter Rice Krispie Squares
A delicious twist on classic Rice Krispie treats, featuring a rich chocolate and peanut butter swirl.
Ingredients
-
6 cups Rice Krispie cereal
-
½ cup peanut butter (smooth or crunchy)
-
¼ cup unsalted butter
-
40 regular size marshmallows
-
1 cup milk chocolate chips
-
Optional: chopped peanuts for garnish
Instructions
-
Step 1
Grease a 9×13 inch pan with butter or cooking spray. -
Step 2
In a large saucepan, melt butter over low heat. -
Step 3
Add marshmallows and stir until completely melted and smooth. -
Step 4
Remove from heat and stir in peanut butter until well combined. -
Step 5
Add Rice Krispie cereal and stir until evenly coated. -
Step 6
Press the mixture evenly into the prepared pan. -
Step 7
Melt milk chocolate chips in a microwave-safe bowl in 30-second intervals, stirring in between, until smooth. Drizzle melted chocolate over the top of the squares. -
Step 8
Sprinkle with chopped peanuts, if desired. Let cool completely before cutting into squares.
Important Information
Nutrition Facts (Per Serving)
It is important to consider this information as approximate and not to use it as definitive health advice.
Allergy Information
Please check ingredients for potential allergens and consult a health professional if in doubt.