Dutch Oven No Knead Bread-Easy Crusty Loaf
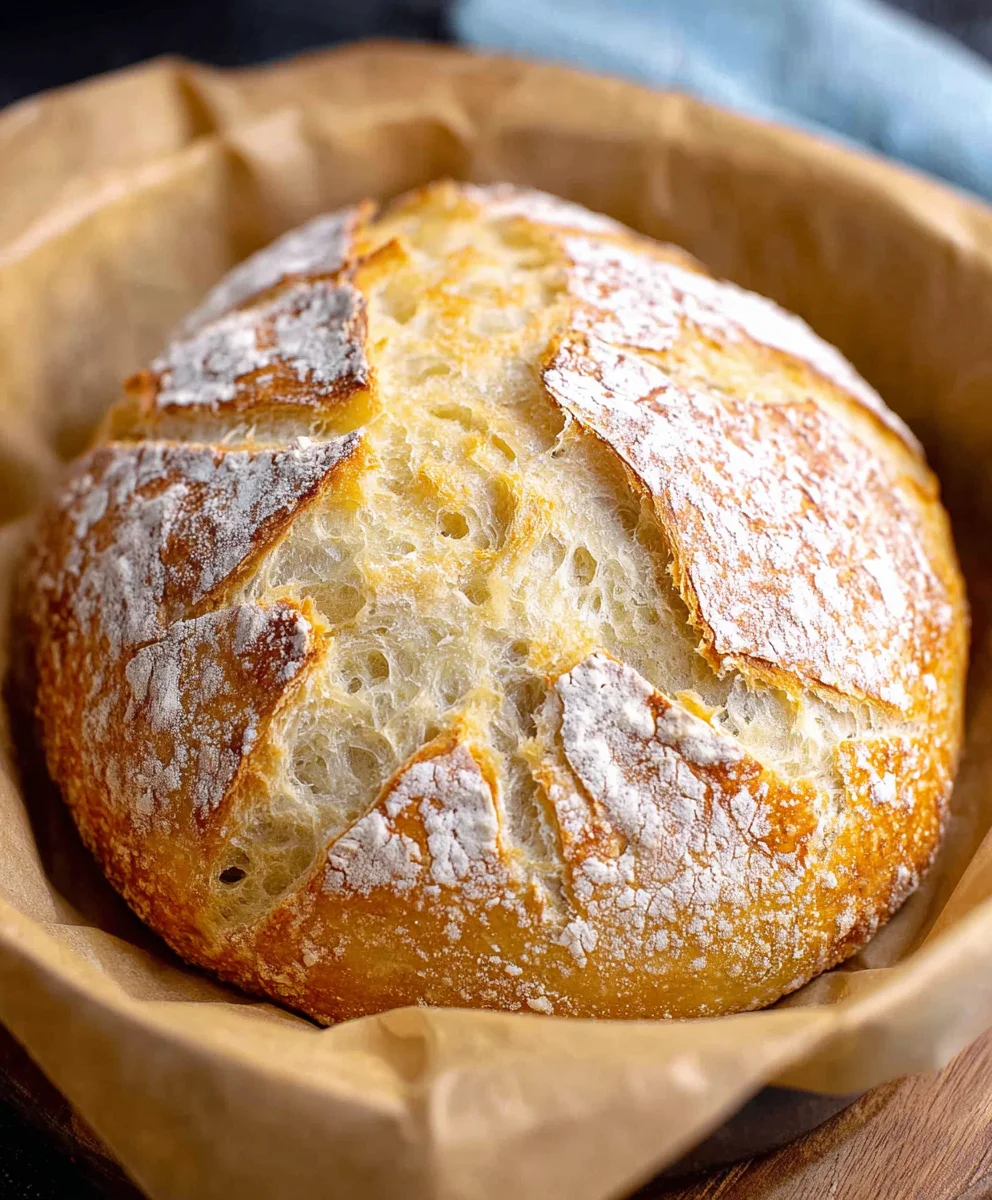
Dutch Oven No Knead Crusty Bread is more than just a recipe; it’s a gateway to achieving bakery-worthy loaves in your own kitchen with astonishing ease. Imagin extracte the satisfaction of pulling a golden-brown, crackling loaf from your oven, the aroma filling your home with that irresistible, comforting scent. This is the magic of the Dutch oven no knead crusty bread method. People adore this particular bread because it bypasses the often intimidating and time-consuming process of kneading, making it accessible to even the most novice bakers. What truly sets this Dutch oven no knead crusty bread apart is its incredible texture – a shatteringly crisp exterior that gives way to a soft, airy, and wonderfully chewy interior. It’s the kind of bread that elevates any meal, from a simple breakfast toast to a sophisticated dinner accompaniment, proving that true culinary artistry doesn’t always require complex techniques.
Ingredients:
- 1 1/2 cups warm water (approximately 100 degrees Fahrenheit or 38 degrees Celsius)
- 1 packet active dry yeast (this is equivnon-alcoholic alent to 2.25 teaspoons)
- 1 ½ teaspoons fine grain salt
- 3 1/4 cups all-purpose flour
Making Your Dutch Oven No Knead Crusty Bread
This recipe for Dutch Oven No Knead Crusty Bread is incredibly straightforward and delivers truly spectacular results, even for novice bakers. The beauty of this method lies in its simplicity; there’s no complex kneading involved, just patience and the magic of a Dutch oven. The result is a loaf with a gorgeously crackly, golden-brown crust and a wonderfully soft, airy interior. Let’s get started!
Phase 1: Activating the Yeast and Mixing the Dough
The first step is to awaken your yeast. In a large mixing bowl – one that’s at least a gallon in size to comfortably accommodate the dough as it rises – pour the 1 ½ cups of warm water. It’s important that the water is warm, not hot, as too much heat can kill the yeast, and water that’s too cold won’t activate it effectively. Aim for a temperature that feels comfortably warm to your touch, around 100 degrees Fahrenheit. Sprinkle the entire packet of yeast (or 2.25 teaspoons) over the surface of the water. Give it a gentle whisk to ensure all the yeast is submerged.
Now, let this mixture sit undisturbed for about 5 to 10 minutes. You’ll know the yeast is active and ready when it becomes foamy and bubbly on the surface, almost like a miniature, effervescent sea. If you don’t see any signs of activity after 10 minutes, your yeast might be expired, or the water temperature was off. In that case, it’s best to start again with fresh yeast and properly warmed water.
Once the yeast is happily frothing, it’s time to add the dry ingredients. Add the 1 ½ teaspoons of fine grain salt directly into the bowl with the yeast mixture. The salt is crucial for flavor and also helps to control the yeast’s activity. Next, gradually add the 3 ¼ cups of all-purpose flour. I recommend adding the flour in stages, mixing it in as you go. Use a sturdy spoon or a silicone spatula to begin extract incorporating the flour into the wet ingredients. Don’t worry about achieving a perfectly smooth dough at this stage. The goal is simply to combine everything until no dry pockets of flour remain. The dough will be very shaggy and sticky, and that’s exactly what we want. Resist the urge to add more flour, as this will result in a dense bread.
Phase 2: The First Rise (Bulk Fermentation)
Once all the flour is incorporated, you’ll have a very wet, unmanageable dough. This is where the “no knead” magic gin extractly begins. Cover the bowl tightly with plastic wrap or a damp kitchen towel. Place the bowl in a warm, draft-free spot in your kitchen. A slightly warm oven (turned off, of course!) or a spot near your stove where it’s generally warmer works perfectly.
Let the dough rise for a minimum of 12 hours, and up to 18 hours. This extended, slow fermentation is what develops the incredible flavor and airy texture of your Dutch Oven No Knead Crusty Bread. During this time, the yeast will work its magic, producing carbon dioxide bubbles that create those lovely holes in the bread, and the gluten will develop on its own without any manual manipulation. You’ll notice the dough will significantly increase in volume, becoming bubbly and jiggly. The longer the rise, the more complex the flavor will become.
Phase 3: Shaping and the Second Rise
After the long fermentation period, your dough will be wonderfully airy and full of bubbles. It will also be quite sticky. Lightly flour your work surface. You don’t need to be precise with shaping; in fact, being too gentle can make the bread flatter. Gently scrape the dough out of the bowl onto the floured surface. Try to handle it as little as possible to preserve those precious air bubbles.
You can either gently shape it into a round ball or an oblong loaf. To do this, you can gently fold the edges of the dough towards the center a few times, creating a bit of surface tension, but again, avoid overworking it. The key is to create a somewhat cohesive shape that will fit into your Dutch oven.
Now, generously flour a piece of parchment paper. Carefully place your shaped dough onto the parchment paper. This parchment paper will be your best friend for transferring the dough into the hot Dutch oven. Lightly dust the top of the dough with a bit more flour. Cover the dough loosely with plastic wrap or a kitchen towel and let it rest for another 30 minutes to 1 hour. This is its second, shorter rise, often called proofing. During this time, the dough will relax and puff up slightly again.
Phase 4: Baking the Crusty Loaf
About 20 minutes before you’re ready to bake, place your empty Dutch oven, with its lid on, into your oven and preheat it to 450 degrees Fahrenheit (230 degrees Celsius). It’s crucial to preheat the Dutch oven thoroughly; this intense heat is what creates that signature crust.
Once the oven and Dutch oven are fully preheated, carefully remove the hot Dutch oven from the oven. Be extremely cautious, as it will be very hot. Remove the lid. Using the parchment paper as handles, carefully lift the dough and gently lower it into the preheated Dutch oven. Be mindful of the steam that will escape.
Cover the Dutch oven with its lid and carefully place it back into the hot oven. Bake for 30 minutes with the lid on. The lid traps steam, which is essential for the bread to rise properly and develop a thin, crispy crust.
After 30 minutes, carefully remove the lid from the Dutch oven. You will see a beautifully puffed-up loaf inside. Continue baking, uncovered, for another 15 to 25 minutes, or until the crust is a deep golden brown and sounds hollow when tapped on the bottom. The exact time will depend on your oven.
Phase 5: Cooling and Enjoying
Once the bread is baked to perfection, carefully remove it from the Dutch oven using the parchment paper. Transfer it to a wire cooling rack. It’s incredibly tempting to slice into it immediately, but it’s vital to let your Dutch Oven No Knead Crusty Bread cool completely for at least 1 hour, preferably 2. This cooling period allows the interior to finish cooking and firm up, preventing a gummy texture. Once cooled, slice generously and enjoy the fruits of your minimal labor!
Conclusion:
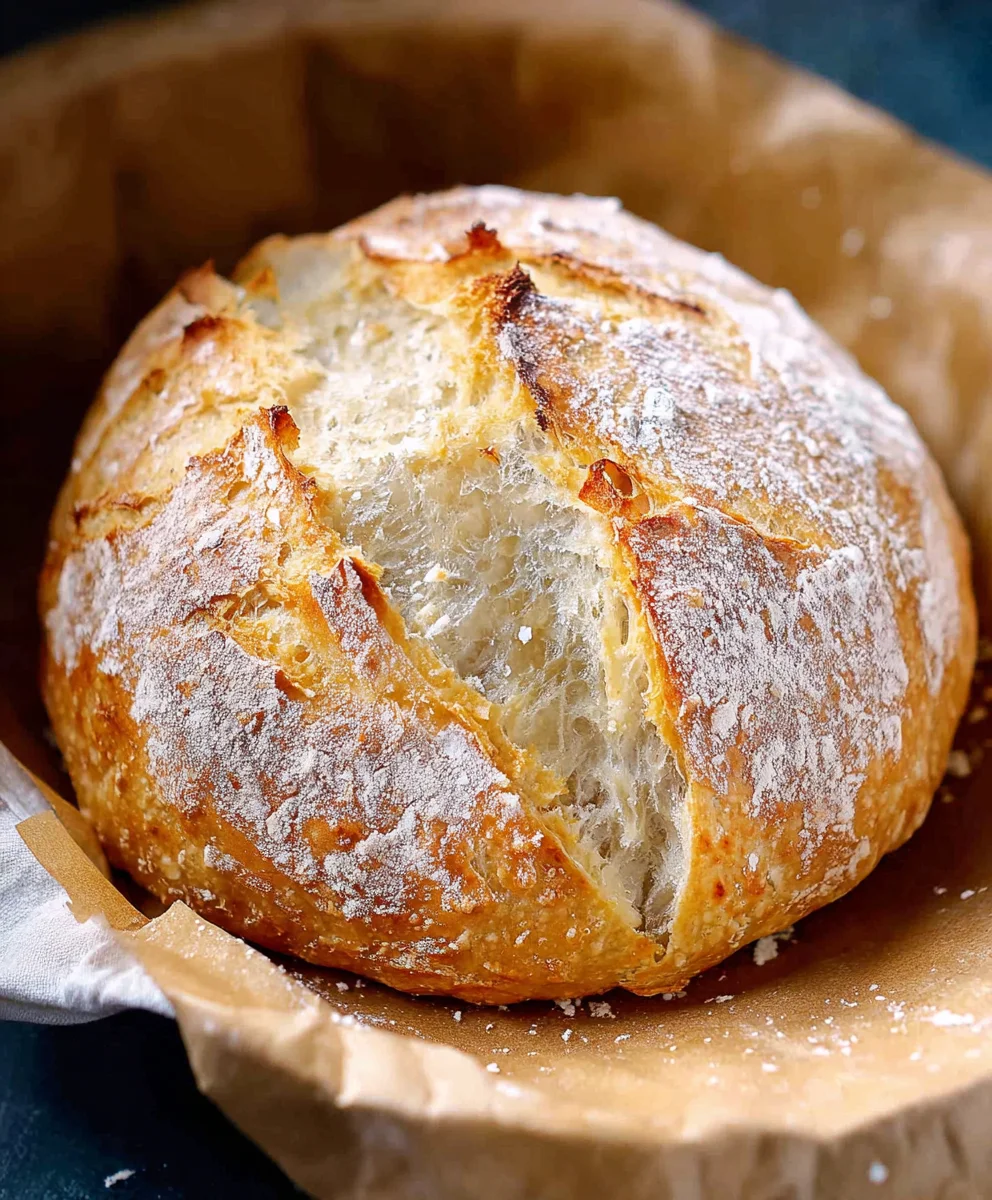
And there you have it – your very own batch of incredibly delicious and impossibly easy Dutch Oven No Knead Crusty Bread! This recipe truly demystifies the art of breadmaking, proving that you don’t need hours of kneading or fancy equipment to achieve that perfect crusty exterior and airy interior. The beauty of this method lies in its simplicity, allowing the dough to develop flavor and structure on its own. Imagin extracte tearing into a warm slice, the aroma filling your kitchen, ready to be slathered with butter or dipped into your favorite soup. It’s a truly rewarding experience.
For serving, this Dutch Oven No Knead Crusty Bread is incredibly versatile. It’s the star of any dinner table, perfect alongside hearty stews, roasted vegetables, or a simple pasta dish. You can also slice it thick and toast it for a robust breakfast, or use it to create incredible sandwiches. If you’re feeling adventurous, consider adding a sprinkle of herbs, garlic powder, or even some shredded cheese to the dough before its final rise for a flavorful twist on the classic.
Don’t be afraid to experiment and make this recipe your own. The satisfaction of pulling a golden-brown loaf out of the oven is truly unparalleled. Enjoy the process, and savor every bite of your homemade Dutch Oven No Knead Crusty Bread!
Frequently Asked Questions:
Why is my crust not as crispy as I expected?
Several factors can influence crust crispiness. Ensure your Dutch oven is thoroughly preheated, as this initial blast of heat is crucial. Also, make sure you’re baking uncovered for the last portion of the baking time. Overcrowding your oven with other dishes can also lower the temperature and affect crispiness. If your oven tends to run cool, consider using an oven thermometer to ensure accurate temperatures.
Can I make this bread ahead of time?
Yes, you can! Once completely cooled, the Dutch Oven No Knead Crusty Bread can be stored at room temperature in a paper bag or bread box for 2-3 days. For longer storage, it freezes beautifully. Slice it and freeze in an airtight container or freezer bag. To reheat, you can toast slices or warm a whole loaf in a moderate oven for a few minutes until fresh and crispy again.
Dutch Oven No Knead Bread-Easy Crusty Loaf
An incredibly straightforward Dutch Oven No Knead Crusty Bread recipe that delivers spectacular results, even for novice bakers, featuring a gorgeously crackly, golden-brown crust and a wonderfully soft, airy interior.
Ingredients
-
1 1/2 cups warm water (approximately 100 degrees Fahrenheit)
-
1 packet active dry yeast (2.25 teaspoons)
-
1 ½ teaspoons fine grain salt
-
3 1/4 cups all-purpose flour
-
Parchment paper
Instructions
-
Step 1
In a large mixing bowl, combine warm water and yeast. Let sit for 5-10 minutes until foamy. Add salt and gradually incorporate flour until no dry pockets remain, creating a shaggy, sticky dough. -
Step 2
Cover the bowl tightly and let the dough rise in a warm, draft-free spot for 12-18 hours. The dough will significantly increase in volume. -
Step 3
Lightly flour a work surface. Gently scrape the dough out and handle as little as possible. Shape into a round or oblong loaf. Place the shaped dough onto generously floured parchment paper. -
Step 4
Cover the dough loosely and let it rest for 30-60 minutes for its second rise. Meanwhile, preheat your oven with the empty Dutch oven (with lid on) to 450 degrees Fahrenheit (230 degrees Celsius) for at least 20 minutes. -
Step 5
Carefully remove the hot Dutch oven from the oven. Remove the lid. Using the parchment paper, gently lower the dough into the hot Dutch oven. Cover with the lid and bake for 30 minutes. -
Step 6
After 30 minutes, carefully remove the lid. Continue baking uncovered for another 15-25 minutes, or until the crust is deep golden brown and sounds hollow when tapped. -
Step 7
Carefully remove the bread from the Dutch oven and transfer to a wire cooling rack. Let cool completely for at least 1 hour before slicing and enjoying.
Important Information
Nutrition Facts (Per Serving)
It is important to consider this information as approximate and not to use it as definitive health advice.
Allergy Information
Please check ingredients for potential allergens and consult a health professional if in doubt.