Easy Chocolate Chip Dessert Pizza Recipe-Family Favorite
Chocolate Chip Dessert Pizza isn’t just a treat; it’s an experience. Imagin extracte a warm, chewy crust, generously studded with melty chocolate chips, all swirled with creamy frosting and perhaps a sprinkle of sea salt or decadent caramel. Who wouldn’t fall in love with that? It’s the ultimate crowd-pleaser, perfect for movie nights, birthday parties, or simply satisfying that undeniable sweet craving. What truly elevates a homemade Chocolate Chip Dessert Pizza from good to absolutely unforgettable is the perfect balance of textures and flavors. We’re talking about a slightly crisp exterior giving way to a pillowy, soft interior, with each bite delivering that quintessential warm chocolate hug. This recipe is designed to bring that magic right into your kitchen, making it easier than you ever thought possible to create a show-stopping, delicious centerpiece that will have everyone asking for seconds. Get ready to impress yourself and everyone you share it with!
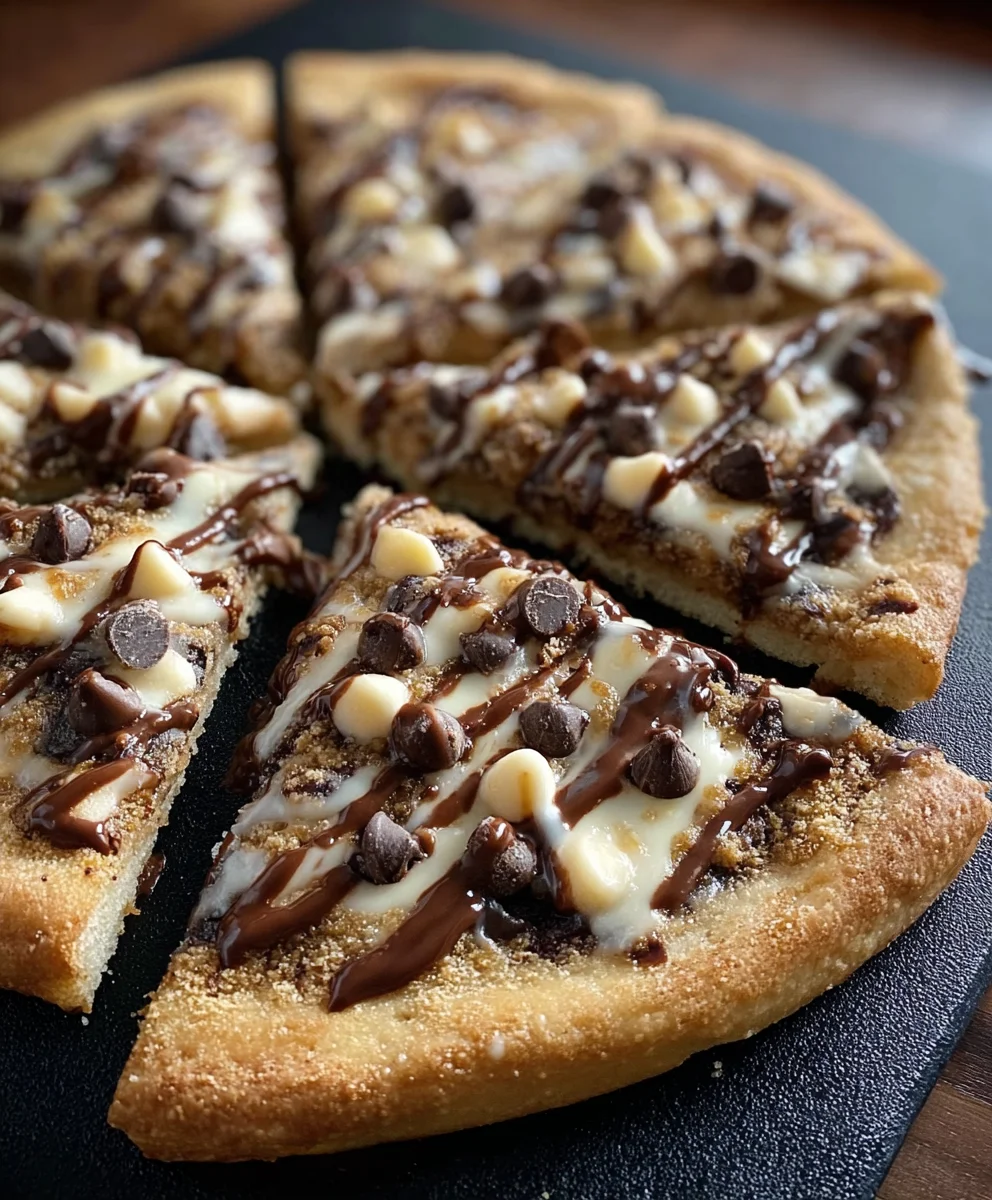
Ingredients:
- 1 pre-made pizza crust (about 12 inches)
- 1½ cups yellow cake mix (dry mix, not prepared)
- ½ cup butter, melted
- ½ cup milk chocolate chips
- ¼ cup granulated sugar
- ¼ cup brown sugar
Preparing the Chocolate Chip Dessert Pizza Base
Step 1: Preheat Your Oven and Prepare the Crust
The first step to creating this delightful Chocolate Chip Dessert Pizza is to get your oven ready. Preheat it to 375 degrees Fahrenheit (190 degrees Celsius). This temperature is crucial for ensuring your dessert pizza bakes evenly and the crust becomes perfectly golden brown. While the oven heats up, unwrap your pre-made pizza crust. It’s important to use a crust that’s specifically designed for pizza, as it will hold up better to the toppings than a cracker or tortilla base. Place the crust directly onto a baking sheet. A standard baking sheet works perfectly, but if you have a pizza pan, that’s even better for achieving a classic pizza shape. This setup makes transferring the pizza in and out of the oven much easier and cleaner.
Step 2: Create the Cake Batter Dough
Now, let’s make the magic happen for our dessert pizza topping. In a medium-sized mixing bowl, combine the dry yellow cake mix with the melted butter. You’ll want to ensure the butter is completely melted and smooth before adding it to the cake mix. Pour the melted butter over the dry cake mix and stir until it forms a thick, crum extractbly dough. This might seem a bit unusual, as you’re not adding any eggs or liquid like you would for traditional cake batter, but this method is precisely what makes it suitable for a pizza crust. It will be a bit sticky and dense, but that’s exactly what we’re aiming for. Make sure to scrape the sides of the bowl to incorporate all the dry ingredients and butter.
Step 3: Spread the Cake Batter Dough onto the Pizza Crust
This is where your dessert pizza really starts to take shape! Take the cake batter dough you just prepared and carefully begin extract spreading it evenly over the pre-made pizza crust. You’ll want to leave about a ½-inch border around the edge of the crust, just like you would for a savory pizza, to create a nice edge. Use the back of a spoon or a spatula to gently press and spread the dough. It can be a little sticky, so a lightly oiled spatula or damp fingers can help prevent it fgin extract clinging too much. Ensure the layer of cake batter is relatively consistent in thickness across the entire crust to guarantee even baking. Avoid making the layer too thick, as it might not cook through properly.
Baking and Assembling Your Chocolate Chip Dessert Pizza
Step 4: Bake the Pizza Base and Add the Chocolatey Goodness
Once your cake batter dough is spread evenly over the crust, it’s time to give it a head start in the oven. Place the baking sheet with your dessert pizza into the preheated oven. Bake for about 10 to 12 minutes, or until the cake batter base is lightly golden and slightly puffed. This initial bake helps to set the cake batter, making it a sturdy foundation for your chocolate chips. After this initial bake, carefully remove the pizza from the oven. Now for the best part – the chocolate! Sprinkle the ½ cup of milk chocolate chips evenly over the top of the partially baked cake batter. Try to distribute them so you get a good amount in every bite.
Step 5: Sprinkle the Sugars and Bake to Perfection
After the chocolate chips are generously scattered, it’s time to add the final touches to create that irresistible caramel-like flavor and a delightful texture. In a small bowl, combine the ¼ cup of granulated sugar and the ¼ cup of brown sugar. Mix them together briefly to ensure they are well combined. Now, take this sugar mixture and sprinkle it evenly over the chocolate chips and the cake batter. This sugar topping will melt and caramelize during the final bake, creating a delicious crust on top of the chocolate chips and adding a wonderful sweetness and slight crunch. Return the dessert pizza to the oven and bake for an additional 8 to 10 minutes. You’ll know it’s ready when the edges of the cake batter are golden brown, the chocolate chips are melted and gooey, and the sugar topping has formed a glossy, caramelized layer.
Step 6: Cool and Serve Your Masterpiece
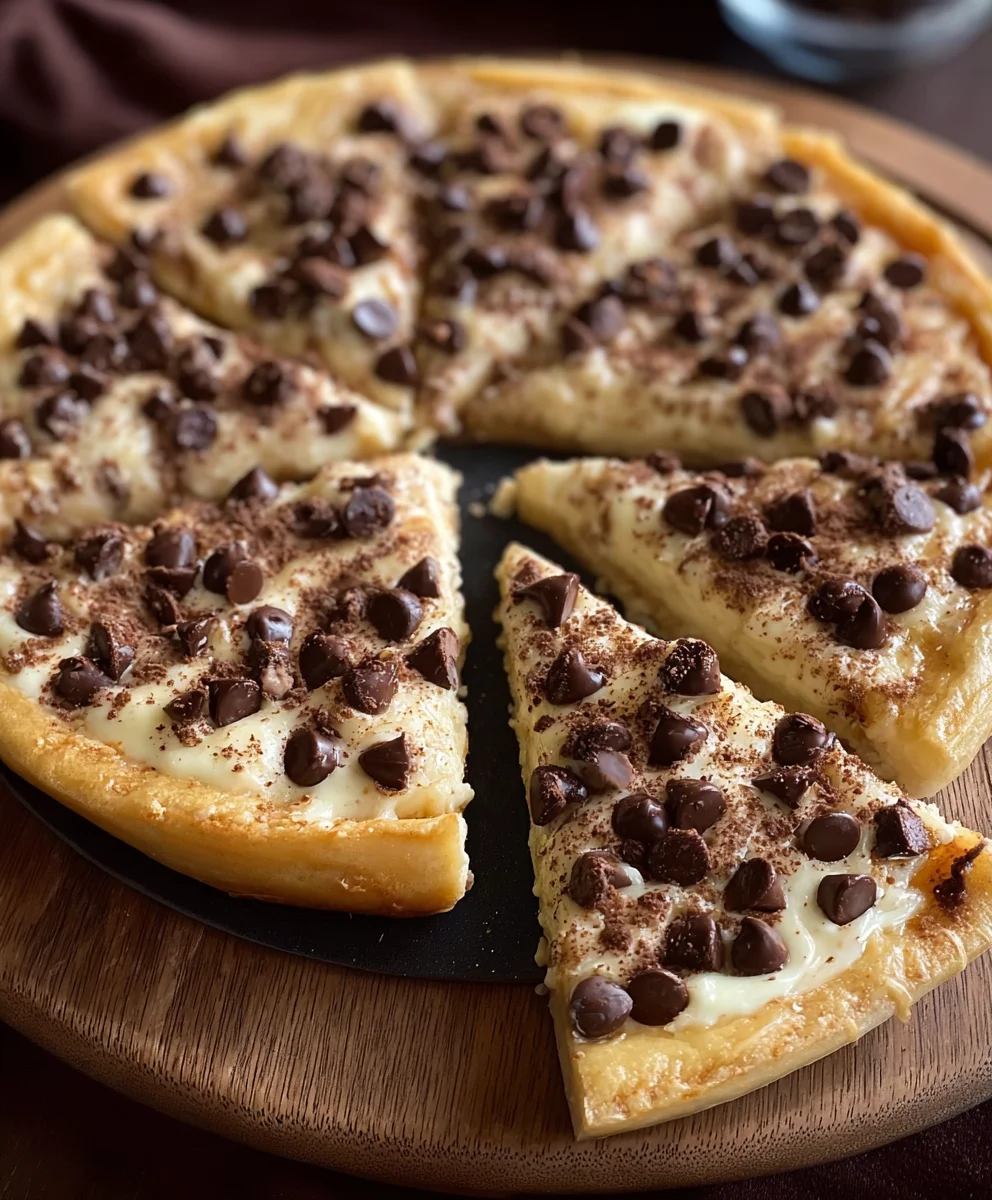
Once your Chocolate Chip Dessert Pizza is baked to perfection, remove it from the oven with care. It will be very hot, so allow it to cool on the baking sheet for at least 10 to 15 minutes before attempting to slice it. This cooling period is crucial because it allows the melted chocolate chips and caramelized sugar to set slightly, preventing everything from sliding off when you cut into it. The crust will also firm up more during this time. After it has cooled sufficiently, you can carefully slide it off the baking sheet and onto a cutting board. Use a pizza cutter or a sharp knife to slice it into wedges. Serve warm for the ultimate gooey, chocolatey experience. This dessert pizza is fantastic on its own, but a dollop of whipped cream or a scoop of vanilla ice cream makes it even more decadent!
Conclusion:
There you have it – your guide to creating the most delightful Chocolate Chip Dessert Pizza! We’ve walked through each step to ensure a foolproof and incredibly satisfying baking experience. This Chocolate Chip Dessert Pizza is not just a treat; it’s a celebration of simple, delicious flavors that are sure to bring smiles to any gathering. Whether you’re a seasoned baker or just starting out, this recipe is designed to be accessible and rewarding. Don’t be afraid to get creative and make it your own!
For serving, I love cutting this Chocolate Chip Dessert Pizza into wedges and enjoying it warm, perhaps with a scoop of vanilla ice cream or a drizzle of caramel sauce. It’s perfect for family movie nights, birthday parties, or even just a special weeknight indulgence. Get ready for rave reviews!
Frequently Asked Questions:
Can I use a pre-made cookie dough for the base?
Absolutely! While making the dough from scratch yields the best texture, a high-quality pre-made chocolate chip cookie dough can certainly be used. Just be sure to press it evenly into your pizza pan and adjust baking time as needed, as pre-made doughs can vary.
What are some fun variations for this Chocolate Chip Dessert Pizza?
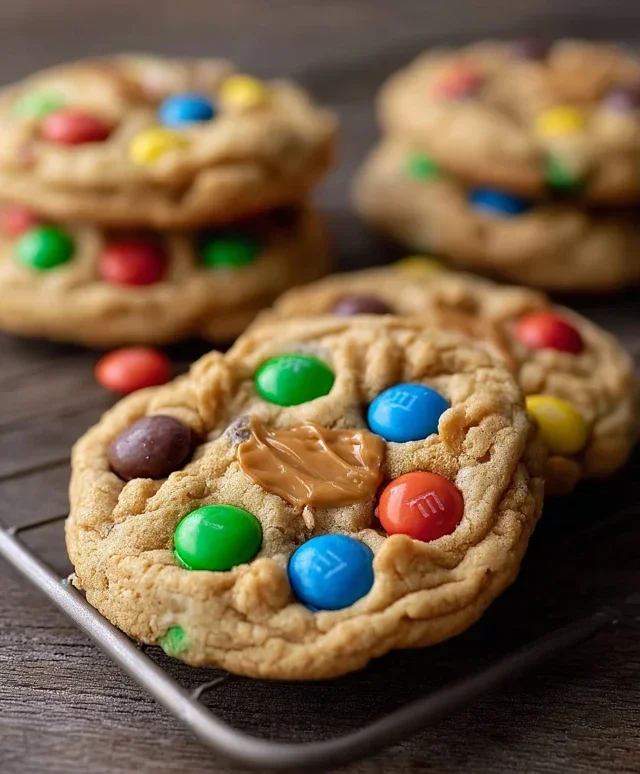
The possibilities are endless! You could add other candies like M&Ms or Reese’s Pieces, swirl in some caramel or Nutella before baking, or top with fresh berries and whipped cream after it cools slightly. A sprinkle of sea salt can also enhance the chocolate flavor beautifully.
How should I store leftover Chocolate Chip Dessert Pizza?
Store any leftovers in an airtight container at room temperature for up to 2 days, or in the refrigerator for up to 4 days. Reheat gently in a low oven or toaster oven for a few seconds to bring back some of its delightful warmth and chegrape juicess.
Easy Chocolate Chip Dessert Pizza Recipe-Family Favorite
A simple and delicious chocolate chip dessert pizza made on a pre-made crust with a cake mix base, perfect for family gatherings.
Ingredients
-
1 pre-made pizza crust (about 12 inches)
-
1½ cups yellow cake mix (dry mix, not prepared)
-
½ cup butter, melted
-
½ cup milk chocolate chips
-
¼ cup granulated sugar
-
¼ cup brown sugar
Instructions
-
Step 1
Preheat oven to 375 degrees Fahrenheit (190 degrees Celsius). Place the pre-made pizza crust on a baking sheet. -
Step 2
In a bowl, combine dry yellow cake mix with melted butter until a thick, crumbly dough forms. -
Step 3
Spread the cake batter dough evenly over the pizza crust, leaving a ½-inch border. -
Step 4
Bake for 10-12 minutes, or until lightly golden and slightly puffed. Remove from oven and sprinkle milk chocolate chips evenly over the top. -
Step 5
In a small bowl, combine granulated sugar and brown sugar. Sprinkle the sugar mixture evenly over the chocolate chips and cake batter. -
Step 6
Return to the oven and bake for an additional 8-10 minutes, until edges are golden, chocolate chips are melted, and sugar is caramelized. -
Step 7
Let cool on the baking sheet for 10-15 minutes before slicing and serving. Serve warm.
Important Information
Nutrition Facts (Per Serving)
It is important to consider this information as approximate and not to use it as definitive health advice.
Allergy Information
Please check ingredients for potential allergens and consult a health professional if in doubt.