Creamy Banana Pudding Recipe – Easy & Delicious Dessert
Banana Pudding isn’t just a dessert; it’s a nostalgic journey back to grandma’s kitchen, a comforting embrace on a chilly evening, and the star of countless potlucks. This beloved classic has a magical way of bringin extractg smiles to faces, its creamy, sweet, and subtly fruity layers a perfect harmony of textures and flavors. What makes this particular banana pudding so special? It’s a delightful dance between ripe, sweet bananas, velvety smooth vanilla custard, and the satisfying crunch of crispy wafer cookies, all brought together in a symphony of pure deliciousness. Forget bland, store-bought versions; we’re talking about a homemade masterpiece that’s surprisingly easy to whip up, yet tastes like it took hours of painstaking effort. Get ready to impress yourself and everyone you share it with, as we dive into creating the ultimate Banana Pudding experience that will have evergin extracte begging for seconds.
Ingredients:
- 1 (3.4 oz) box instant vanilla pudding mix
- 2 cups cold milk
- 1 (14 oz) can sweetened condensed milk
- 1 teaspoon vanilla extract
- 1 (8 oz) tub whipped topping, thawed
- 4-5 ripe bananas, sliced
- 1 (11 oz) box vanilla wafers
Getting Started: The Pudding Base
The foundation of any great Banana Pudding is a smooth, creamy, and flavorful pudding. For this recipe, we’re using a convenient instant vanilla pudding mix. In a medium-sized mixing bowl, you’ll combine the instant vanilla pudding mix with the cold milk. It’s crucial to use cold milk here; warm milk can sometimes prevent the pudding from setting properly or result in a less desirable texture.
Now, let’s get whisking. You’ll want to whisk these two ingredients together vigorously for about two minutes, or until the mixture begin extracts to thicken. Don’t be tempted to stop too early – thorough whisking is key to achieving that perfectly smooth consistency without any lumps. Once it starts to thicken, cover the bowl tightly with plastic wrap, pressing the wrap directly onto the surface of the pudding. This prevents a skin from forming as it chills. Place the bowl in the refrigerator for at least 5 minutes to allow it to set. While the pudding is chilling, we can move on to preparing the other components of our delicious Banana Pudding.
Adding Richness and Flavor
Once your instant pudding has had a chance to set for a few minutes, it’s time to elevate its flavor and texture. Take the bowl out of the refrigerator. The pudding should be noticeably thicker at this point. Now, we’re going to introduce the sweetened condensed milk. Pour the entire 14-ounce can of sweetened condensed milk into the bowl with the pudding. Sweetened condensed milk will add a wonderful depth of sweetness and a rich, velvety texture that instant pudding alone might not achieve.
Next, add the vanilla extract. Even though our pudding mix is vanilla flavored, a little extra extract really boosts the aromatic qualities and ensures a pronounced vanilla taste throughout the dessert. Give everything a good stir to thoroughly combine the sweetened condensed milk and vanilla extract with the thickened pudding. You’ll notice the mixture becoming even smoother and richer. Continue to stir until there are no streaks of condensed milk visible and the color is uniformly pnon-alcoholic ale yellow.
Folding in the Lightness
Now it’s time to introduce a cloud-like lightness to our Banana Pudding. Ensure your tub of whipped topping is fully thawed. Gently spoon the thawed whipped topping into the bowl with the pudding mixture. The key to this step is to fold the whipped topping in, rather than vigorously mixing or beating it. Using a spatula or a large spoon, carefully cut through the mixture and gently lift the pudding up and over the whipped topping, then fold it back down. Repeat this process, rotating the bowl as you go, until the whipped topping is just incorporated. You want to maintain as much of the airiness from the whipped topping as possible. Overmixing can deflate the whipped topping, leading to a denser final product. It’s perfectly fine if there are a few small streaks of white from the whipped topping remaining; this indicates you haven’t overmixed.
Assembling Your Masterpiece
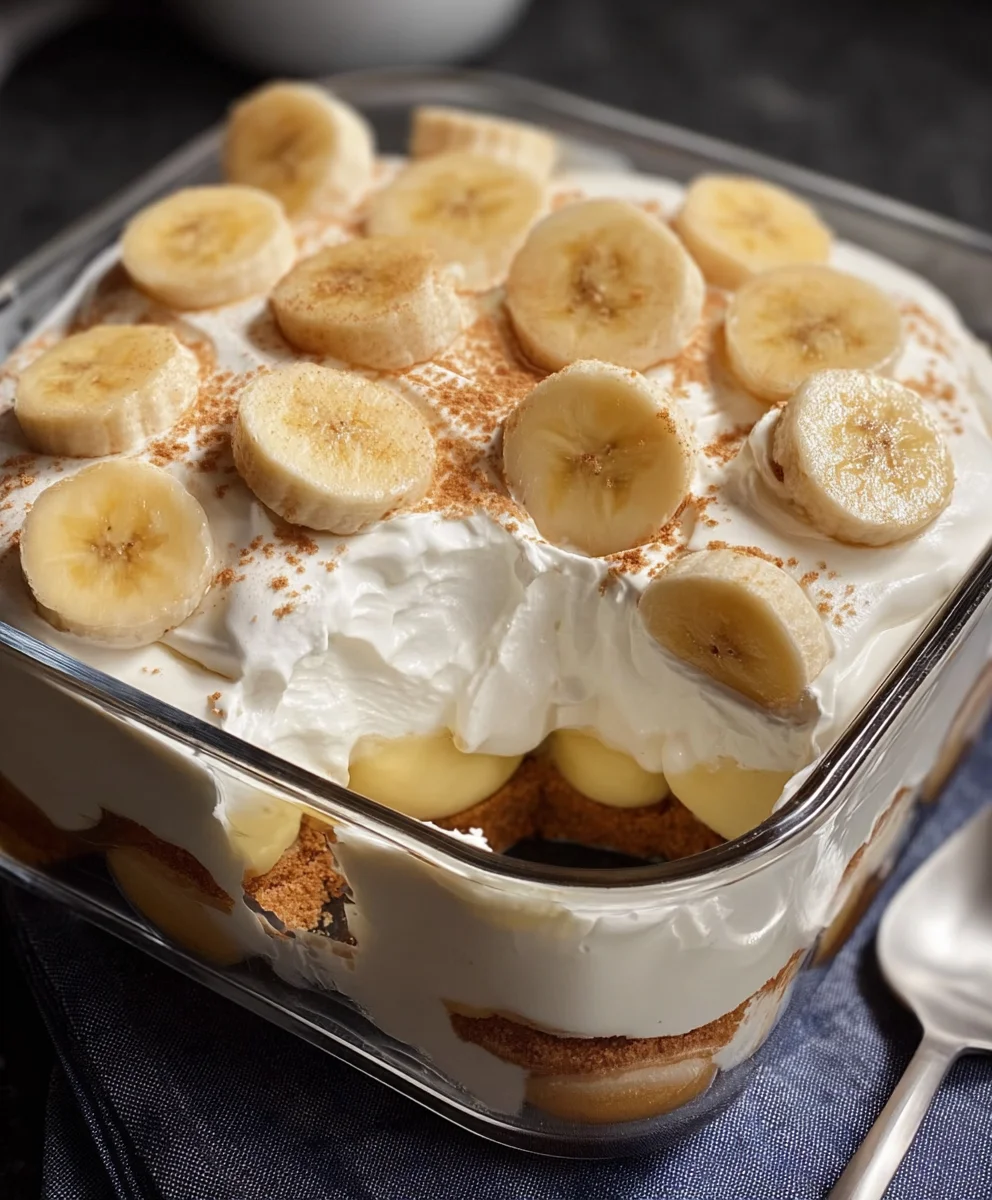
With all the components prepared, it’s time for the satisfying part: assembling your Banana Pudding! You’ll need a large serving dish or individual parfait glasses for this. Start by laying down a single layer of vanilla wafers at the bottom of your chosen dish. Don’t worry about them being perfectly aligned; a rustic arrangement is perfectly fine.
Next, arrange a layer of your sliced ripe bananas over the vanilla wafers. The riper the bananas, the sweeter and more flavorful they will be, contributing beautifully to the overall taste of the pudding. Once you have a nice layer of banana slices, spoon a generous portion of your prepared pudding mixture over the bananas. Spread it evenly to cover the banana layer completely.
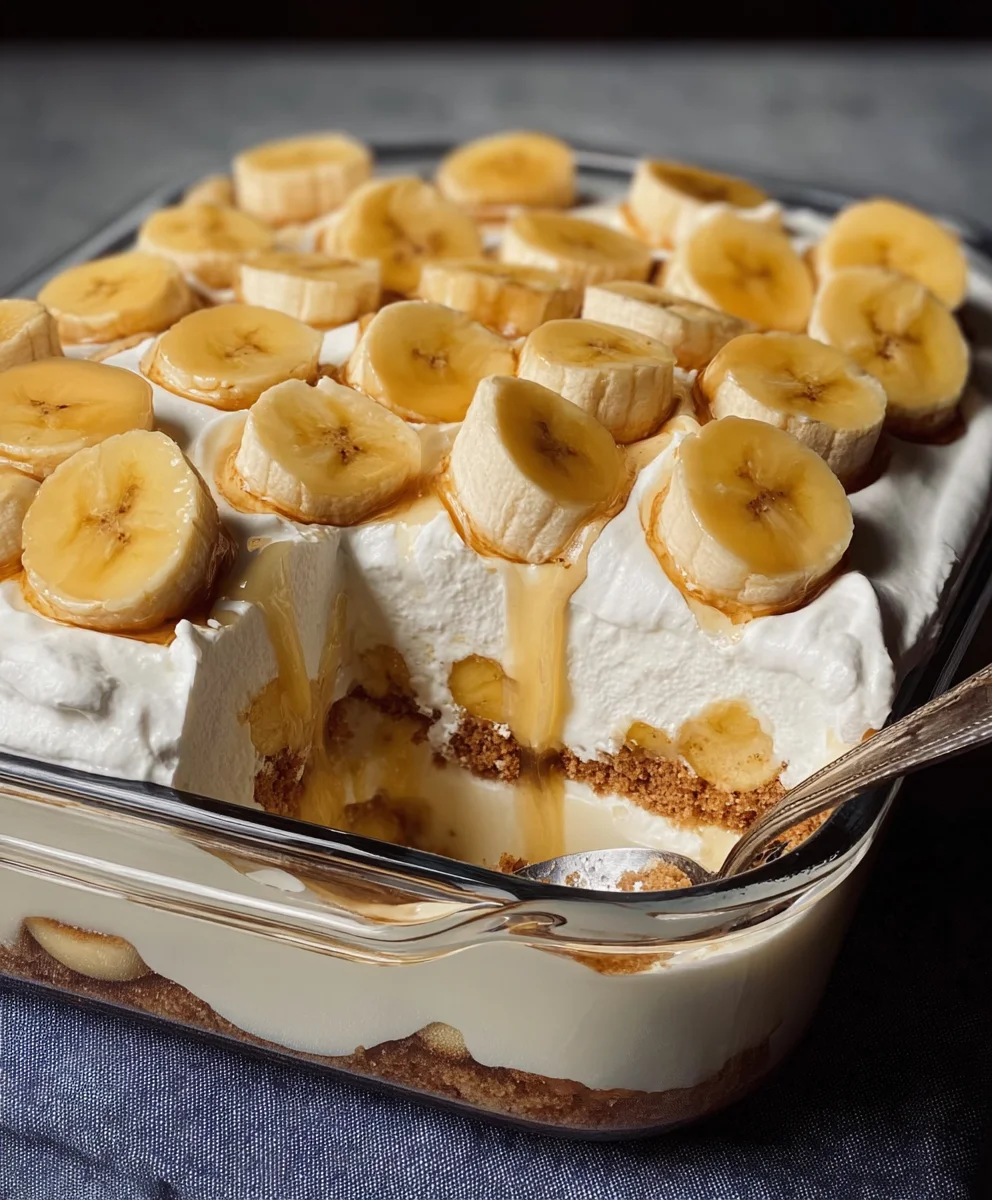
Repeat these layers: another layer of vanilla wafers, followed by another layer of sliced bananas, and then another layer of the pudding mixture. You can typically get two to three layers depending on the size of your serving dish. Ensure the top layer is pudding, creating a smooth surface for garnishing. If you’re using individual glasses, you can create smaller, stacked layers in each one.
Chilling and Serving Perfection
Once your Banana Pudding is fully assembled, it’s crucial to let it chill properly. This allows all the flavors to meld together beautifully and ensures the vanilla wafers soften slightly, absorbing some of the creamy pudding for an irresistible texture. Cover the serving dish tightly with plastic wrap.
Place the Banana Pudding in the refrigerator for at least 4 hours, or preferably overnight. This extended chilling time is where the magic truly happens. The wafers will absorb moisture from the pudding and become wonderfully tender, while the pudding itself will firm up and become even richer and more flavorful.
Before serving, you can add an optional, but highly recommended, garnish. A dollop of extra whipped topping on top of each serving, or across the entire surface of a large dish, looks beautiful and adds another layer of creamy goodness. Some people also like to sprinkle a few crushed vanilla wafers on top for a bit of texture. Slice and serve your chilled Banana Pudding to delighted friends and family!
Conclusion:
There you have it – your ultimate guide to creating the most delicious and satisfying Banana Pudding! We’ve walked through each step, from preparing the creamy custard to layering those perfectly ripe bananas and crispy vanilla wafers. This classic dessert is more than just a treat; it’s a comforting embrace in every spoonful. Don’t be afraid to get creative! While this recipe is a tried-and-true favorite, feel free to experiment with different types of cookies or even add a sprinkle of cinnamon for a unique twist. The beauty of Banana Pudding lies in its delightful simplicity and the joy it brings to sharing. So, gather your ingredients, put on your apron, and get ready to impress your friends and family with this delightful homemade dessert. Happy baking!
FAQs:
Can I make Banana Pudding ahead of time?
Absolutely! Banana Pudding is actually best when made a few hours ahead, or even the day before. This allows the flavors to meld together beautifully and the vanilla wafers to soften to the perfect consistency. Just be sure to cover it tightly with plastic wrap before refrigerating.
What kind of bananas are best for Banana Pudding?
For the best flavor and texture, use ripe but not overly mushy bananas. You want them to have a good amount of sweetness and a firm enough texture to hold their shape when sliced. Slightly spotted bananas are usually ideal.
My Banana Pudding custard is lumpy, what did I do wrong?
Lumpiness often happens if the eggs are cooked too quickly or unevenly. Ensure you are whisking constantly over medium-low heat and temper your egg yolks by slowly adding a ladleful of the hot milk mixture to them before returning the tempered yolks to the saucepan. If lumps persist, you can strain the custard through a fine-mesh sieve for a silky smooth finish.
Creamy Banana Pudding Recipe – Easy & Delicious Dessert
A classic and easy to make creamy banana pudding with layers of vanilla wafers, fresh bananas, and a rich vanilla pudding mixture.
Ingredients
-
1 (3.4 oz) box instant vanilla pudding mix
-
2 cups cold milk
-
1 (14 oz) can sweetened condensed milk
-
1 teaspoon vanilla extract
-
1 (8 oz) tub whipped topping, thawed
-
4-5 ripe bananas, sliced
-
1 (11 oz) box vanilla wafers
Instructions
-
Step 1
In a medium-sized mixing bowl, combine the instant vanilla pudding mix with the cold milk. Whisk vigorously for about two minutes, or until the mixture begins to thicken. Cover tightly with plastic wrap, pressing directly onto the surface, and refrigerate for at least 5 minutes to set. -
Step 2
Remove the pudding from the refrigerator. Pour the sweetened condensed milk and vanilla extract into the bowl with the pudding. Stir thoroughly until combined and the mixture is uniformly pale yellow. -
Step 3
Gently fold the thawed whipped topping into the pudding mixture using a spatula or large spoon. Fold until just incorporated, being careful not to overmix to maintain airiness. -
Step 4
To assemble, start with a layer of vanilla wafers at the bottom of a serving dish. Arrange a layer of sliced ripe bananas over the wafers, followed by a generous portion of the prepared pudding mixture, spread evenly. -
Step 5
Repeat the layers: another layer of vanilla wafers, then bananas, and finally pudding. Ensure the top layer is pudding. Cover the dish tightly with plastic wrap. -
Step 6
Chill the banana pudding in the refrigerator for at least 4 hours, or preferably overnight, to allow flavors to meld and wafers to soften. Garnish with extra whipped topping or crushed vanilla wafers before serving if desired.
Important Information
Nutrition Facts (Per Serving)
It is important to consider this information as approximate and not to use it as definitive health advice.
Allergy Information
Please check ingredients for potential allergens and consult a health professional if in doubt.